
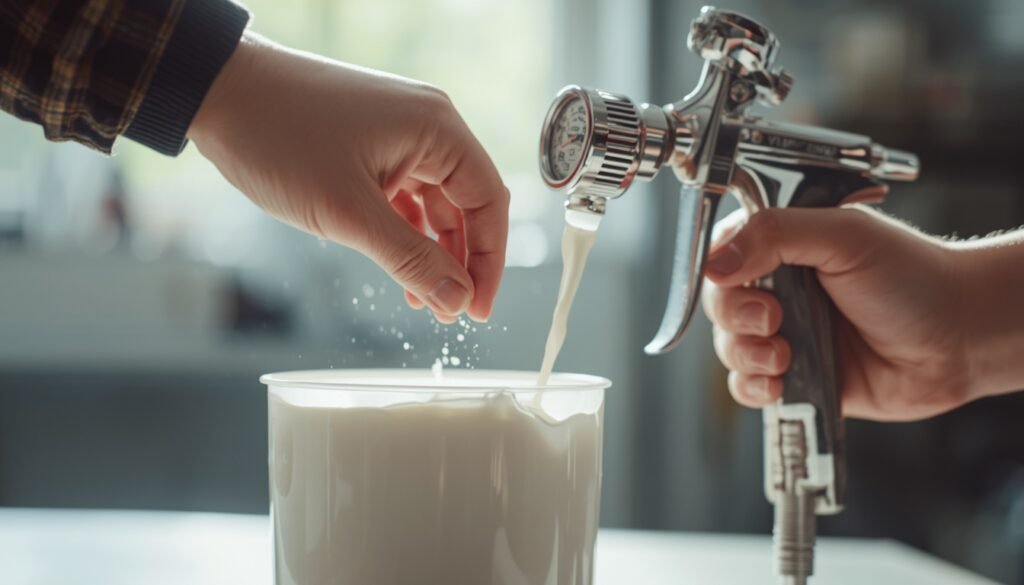
You load a fresh can of paint into your gun, pull the trigger, and get spitting, heavy spatter, or a rough texture that looks like the skin of an orange. Nothing is wrong with the gun. The paint is simply too thick to atomize. Learning to thin paint for spray gun use is the single fastest fix for most of these problems.
Paint from the can is built for brushes and rollers, which push thick material across a surface. A sprayer has to break that paint into a fine mist, and thick paint resists. Many beginners respond by cranking up the pressure, which only creates overspray and runs.
This guide covers which thinner matches which paint, how much to add, and how to confirm the result with a quick test. Before you start, it helps to know which gun you own, so check our guides to the best HVLP spray gun for home use and the best airless paint sprayer. If you are still seeing texture after thinning, our fix for orange peel in spray paint picks up where this article leaves off.
Quick Answer
How much you thin depends on the paint type and the sprayer. Water-based latex and acrylic usually take water or a paint conditioner. Oil-based and alkyd paints need mineral spirits. Lacquers and automotive enamels need the reducer the manufacturer specifies. HVLP guns generally need more thinning than airless sprayers, which often handle paint straight from the can. Start with the paint’s technical data sheet, add thinner in small measured steps, and test the spray on cardboard. The right consistency leaves a fine, even mist with no spitting and no runs.
Table of Contents
- What Does It Mean to Thin Paint for a Spray Gun?
- How to Choose the Right Thinner
- Best Thinning Options by Paint Type
- Comparison Table
- Thinning for Different Sprayers and Projects
- How to Thin Paint for Spray Gun Use: Step by Step
- Common Mistakes
- Expert Tips
- Final Verdict
- Frequently Asked Questions
What Does It Mean to Thin Paint for a Spray Gun?
Thinning, also called reducing, means lowering a paint’s viscosity so it flows and atomizes properly. Viscosity is how much a liquid resists flowing. Honey has high viscosity, water has low viscosity, and most paint sits somewhere in between. A spray gun works best inside a fairly narrow viscosity window.
Inside the gun, air or hydraulic pressure forces the paint through a small opening and breaks it into droplets. When the paint is too thick, the droplets are large and uneven. They land as spatter, dry with a bumpy surface, and may leave dry spots between passes. When the paint is too thin, it runs, sags, and loses coverage, so you apply more coats to hide the surface underneath.
The goal is not “thin” as in watery. The goal is the thickest paint your gun can still atomize cleanly. That keeps the film strong, the color covering, and the finish smooth.
Two things change how much you need to thin. The first is the gun. Low-pressure HVLP guns have less force to work with, so they usually need a thinner mix than airless units that push paint at high hydraulic pressure. You can read more about that tradeoff in our comparison of HVLP vs airless paint sprayers. The second is the environment. Heat, wind, and low humidity make paint dry faster, while cold air thickens it.
If you have never seen how a high-pressure unit handles material, our explainer on how airless paint sprayers work shows why they tolerate thicker paint.
How to Choose the Right Thinner
Ask yourself three quick questions before you open any thinner.
1. What is the paint’s base? Water-based paints thin with water or a conditioner made for them. Solvent-based paints need a solvent. Mixing the wrong family together can curdle the paint or ruin its adhesion. Not sure which you have? Our guide to the types of spray paint explained breaks down the differences.
2. What does the label say? The can and the technical data sheet usually list the approved thinner and a maximum percentage. That limit protects durability, so treat it as a ceiling.
3. What is your spray gun’s tip size? A larger tip or needle can often spray thicker paint, which means less thinning. Swapping the tip is sometimes smarter than adding more thinner.
Safety belongs in this decision too. Many solvent thinners are flammable, and their vapors travel along the floor to pilot lights and sparks. OSHA’s spray finishing standard (29 CFR 1910.107) is written for workplaces, but its core principle applies in any garage: keep ignition sources away from vapors and ventilate well.
Best Thinning Options by Paint Type
These are the four most common thinning choices. We list product types rather than brands, because the right match depends on your specific paint.
1. Plain Water (for Latex and Acrylic)
Overview: For water-based latex and acrylic paint, clean water is the simplest and cheapest thinner. It lowers viscosity quickly, and cleanup is easy. Use small amounts, because water also weakens the paint film if you overdo it.
Key Features:
- Costs almost nothing
- Easy to measure and mix
- Works for most interior latex projects
- Cleans up with soap and water
Best For: Interior walls, trim, and furniture painted with latex or acrylic through an HVLP gun.
Pros: ✅ Cheap ✅ Widely available ✅ Simple cleanup
Cons: ❌ Weakens coverage and film strength if overused ❌ Does nothing to slow drying in hot weather
Our Verdict: Water is a fine starting point for a first test. Add it in small increments and strain the paint afterward. For a full look at spray prep, see our step-by-step wall spraying guide.
2. Paint Conditioners and Extenders (for Water-Based Paint)
Overview: A conditioner is an additive designed to improve flow without hurting the film the way extra water can. It also slows drying slightly, which helps the paint level out before it sets. That is why many painters reach for one when they want a smoother finish on doors and cabinets.
Key Features:
- Improves leveling and reduces brush or spray marks
- Extends open time in warm or dry conditions
- Made to be mixed with the matching paint family
- Often used alongside a small amount of water
Best For: Cabinets, doors, and furniture where a glass-smooth finish matters.
Pros: ✅ Better leveling ✅ Less spatter ✅ More forgiving in heat
Cons: ❌ Costs more than water ❌ Needs the correct type for water- or oil-based paint
Our Verdict: If you spray cabinets or doors, a conditioner is worth the money. Pair it with our guide to spray painting kitchen cabinets for the full process.
3. Mineral Spirits (for Oil-Based and Alkyd Paint)
Overview: Mineral spirits, sometimes sold as paint thinner, is the standard solvent for oil-based and alkyd paints. It thins these paints cleanly and also works for cleaning the gun afterward. Never use water with oil-based paint, since the two will not mix.
Key Features:
- Thins oil-based and alkyd enamels and primers
- Doubles as a gun-cleaning solvent
- Evaporates at a moderate, predictable rate
- Easy to find at hardware stores
Best For: Metal furniture, trim, and oil-based primers.
Pros: ✅ Reliable results ✅ Dual use for cleaning ✅ Easy to find
Cons: ❌ Flammable vapors ❌ Needs good ventilation and a respirator ❌ Rags need careful disposal
Our Verdict: Excellent for oil-based work, but treat it with respect. Wear a rated respirator, and read our respirator buying guide before you start.
4. Manufacturer Reducers and Lacquer Thinner (for Lacquer, Urethane, and Automotive Paint)
Overview: Lacquers, two-part urethanes, and automotive enamels are chemically sensitive. They usually specify a reducer that matches the paint and the temperature, with slow, medium, or fast options. Lacquer thinner works for lacquer, but it can damage or lift many other coatings, so never grab it as a general-purpose thinner.
Key Features:
- Matched to the paint system
- Available in different evaporation speeds
- Specified ratios on the technical data sheet
- Often required for warranty or durability
Best For: Automotive parts, wheels, and clear coats.
Pros: ✅ Designed for the coating ✅ Controls drying by temperature
Cons: ❌ Strong fumes ❌ Easy to pick the wrong one
Our Verdict: Follow the data sheet exactly. For project examples, see our best clear coat spray paint guide.

Comparison Table
| Thinner | Best For | Paint Base | Ventilation Needs | Cost |
|---|---|---|---|---|
| Water | Interior latex and acrylic | Water-based | Low | Lowest |
| Paint conditioner | Cabinets, doors, furniture | Water- or oil-based (match type) | Low to moderate | Moderate |
| Mineral spirits | Oil-based and alkyd paints | Solvent-based | High | Low |
| Reducer or lacquer thinner | Lacquer, urethane, automotive | Solvent-based | Very high | Moderate to high |
Thinning for Different Sprayers and Projects
HVLP Guns
HVLP guns use high air volume at low pressure, which is gentle and efficient but weak at breaking up thick paint. Most latex and acrylic paints need thinning for an HVLP gun, and many painters also use a larger needle and nozzle for heavier materials. Your compressor matters too. An undersized one starves the gun and makes even well-thinned paint spit, so check our air compressor buying guide for HVLP guns. Moisture in the air line causes fisheyes that look like thinning problems, which an inline air filter or moisture trap will stop. For gun options, see our 10 best HVLP spray guns.
Airless and Cordless Sprayers
Airless sprayers push paint at high hydraulic pressure, so they often handle latex right from the can. Many manufacturers recommend little or no thinning, and some warn that thinning too much reduces coverage. Always check the sprayer manual first. Cordless handheld models have less pumping power, so they may need a small amount of thinner for smooth spraying. See our picks for the best cordless paint sprayer.
Cabinets, Doors, and Furniture
These projects reward patience. Thin conservatively, use a conditioner for leveling, and strain every batch. A smooth film depends on thorough prep, so read our guides on spray painting interior doors and spray painting furniture. Our sandpaper guide and tack cloth guide cover the surface prep that thinned paint can’t fix.
How to Thin Paint for Spray Gun Use: Step by Step
This process works for any paint type. Only the thinner changes.
Step 1: Read the Label and Data Sheet
Find the approved thinner, the recommended percentage, and any limits for your sprayer type. If the can says not to thin, believe it. Some paints are formulated for spraying as supplied.
Step 2: Set Up Safely
Work where air moves. Put on your respirator, gloves, and eye protection. If you use solvents, remove ignition sources and open flames from the area. Our ventilation fan guide and spray paint safety guide cover the full setup.
Step 3: Measure and Mix in Small Steps
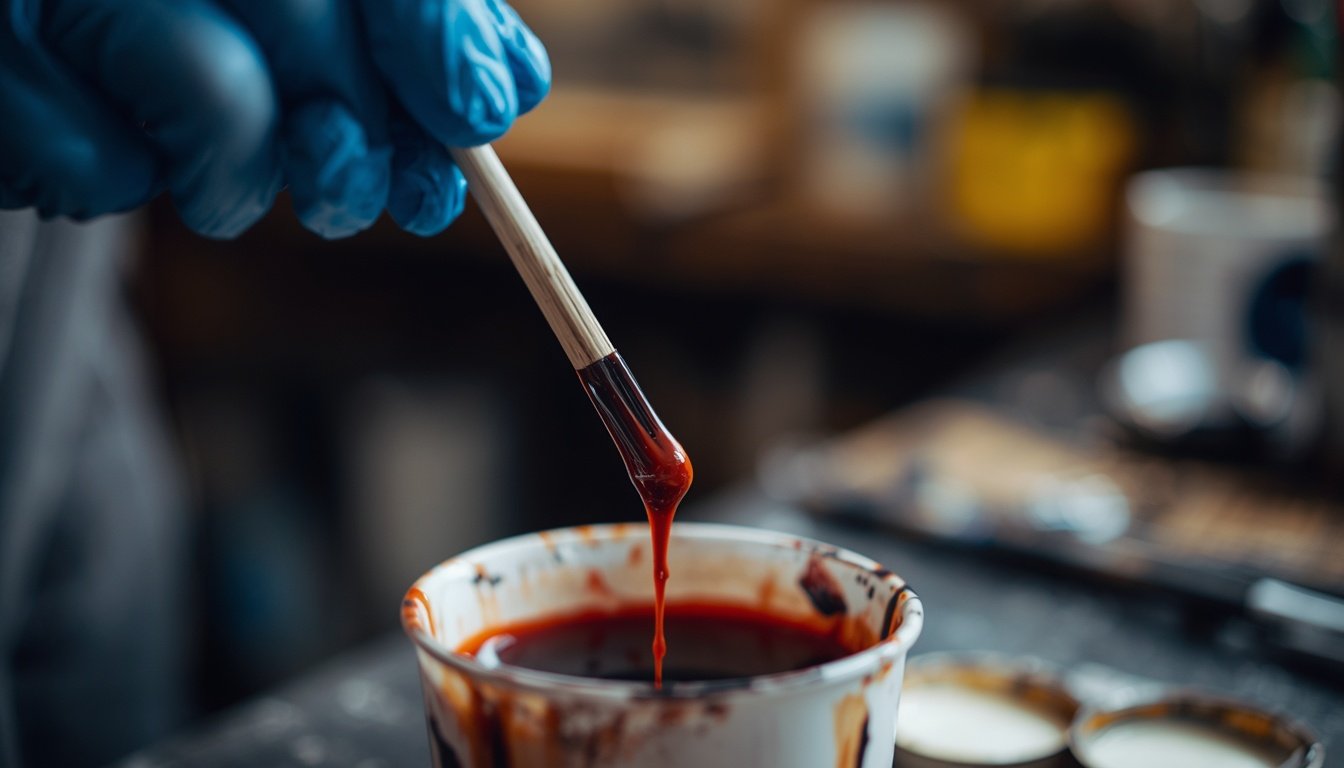
Pour a measured amount of paint into a clean container. Add thinner a little at a time, usually in 5 percent increments, and stir slowly to avoid air bubbles. Record how much you added so you can repeat the batch. Measuring by volume beats guessing every time.
Step 4: Check the Viscosity
Use a viscosity cup, such as a Ford or Zahn cup, and time how long the paint takes to drain. Compare the time with the data sheet. No cup? Lift a stir stick and watch the paint. It should fall in a thin, steady stream rather than clumps or heavy ribbons. The cup is more accurate, but the stick works for small jobs.
Step 5: Strain and Test Spray
Pour the paint through a fine mesh strainer into the gun’s cup. Our paint strainer guide compares options. Spray a test pattern on cardboard. You want an even oval with fine droplets. Spitting and orange peel mean add a little more thinner. Runs and sags mean you’ve gone too far.
Common Mistakes
Over-thinning. Many beginners keep adding thinner until the paint runs like water. That kills coverage and leads to sags. If you already have runs, read our guide on fixing spray paint drips and runs.
Mixing the wrong thinner. Water in oil-based paint or lacquer thinner in latex can curdle or lift the coating. Match the thinner to the paint, and check our list of common spray paint mistakes.
Skipping the strainer and cleanup. Even perfect paint clogs a dirty gun. Dried flecks cause streaks and spitting. Keep a spray gun cleaning kit handy, and consider a disposable cup system to simplify cleanup.
Expert Tips
Track temperature and humidity. The same mix that sprays beautifully on a cool morning can dry too fast in afternoon heat. A hygrometer takes the guesswork out of whether conditions are right.
Mix a batch and label it. Write the paint-to-thinner ratio on the container so you can match it later or fix a touch-up. Consistency across coats is what makes a surface look professionally finished.
Try a bigger tip before more thinner. If the paint spits at the recommended ratio, a larger nozzle or needle may solve it. Our roundup of paint sprayer accessories covers tips and add-ons worth having.
Final Verdict
There is no single best ratio, because the right answer depends on the paint, the gun, and the weather. The best approach is to follow the data sheet, add thinner slowly, and test before you commit. Here is how we would summarize it:
- Best overall: Match the thinner to the paint base and follow the label.
- Best budget: Clean water for interior latex through an HVLP gun.
- Best for premium finishes: A paint conditioner in water-based paint for cabinets and doors.
- Best for beginners: Test on cardboard in small increments, and write down your ratio.
Once your paint is dialed in, follow up with spray paint storage and disposal for leftover thinned paint, and try our guide to getting a smooth finish with spray paint. For prep, see the best spray paint primers.
Frequently Asked Questions
Do I need to thin paint for a spray gun? Usually yes for HVLP guns and often no for airless sprayers. Paint made for brushes and rollers is typically too thick for low-pressure guns. Check the data sheet and your sprayer manual, then test on cardboard before you start your project.
How much should I thin latex paint for an HVLP gun? A common starting point is a small percentage, often around 5 to 10 percent, added in careful steps. Your paint’s label sets the upper limit. Stop as soon as the paint atomizes into a fine, even mist.
What can I use to thin oil-based paint? Mineral spirits is the usual choice for oil-based and alkyd paints. Never use water. Always read the label, because some formulas call for a specific reducer.
Can I use water to thin oil-based paint? No. Water and oil-based paint do not mix, and the result can separate and fail to adhere. Use the solvent the paint manufacturer recommends instead.
How long do I wait after thinning before I spray? Stir well and strain right away. Some paints and conditioners benefit from a short rest so bubbles settle, but check the label. Do not let thinned paint sit for hours, since it can skin or separate.
Is paint conditioner better than water? Often yes for smooth finishes. A conditioner improves flow and leveling without weakening the film as much as extra water. Water is cheaper and fine for simple interior jobs.
What is the difference between thinner and reducer? The words overlap. Thinner usually refers to general solvents like mineral spirits, while reducer often means a product matched to a specific coating, like urethane or automotive paint. Use the product the manufacturer names.
Why does my paint spit even after I thin it? Check the air supply, tip size, and cleanliness first. An undersized compressor, a clogged tip, or moisture in the line causes spitting. Our guide to moisture traps for HVLP compressors is a good place to start.
Can over-thinned paint be saved? Sometimes. Add more unthinned paint of the same batch to bring the mix back toward the right consistency. If the color or sheen has been affected, test a small area before applying it to your project.
Is thinning paint for a spray gun safe? Yes, with precautions. Use a respirator, ventilate, and keep solvents away from flames and sparks. Dispose of rags and leftovers properly, following your local rules and our guide to storage and disposal.
Author: Rodney Shiner
Last Updated: November 2026