
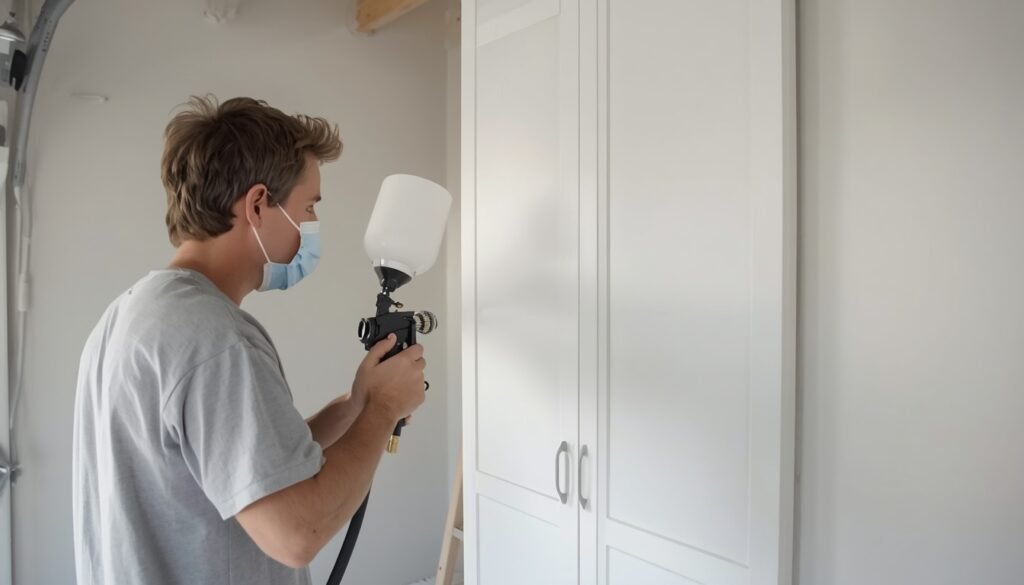
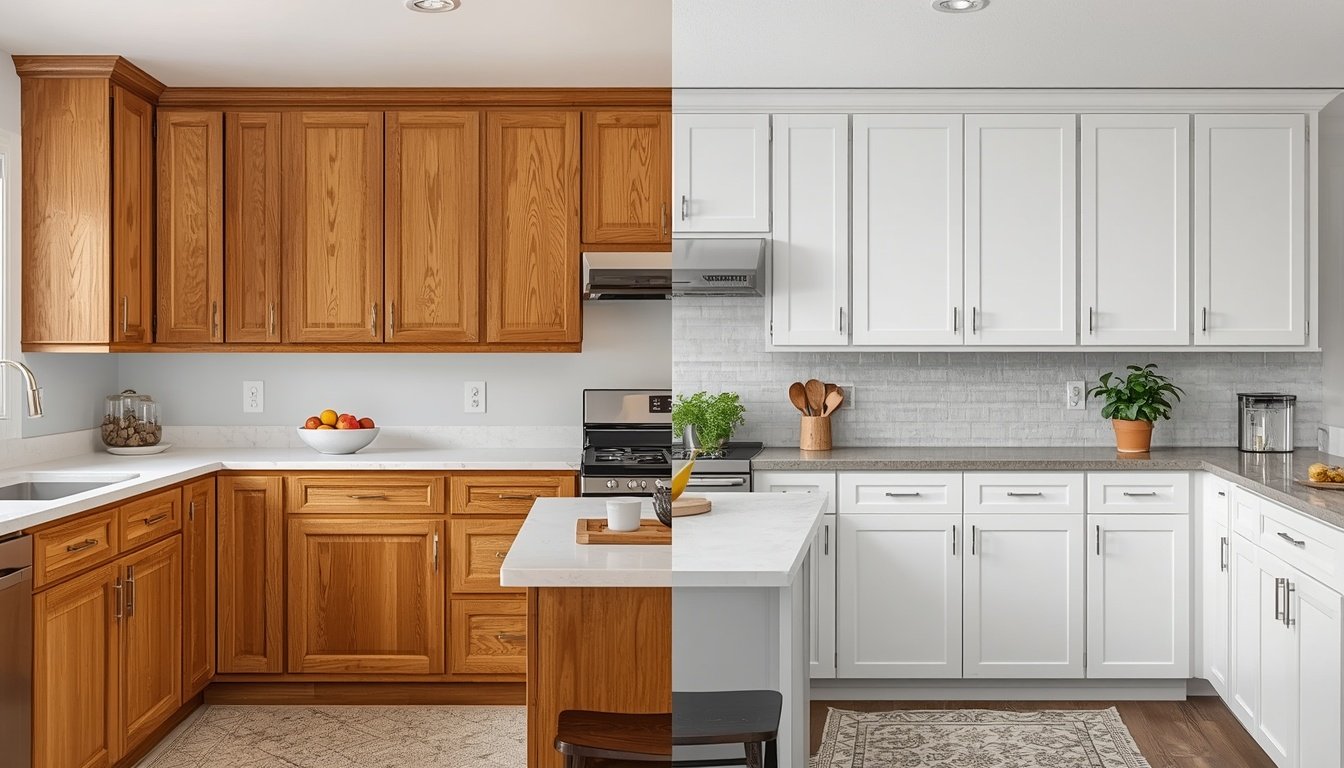
You pull off a cabinet door, roll on two coats, and by morning the finish shows roller stipple, brush marks, and a tacky surface that grabs every fingerprint. That is the usual result of painting cabinets by hand, and it is why more DIYers now choose to spray paint kitchen cabinets instead. A sprayer lays down thin, even coats that level into a hard, smooth surface much closer to a factory finish.
The catch is that cabinets are unforgiving. They sit at eye level, get touched every day, and live next to grease and steam. Most failures, like peeling edges, orange peel, and hardened drips, trace back to poor prep or coats applied too thick, not to the sprayer itself. If you want the fundamentals first, start with our guide on how to get a smooth finish with spray paint.
This guide covers the full process: picking the right sprayer, prepping and priming, spray technique, and curing. If you are still weighing equipment, our HVLP vs airless comparison will help you decide. A first-timer can absolutely do this, as long as the steps happen in the right order.
Quick Answer
The best way to spray paint kitchen cabinets depends on your equipment and budget. An HVLP gun gives the finest finish on doors and drawer fronts, an airless sprayer covers a big kitchen fastest, a cordless handheld sprayer suits beginners, and aerosol cans only suit a few small pieces. Whatever you choose, the steps are the same: remove the doors, degrease, sand, prime, spray thin coats, and let the paint cure before heavy use. Several thin, patient coats beat one heavy coat every time.
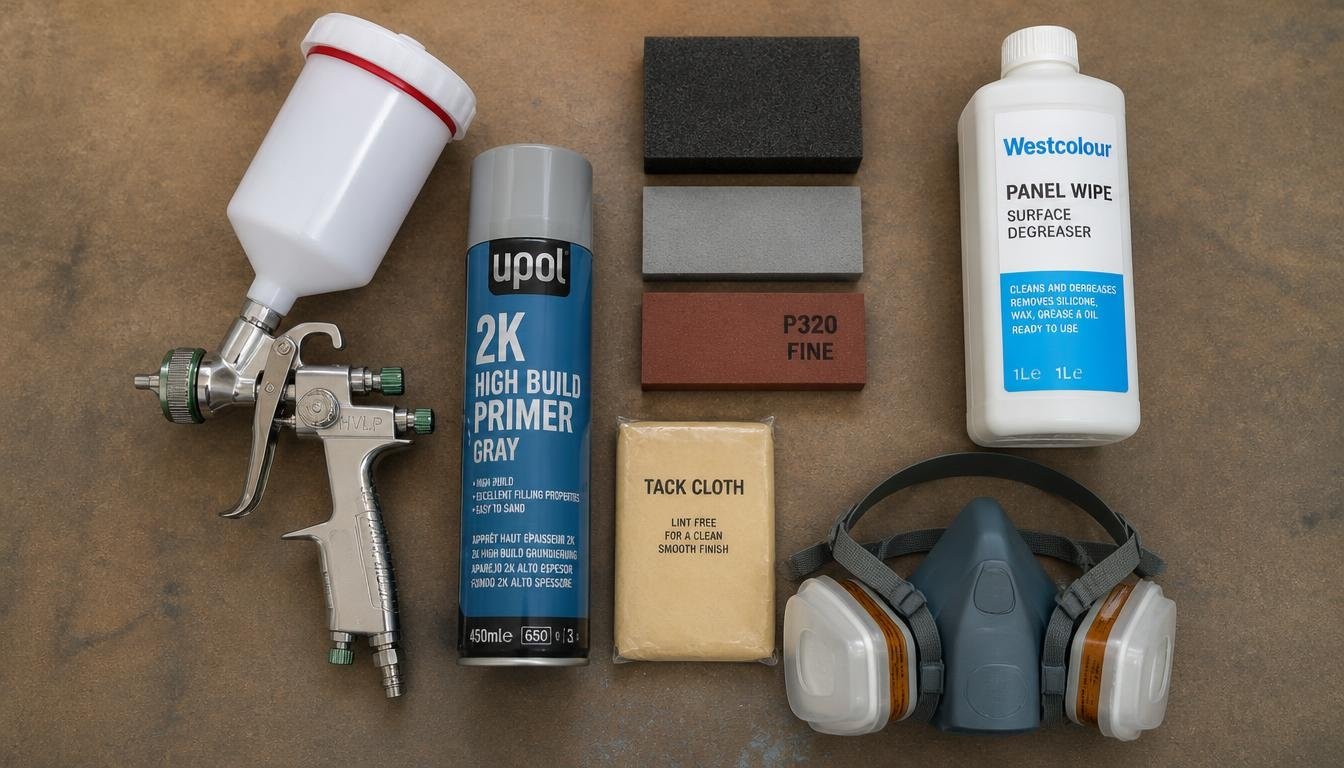
Table of Contents
- How to Spray Paint Kitchen Cabinets: What the Process Involves
- How to Choose the Right Sprayer and Paint
- Best Sprayers for Painting Kitchen Cabinets
- Comparison Table
- Best Approach for Different Cabinet Materials
- How to Spray Paint Kitchen Cabinets Step by Step
- Common Mistakes
- Expert Tips
- Final Verdict
- Frequently Asked Questions
How to Spray Paint Kitchen Cabinets: What the Process Involves
Spraying works by atomizing paint into a fine mist that lands on the surface as a thin, wet film. That film flows together before it dries, which is why sprayed cabinets show no brush strokes. It also means the paint must be thin enough to atomize and applied lightly enough not to run. Our guide to thinning paint for a spray gun explains how to get that balance right.
A cabinet job has four phases. First is prep: removing doors, hinges, and hardware, then degreasing and sanding. Second is priming with a primer matched to your cabinet material. Third is spraying two or three thin topcoats with light sanding in between. Fourth is curing, which is the slow part. Paint can feel dry within hours yet keep hardening for days or weeks, so plan on gentle use until the label says otherwise.
Expect a multi-day project. Most homeowners spend a day on prep, a day on priming, a day or two on topcoats, and several more days waiting before doors go back on. You also need a proper spray space. A garage or workshop with a portable spray paint booth keeps overspray off everything else and dust off wet paint, while a ventilation fan pulls fumes out. Never spray near a pilot light, open flame, or anything that can spark.
How to Choose the Right Sprayer and Paint
Before buying or renting anything, answer three questions.
1. How many doors and drawer fronts do you have? A small galley kitchen with a dozen pieces works fine with a cordless sprayer. A big kitchen with forty or more pieces rewards a faster airless or HVLP setup.
2. What can you power? HVLP guns run from a compressor or a turbine. Check our air compressor guide before assuming the one in your garage is large enough. Airless and cordless units need only an outlet or a battery.
3. How much finish quality do you need? HVLP gives the most control, airless is fastest but less forgiving, and cordless sits in the middle with the simplest setup.
Paint matters as much as the sprayer. Look for a cabinet-grade enamel, such as a waterborne urethane-alkyd, that is rated for spray application, and follow the thinning instructions on the can.
If your home was built before 1978, test the old paint for lead before you sand. The EPA says roughly three-quarters of US homes built before 1978 still contain some lead-based paint, and sanding it creates hazardous dust. The agency’s lead-safe renovation guidance also notes that its RRP rule generally does not cover homeowners working on their own homes, but safe work practices are still worth following.
Best Sprayers for Painting Kitchen Cabinets
Each type below can deliver a good result. The right pick depends on kitchen size, budget, and comfort level.
HVLP Spray Gun
Overview: HVLP (high volume, low pressure) guns use a large volume of air at low pressure to turn paint into a soft, controllable mist. Less paint bounces back, so you get less overspray and better control around edges, raised panels, and inside corners. Furniture refinishers favor them for exactly that reason.
Key Features:
- Fine, adjustable fan pattern
- Handles thinned enamels and primers well
- Gravity-feed cup for steady flow
- Needs a compressor or turbine
Best For: Shaker doors, raised panels, and anyone chasing the smoothest finish.
Pros: ✅ Finest finish ✅ Low overspray ✅ Excellent edge control
Cons: ❌ Needs a properly sized, dry air supply ❌ Takes practice to dial in
Our Verdict: If finish quality is your top priority, this is the one. Browse our top picks in the best HVLP spray gun for home use review.
Airless Paint Sprayer
Overview: Airless sprayers pump paint at high pressure through a small tip, so they cover a lot of area quickly and need no compressor. They are built mostly for walls and ceilings, but with a fine-finish tip and correctly thinned paint they can handle cabinet doors.
Key Features:
- No compressor required
- Very fast coverage
- Handles thicker materials
- Interchangeable tips
Best For: Large kitchens where speed matters more than perfection.
Pros: ✅ Fastest option ✅ Simple power setup ✅ Good on big flat doors
Cons: ❌ More overspray ❌ Less forgiving on small parts ❌ Longer cleanup
Our Verdict: A solid choice if you already own one or are painting a lot of surface. Compare models in our best airless paint sprayer guide.
Cordless Handheld Sprayer
Overview: Battery-powered handheld sprayers remove cords, hoses, and compressors from the equation. Their light weight makes them easy to control, and setup takes minutes.
Key Features:
- No cord or hose
- Quick setup and cleanup
- Light and easy to maneuver
- Battery-limited runtime
Best For: Beginners and small to medium kitchens.
Pros: ✅ Easiest to learn ✅ Portable ✅ Minimal setup
Cons: ❌ Smaller output ❌ Finish is good but not the finest
Our Verdict: The friendliest way into cabinet spraying. See our best cordless paint sprayer roundup.
Aerosol Spray Cans
Overview: Cans need no equipment, but each one covers a limited area, and the spray fan is hard to keep consistent across large flat doors.
Key Features:
- Zero setup
- Wide color range
- Costs add up fast on a full kitchen
Best For: A handful of drawer fronts or a small vanity.
Pros: ✅ Cheap to start ✅ No cleanup
Cons: ❌ Visible banding risk ❌ Expensive at kitchen scale
Our Verdict: Fine for small pieces, but not our pick for a whole kitchen.
Comparison Table
| Sprayer | Best For | Finish Quality | Speed | Learning Curve |
|---|---|---|---|---|
| HVLP gun | Smoothest finish, detailed doors | Excellent | Moderate | Moderate |
| Airless sprayer | Large kitchens | Good | Fast | Moderate to steep |
| Cordless handheld | Beginners, smaller kitchens | Good | Moderate | Easy |
| Aerosol cans | A few small pieces | Fair | Slow | Easy |
Best Approach for Different Cabinet Materials
Your cabinet material decides your primer and prep more than your sprayer does.
Solid Wood (Oak, Maple, Birch)
Wood is the most forgiving base. Oak has an open grain that stays visible through paint, so fill it with grain filler if you want a glass-smooth look. Oak and some other woods can also bleed tannins through water-based paint, which shows up as yellow or brown stains, so use a stain-blocking primer. Our guide on how to spray paint wood covers sanding and sealing in more detail.
Previously Painted or MDF Cabinets
Already-painted cabinets usually need a thorough degrease, a scuff sanding, and a bonding or all-purpose primer. MDF edges soak up moisture and paint, so seal them with primer and lightly sand between coats. Our spray paint primer guide explains which primer type suits which surface, and the sandpaper and sanding sponge guide helps you pick grits.
Laminate and Thermofoil
These glossy, non-porous surfaces are the hardest to paint. Clean them aggressively with a degreaser, scuff the surface, and use a primer made to bond to slick materials. Peeling thermofoil cannot be saved, so replace those doors rather than painting over them.
How to Spray Paint Kitchen Cabinets Step by Step
Step 1: Prepare
Number each door and drawer front with painter’s tape, and mark the matching spot on the cabinet frame. Remove doors, hinges, and pulls, and photograph the layout. Set up your spray area with drop cloths and plastic sheeting, and mask the frames with quality masking tape. Put on a proper respirator before you sand or spray. A paper dust mask will not stop paint vapors.
Step 2: Clean and Sand
Degrease every surface. Kitchen cabinets collect cooking oil that stops paint from bonding. Sand with roughly 180 to 220 grit until the old sheen is gone, fill any dings, then wipe away dust with a tack cloth.
Step 3: Prime and Spray
Strain and thin your paint according to the label, and test your spray pattern on cardboard first. Hold the sprayer about 6 to 8 inches away for HVLP and farther for airless, following your manual. Keep it square to the surface, overlap each pass by about half, and start moving before you pull the trigger.
Spray the back of each door first, let it dry, then flip and spray the edges followed by the face. Apply primer, let it dry, and sand lightly with fine paper, around 320 to 400 grit. Then spray two or three thin topcoats, sanding lightly between them if the label allows.
Step 4: Dry and Cure
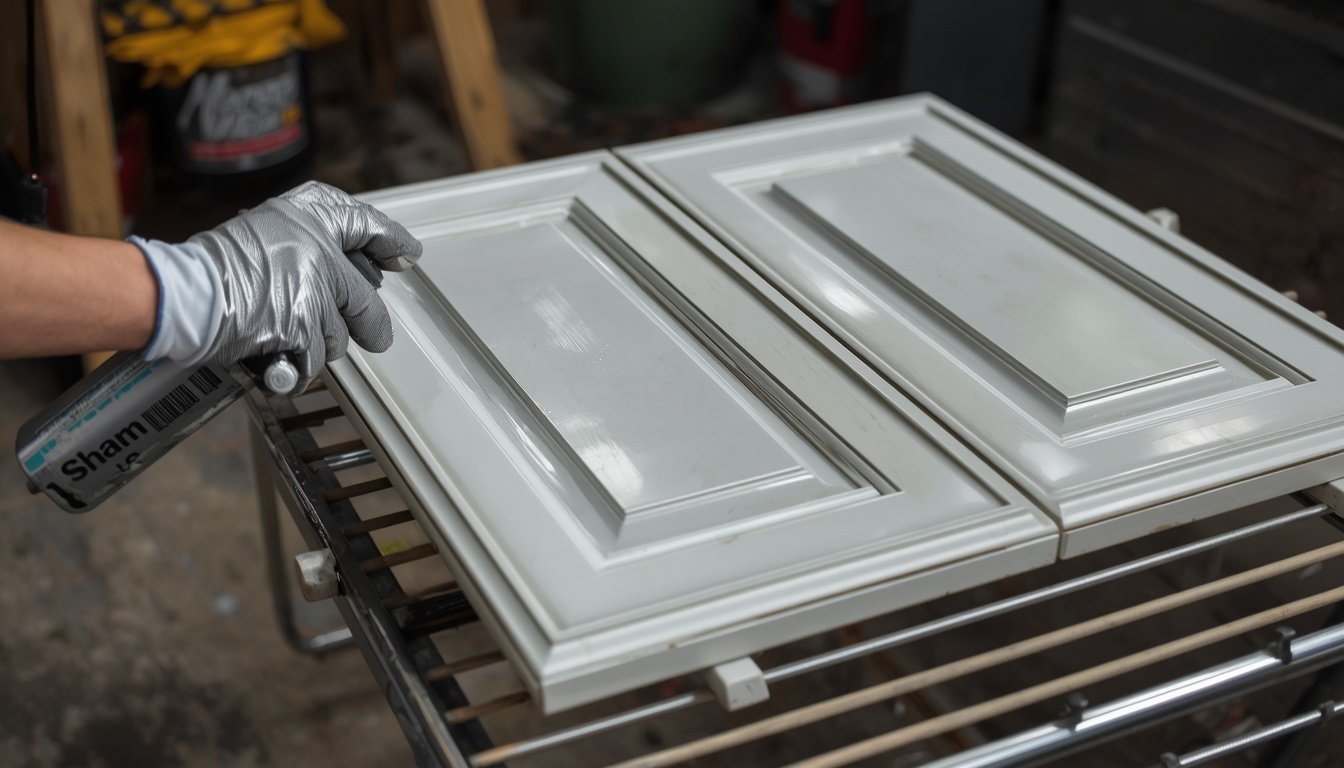
Lay pieces flat on a drying rack in a dust-free, ventilated space. Follow the recoat window on the label. Cool or humid air slows drying and can cloud the finish, so keep conditions moderate. Full cure can take up to a few weeks, so handle freshly painted doors by the edges.
Step 5: Finish and Reinstall
For extra durability in a high-traffic kitchen, consider a protective clear coat compatible with your paint. Reinstall hinges and hardware once the paint is firm, and add soft-close bumpers so doors do not stick to the frame.
Common Mistakes
Skipping primer or prep. Paint over grease or glossy finishes may look fine for a week, then peel at the edges. A matched primer is cheap insurance. Our primer guide shows what to buy.
Spraying too thick. Heavy coats cause runs and sags that harden into permanent bumps. Keep coats light and see our guide to fixing spray paint drips and runs if they happen.
Ignoring moisture and orange peel. Wet air lines cause craters, and a gun set too high or too far away causes a bumpy texture. Install an inline air filter, and read our guide to fixing orange peel.
Expert Tips
Use raking light. Set a work light low and to the side. It exposes dry spots, dust, and uneven coverage before the paint sets.
Use a turntable. Spinning the piece, rather than walking around it, keeps your arm movement consistent. Our turntable guide lists good options.
Practice on a spare door. If you have no spare, use the back of a door. Ten minutes of practice sets your distance, speed, and fan pattern before you reach a visible face.
Final Verdict
Best overall: An HVLP setup for the smoothest finish. Best for speed: An airless sprayer for large kitchens. Best for beginners: A cordless handheld sprayer. Best for tiny jobs: Aerosol cans.
Whatever you pick, patience wins: thorough prep, the right primer, and thin coats matter more than any tool. Once your cabinets are done, consider tackling interior doors, or browse our complete home improvement spray painting guide for your next project.
Frequently Asked Questions
Can you spray paint kitchen cabinets without sanding? Sometimes. A liquid deglosser and a strong bonding primer can replace heavy sanding on previously painted surfaces, but a light scuff sand still gives the best adhesion. Always degrease first.
What is the best sprayer for kitchen cabinets? HVLP gives the finest finish, airless is the fastest, and cordless is easiest for beginners. The best choice depends on your kitchen size and experience.
How long does it take to spray paint kitchen cabinets? Plan on a long weekend for hands-on work, plus extra days of drying. Full cure can take several weeks depending on the paint.
How many coats do I need? One primer coat and two thin topcoats is typical. Dark colors or stained wood may need more.
Do I need to remove the cabinet doors? Yes. Spraying doors flat on a rack gives a more even finish and avoids drips, and it keeps overspray off your kitchen.
Can I spray cabinets inside my house? It is possible with heavy masking, a booth, and strong ventilation, but a garage or workshop is much safer and cleaner. Always wear a proper respirator.
Is spraying better than brushing cabinets? Spraying gives a smoother, more uniform finish with no brush marks, though it takes more setup and masking.
What if I am spraying around kids or pets? Keep them out of the area until fumes clear completely. Read our guide to spray painting around kids and pets.
Author: Rodney Shiner Last Updated: November 2026