
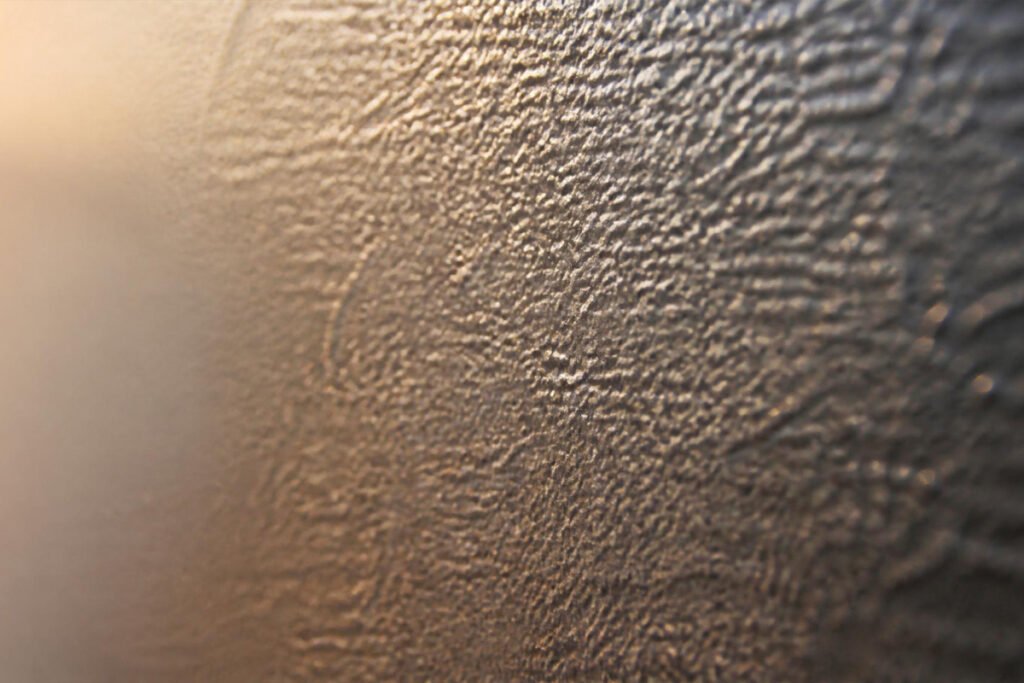
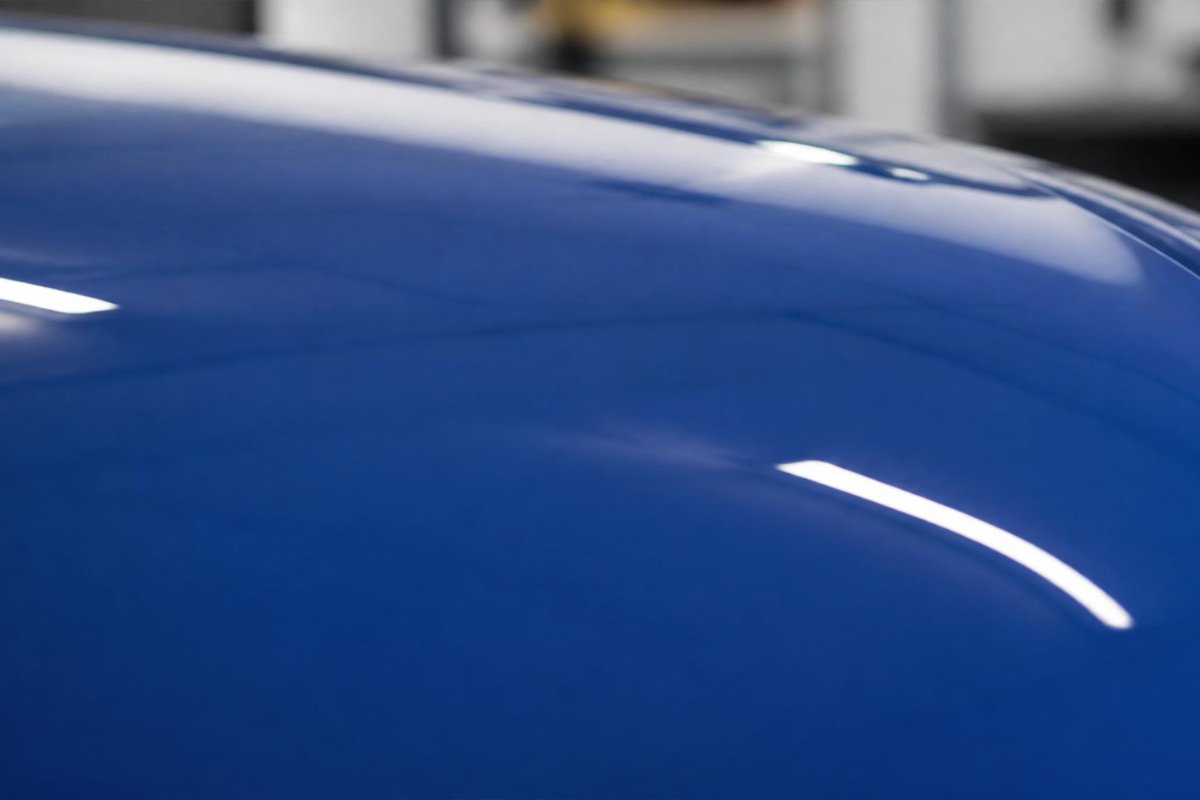
You step back from a project, and instead of the smooth, glassy finish you were picturing, the surface looks like the skin of an actual orange — a fine, bumpy, dimpled texture that catches light unevenly and feels rough under a fingertip. This is orange peel, and it’s one of the most common spray paint problems, showing up on everything from furniture to car panels to freshly painted walls.
The frustrating part is that orange peel usually isn’t caused by bad paint — it’s caused by spray technique, environment, or equipment settings that are easy to get wrong and just as easy to fix once you understand what’s happening. This guide breaks down exactly why orange peel forms, how to diagnose which of several possible causes applies to your specific project, how to repair it on a piece you’ve already finished, and how to prevent it from showing up again on the next one. If you’ve already read our guide on how to get a smooth finish with spray paint, this article goes deeper into this one specific texture problem, since a smooth finish and orange peel-free finish aren’t always quite the same thing to chase.
Quick Answer
Orange peel forms when the outer surface of the paint skins over and dries before it has time to level itself flat, trapping a bumpy texture underneath. The fix depends on severity: light orange peel can often be wet-sanded smooth and buffed without repainting, while heavier texture usually needs a full wet-sand, prime, and re-spray. Prevention comes down to spray distance, paint temperature and thinning, and working in stable, moderate weather conditions.
Table of Contents
- What Is Orange Peel and Why It Happens
- How to Diagnose the Cause Before You Fix It
- Common Causes of Orange Peel
- Cause Comparison Table
- How to Fix Orange Peel on an Already-Painted Surface
- How to Prevent Orange Peel Next Time
- Common Mistakes
- Expert Tips
- Final Thoughts
- Frequently Asked Questions
What Is Orange Peel and Why It Happens
Orange peel is a surface texture defect where wet paint doesn’t have enough time or fluidity to flow out flat before it starts to dry. Instead of settling into a smooth, mirror-like film, the surface sets with thousands of tiny raised bumps and valleys — visually similar to citrus skin, which is where the name comes from.
At a chemical level, every coat of paint needs a window of time while it’s still wet for surface tension to pull it flat. Anything that shortens that window — paint that’s too thick, air that’s too hot or dry, a spray gun held too far away so droplets partially dry mid-air before landing — interrupts that leveling process. The paint skins over on top while it’s still uneven underneath, and that bumpy skin is what you feel and see. This is a different problem from drips or runs, which happen when paint is applied too heavily in one spot rather than too dry — orange peel and runs can occasionally show up on the same project for opposite reasons.
How to Diagnose the Cause Before You Fix It
Before sanding anything, figure out which of the common causes applies to your situation, since the fix and the prevention step are different depending on the root cause:
- Check your spray distance and pattern: if the texture is worse toward the edges of each pass, distance or overlap technique is likely the cause.
- Check the weather and workspace temperature: hot, dry, or windy conditions dry the outer surface too fast almost regardless of technique.
- Check the paint’s viscosity: paint straight from a cold garage is thicker than the label’s test conditions assumed, and thick paint atomizes into larger, drier droplets.
- Check your equipment settings if using an HVLP or airless sprayer: too small a tip or too high a pressure both push paint out in a way that dries before it lands.
Common Causes of Orange Peel
Spraying Too Far From the Surface
Holding the can or gun too far back gives each droplet more time in the air to partially dry before it lands, so it can’t flow into the surrounding paint. This is the single most common cause with aerosol cans and is covered in more depth in our spray painting for beginners guide, which recommends a consistent 10–12 inch distance for most aerosols.
Paint That’s Too Thick or Too Cold
Paint straight out of a cold garage or basement is more viscous than the manufacturer’s tested application conditions, which changes how it atomizes at the nozzle. Letting the can reach room temperature, or thinning paint per the label’s instructions when using a sprayer, restores the flow characteristics the formula was designed around.
Hot, Dry, or Windy Application Conditions
Warm, low-humidity air pulls solvent out of the paint film faster than it can level, essentially forcing it to skin over prematurely. This is why professional shops control both temperature and airflow closely, and why our outdoor spray painting guide recommends avoiding the hottest, windiest part of the day for outdoor projects.
Incorrect Sprayer Settings
On HVLP and airless sprayers, a tip that’s too small for the paint’s viscosity, or air pressure set too high, both atomize paint into smaller droplets that dry faster in transit. Our HVLP vs airless comparison covers how each sprayer type handles different paint thicknesses.
Incorrect Sprayer Settings
On HVLP and airless sprayers, a tip that’s too small for the paint’s viscosity, or air pressure set too high, both atomize paint into smaller droplets that dry faster in transit. Our HVLP vs airless comparison covers how each sprayer type handles different paint thicknesses.
Overlapping Passes Incorrectly
Inconsistent overlap between spray passes leaves some areas with a single thin layer that dries almost instantly and other areas with double coverage that stays wet longer. That inconsistency in how long different parts of the surface remain workable is enough on its own to produce patchy orange peel, even when distance and paint temperature are otherwise correct. Aiming for a consistent 50% overlap on every pass — the same principle used across most of the surface guides on this site — keeps dry time even across the whole panel.
Does Orange Peel Vary by Paint Type?
Different paint chemistries have different natural leveling characteristics, which changes how forgiving or unforgiving they are of small technique errors.
- Lacquers dry extremely fast by design, which makes them prone to orange peel unless application technique is dialed in precisely — but they also buff out to a high gloss more easily than most other paint types once corrected.
- Enamels dry more slowly and self-level better than lacquer, which is part of why enamel is the default recommendation in most of the surface-specific guides on this site, but they’re still susceptible to orange peel in hot or windy conditions.
- Acrylic spray paints sit in between — reasonably forgiving indoors, but more prone to skinning over in direct sun or on very hot days outdoors.
Whichever paint type you’re using, the underlying fix is the same: control the drying window so the film has time to level itself. For surface-specific paint chemistry notes, see our guides on best spray paint for wood and best spray paint for metal.
A Quick Real-World Example
Imagine painting a wooden bookshelf on a warm Saturday afternoon in the driveway. The can has been sitting in the sun, the air is hot and dry, and each pass is sprayed from a comfortable arm’s-length distance to avoid drips. Every one of those conditions independently shortens the paint’s leveling window, and together they almost guarantee a textured, bumpy finish by the time the piece dries — even though nothing about the actual spraying looked wrong in the moment. Moving the same project to a shaded, cooler spot, letting the can sit indoors first, and closing the distance to the recommended 10–12 inches would likely have produced a smooth finish with the identical can of paint. This is the pattern behind most orange peel complaints: no single obvious mistake, just several small factors compounding at once.
Cause Comparison Table
| Cause | Most Common With | Fix Difficulty | Best Fix |
| Spraying too far from surface | Aerosol cans | Easy | Move closer, re-coat with correct distance |
| Paint too thick / cold | Cold garages, thick enamel | Easy | Warm the can, thin per label, re-spray |
| Fast-drying environment | Hot, dry, windy days | Medium | Wet-sand and re-coat in cooler conditions |
| Wrong tip size or pressure | HVLP and airless sprayers | Medium | Match tip size to paint viscosity, adjust PSI |
| Uneven or rushed passes | Beginners, large flat surfaces | Medium | Wet-sand, prime, and re-spray with slower overlap |
How to Fix Orange Peel on an Already-Painted Surface
Step 1: Let the Paint Fully Cure
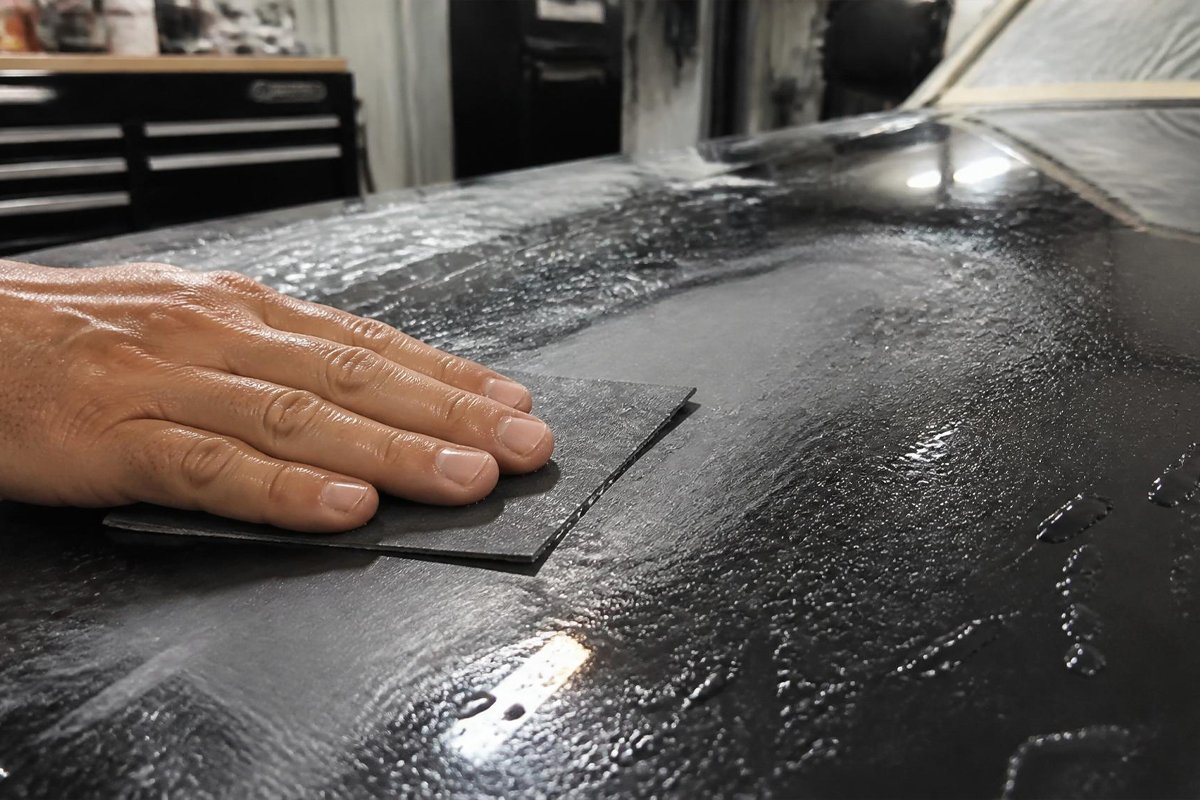
Don’t attempt to sand or correct orange peel on paint that’s still soft — full cure (usually 24–72 hours depending on the product) is necessary before any corrective sanding, or you’ll gum up the sandpaper and gouge the soft film.
Step 2: Wet-Sand the Texture Down
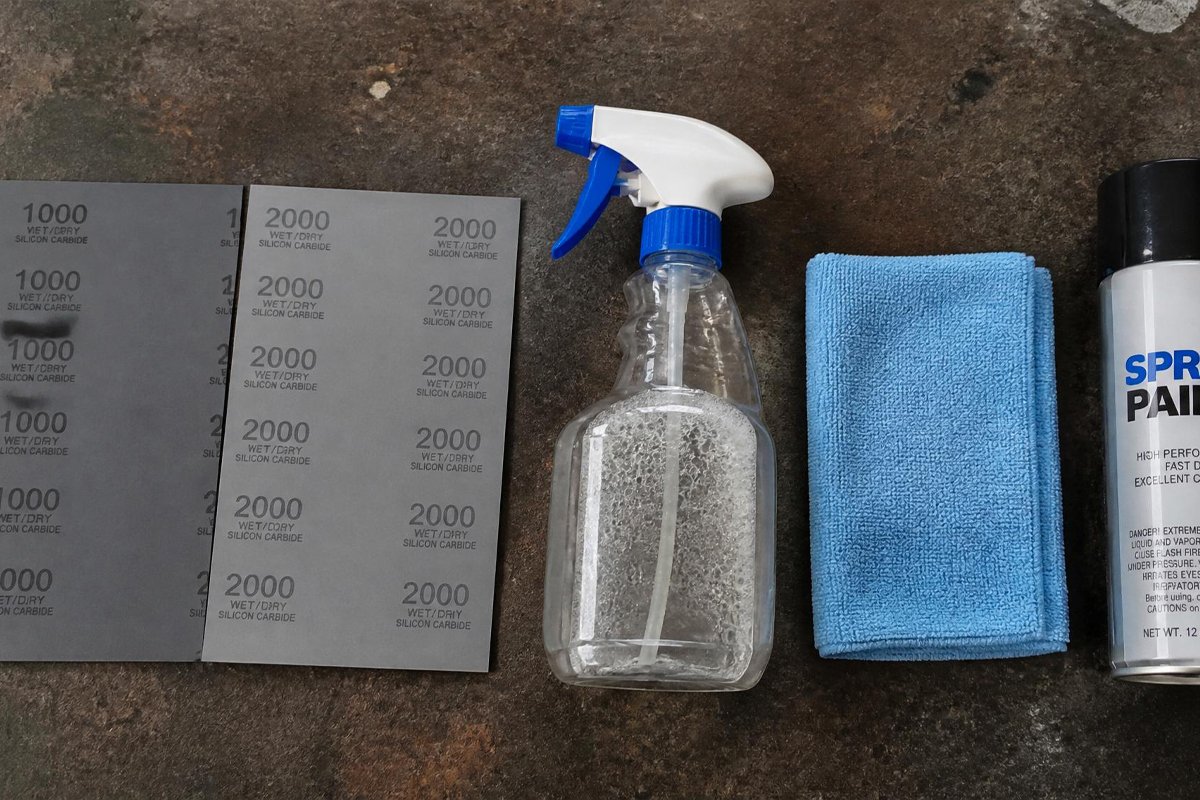
Using 1000–2000 grit wet/dry sandpaper with a spray bottle of soapy water, sand in light, even strokes just until the bumps are leveled and the surface feels smooth and slightly hazy. Keep the surface wet throughout to avoid clogging the paper and to keep the sanding action gentle.
Step 3: Assess Whether You’ve Cut Through the Color Coat
Check regularly as you sand — if you’re cutting through into a different color layer or bare primer, stop immediately in that spot. Light orange peel usually only needs the very top of the texture leveled, similar to correcting minor imperfections covered in our 10 common spray paint mistakes article.
Step 4: Buff or Re-Coat
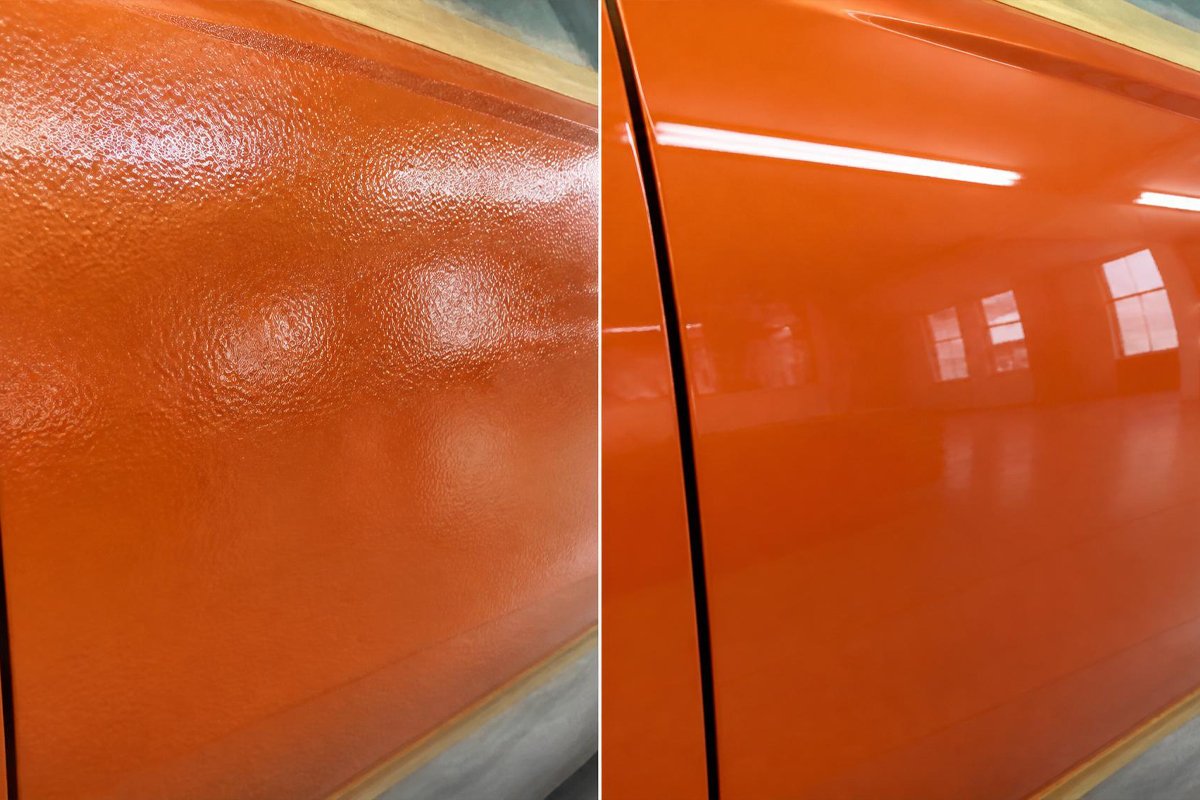
For light texture, buffing the wet-sanded surface with a foam pad and light polishing compound restores gloss without needing to repaint at all. For heavier orange peel that required sanding through multiple layers, clean the dust off, mask surrounding areas, and apply a fresh, thin coat using the corrected technique from the prevention section below.
How to Prevent Orange Peel Next Time
- Hold aerosol cans 10–12 inches from the surface, and HVLP/airless guns at the distance specified for your tip size — closer than recommended causes runs, farther causes orange peel, so consistency matters more than any single number. Marking a piece of tape at the correct distance on your spraying arm before starting is a simple way to keep this consistent across a long session.
- Bring cold paint to room temperature before spraying, and thin per label instructions when using a sprayer rather than straight from the can. A can that’s been sitting in a cold garage overnight can be noticeably more viscous than one stored at room temperature, even though the label doesn’t call this out explicitly.
- Choose a mild-temperature, low-wind day for outdoor projects, or control airflow and temperature indoors if possible. Early morning or early evening, once direct sun has moved off the work surface, is often more forgiving than midday.
- Apply 2–3 thin coats rather than one thick coat, giving each layer its full recoat window so it can level before the next pass. Resist the temptation to load on extra paint to save time — this is one of the most common shortcuts that produces both orange peel and runs on the same project.
- Test your spray pattern and distance on cardboard before starting the actual project, especially with an unfamiliar sprayer or a new can of paint. Even five minutes on a scrap panel can reveal a pressure or distance issue before it shows up on the piece that matters.
Common Mistakes
- Sanding before the paint has fully cured: This gums up sandpaper and can gouge soft paint rather than leveling it — always confirm full cure time on the product label first.
- Sanding too aggressively with coarse grit: Jumping straight to an aggressive grit removes more material than needed and risks cutting through to the layer beneath. Start with a finer grit and work up in aggressiveness only if needed.
- Ignoring the root cause and repainting anyway: Repainting over orange peel without correcting spray distance, paint temperature, or environmental conditions usually reproduces the same texture on the new coat.
- Skipping the test panel: Diving straight into the visible surface of a project without a quick dry run on scrap material means you only discover a distance or pressure problem after it’s already on the piece you care about.
- Working in direct midday sun: Direct sunlight heats the surface well beyond ambient air temperature, shortening the leveling window even when the weather forecast looks perfectly mild.
How Much Time and Sandpaper Does a Correction Take?
A light orange peel correction on a small to medium project — a piece of furniture, a cabinet door, a bike frame — typically takes 30–60 minutes of wet-sanding plus another 15–20 minutes of buffing, and uses very little sandpaper beyond a couple of sheets in the 1000–2000 grit range. Larger flat surfaces like a car hood or a full wall take proportionally longer, often 2–3 hours for a careful full-panel correction. If a full re-spray is needed after sanding through to bare material, budget for the same dry and cure time as the original project, since a rushed re-coat under time pressure is one of the more common ways orange peel reappears on a correction.
Expert Tips
- Keep a small offcut of the same material you’re painting as a test panel — it lets you dial in distance and coat thickness without risking the actual project.
- If you’re working with a sprayer rather than an aerosol, our guide to how airless sprayers work explains how pressure settings specifically affect droplet size and drying time.
- Light orange peel is often invisible from normal viewing distance and only noticeable up close or under raking light — assess whether a full correction is actually necessary before committing to a sand-and-repaint cycle.
Final Thoughts
Orange peel is one of the most fixable spray paint problems out there, because it’s almost always a technique or environment issue rather than a product failure. Best approach for light texture: wet-sand and buff without repainting. Best approach for heavier texture: full wet-sand, prime if needed, and re-spray using corrected distance and thinner coats. Best long-term fix: test your setup on a scrap panel before every new project.
For more on getting a professional-level finish, see our guides on spray paint techniques for a professional finish, how to choose the right spray paint for any project, and how to prevent overspray for related technique fixes.
Frequently Asked Questions
Is orange peel the same as runs or drips?
No. Orange peel is a fine, even bumpy texture across the surface caused by paint drying too fast to level. Runs and drips are localized heavy spots caused by applying too much paint in one area at once — the two problems have opposite root causes.
Can I fix orange peel without sanding?
Very light orange peel sometimes improves with a light buffing pass alone, but most cases genuinely need wet-sanding to physically level the bumps before buffing restores the gloss.
Does orange peel mean the paint is bad quality?
Almost never. Orange peel is overwhelmingly a technique and environment issue — spray distance, paint temperature, or drying conditions — rather than a defect in the paint itself.
How long should I wait before sanding out orange peel?
Always check the product’s full cure time, typically 24–72 hours, before sanding. Sanding too early gums up the paper and can damage the still-soft film underneath.
What grit sandpaper is best for orange peel?
Start around 1000–1500 grit wet/dry paper for most orange peel, moving to 2000 grit for final smoothing before buffing. Coarser grits remove too much material too quickly and risk cutting through the color coat.
Will thinning my paint completely prevent orange peel?
Thinning helps when the paint is too thick or cold, but it won’t fix orange peel caused by spraying too far away or working in hot, dry conditions — those require adjusting technique or environment, not just the paint’s viscosity.
Can orange peel happen with brush painting too?
Orange peel is specifically a spray application texture caused by droplet drying dynamics, so it doesn’t occur with brush painting, though brushes have their own separate texture issues like visible brush strokes.
Is orange peel more common on certain surfaces?
Large flat surfaces like car panels, doors, and walls tend to show orange peel more visibly than smaller or textured surfaces, simply because a flat plane makes any surface irregularity easier to see under raking light — see our wall spray painting guide for large-surface-specific technique tips.
Can primer alone cause orange peel even if my topcoat technique is perfect?
Yes. If the primer coat underneath already has an uneven or textured surface, a perfectly applied topcoat can still telegraph that texture through, especially with glossier finishes. Sanding the primer smooth before applying the topcoat prevents this.
Should I use a different sanding technique on curved or detailed surfaces?
Curved and detailed surfaces are harder to wet-sand evenly with a flat sanding block, so a sanding sponge that can flex into curves works better than a rigid block, and extra care should be taken not to over-sand raised edges, which cut through paint layers faster than flat areas.
Author: Rodney Shiner
Last Updated: July 2026