
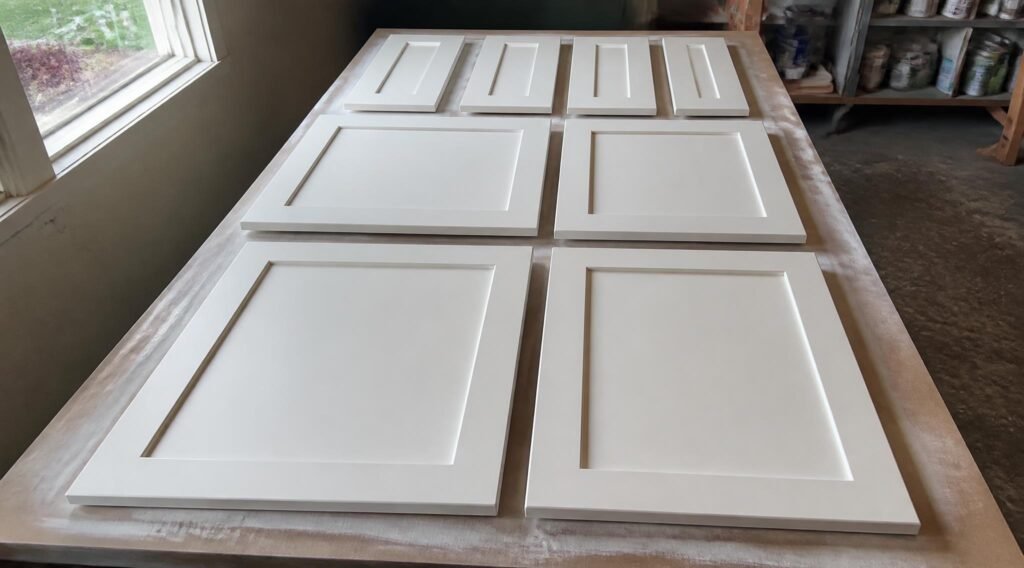
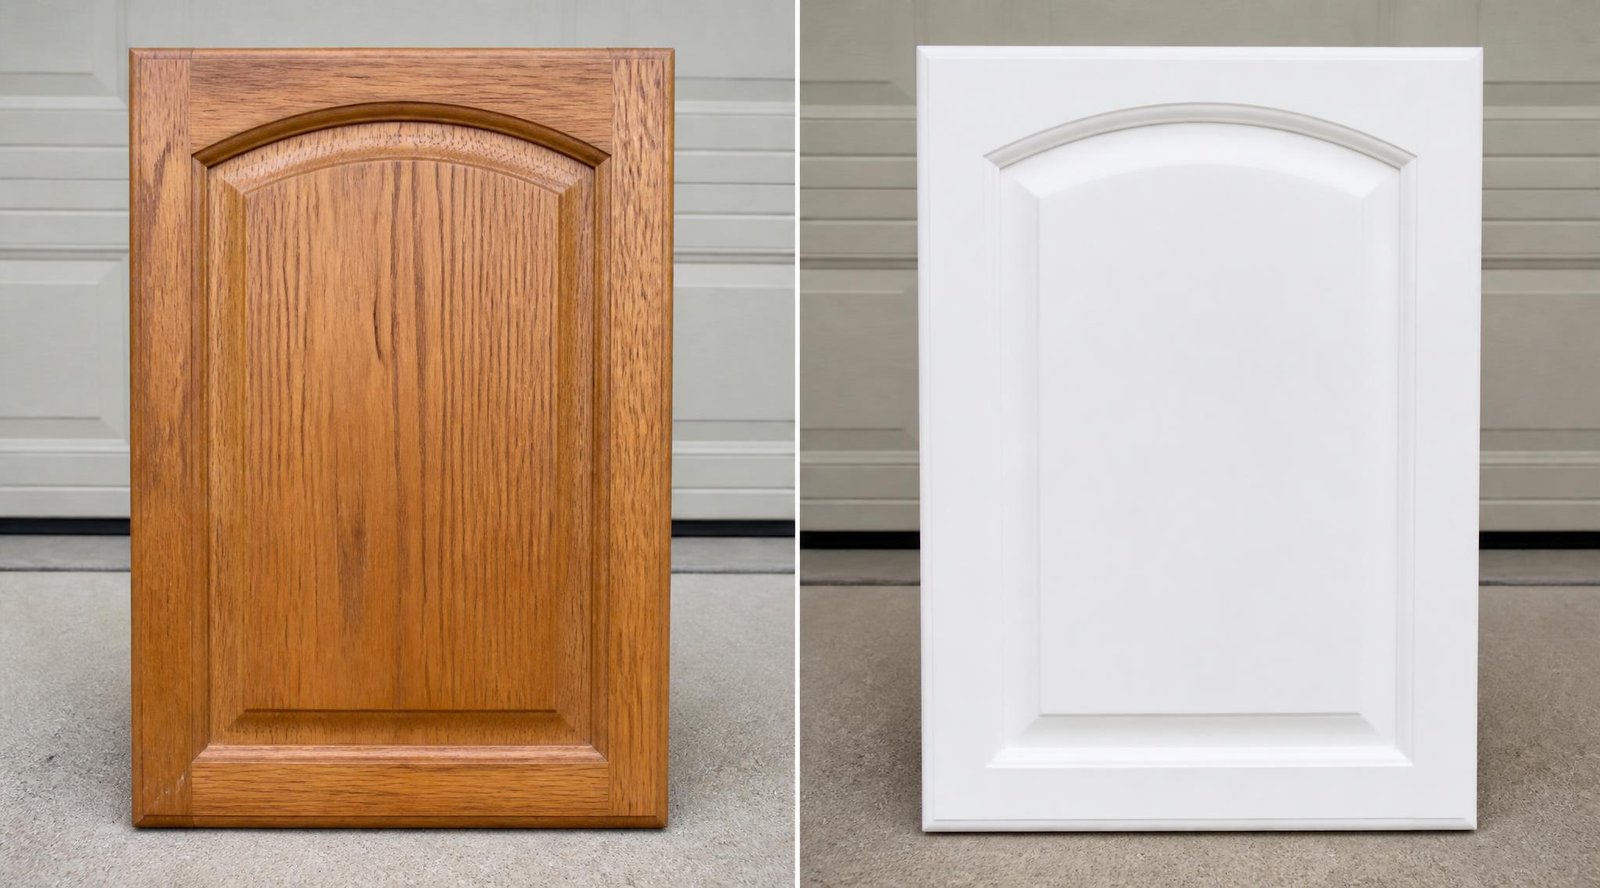
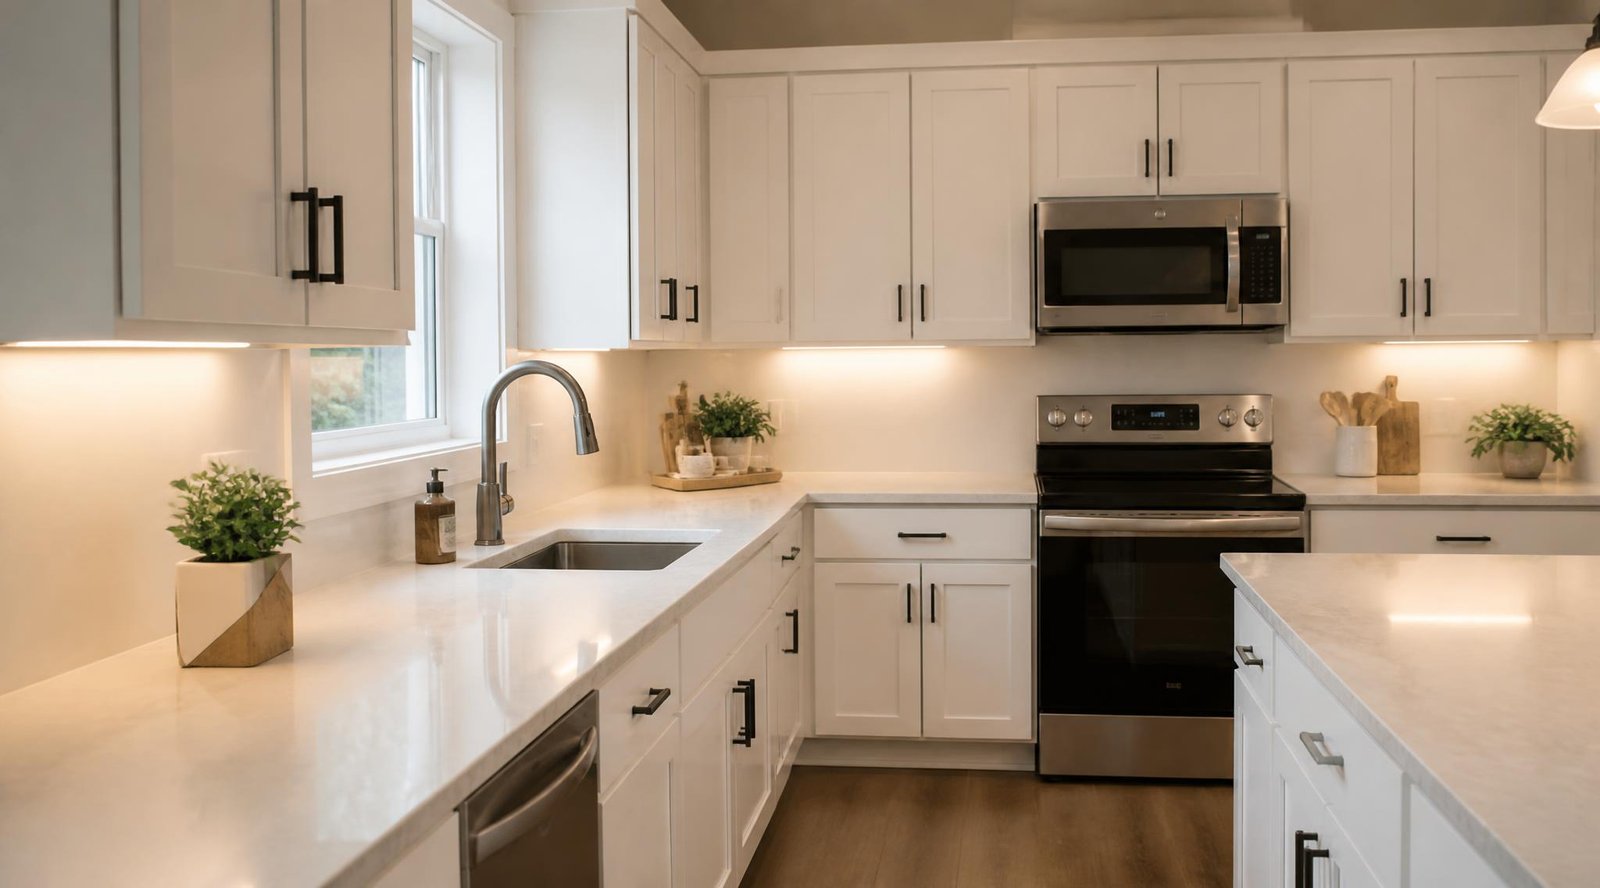
A full cabinet replacement routinely runs $8,000–$25,000, but the boxes underneath most dated kitchens are structurally fine — it’s the finish that’s failed. Spray painting kitchen cabinets is the single highest-leverage kitchen upgrade a DIYer can take on: a few hundred dollars in materials and a long weekend can turn oak-orange 1990s doors or chipped builder-grade white into something that looks like a $15,000 refacing job.
It’s also one of the most failure-prone projects in home spray painting. Kitchen cabinets get more daily handling, grease exposure, and moisture than almost any other painted surface in a house, which means shortcuts that survive on a fence or a dresser show up fast here — as peeling near the sink, tacky drawer fronts, or brush-mark-like stipple that never should have happened with a sprayer in the first place. Most of these failures trace back to skipping degreasing, using a roller-grade primer instead of one built for slick surfaces, or rushing cure time before rehanging doors.
This guide walks through the full process: choosing the right spray paint type and primer, picking equipment, prepping cabinet boxes and doors correctly, and applying a finish that holds up to years of daily kitchen use.
Quick Answer
The best approach for spray painting kitchen cabinets depends on your setup. If you have a garage or basement to stage doors flat and can invest in an HVLP spray gun, that combination gives the smoothest, most factory-like result with the least overspray. If you’re working in place without a dedicated staging area, a self-leveling cabinet-grade aerosol enamel applied in thin coats is more forgiving, though it costs more per square foot and won’t atomize quite as fine. Either way, the finish lives or dies on degreasing and priming — skip either step and no amount of topcoat quality will save the result.
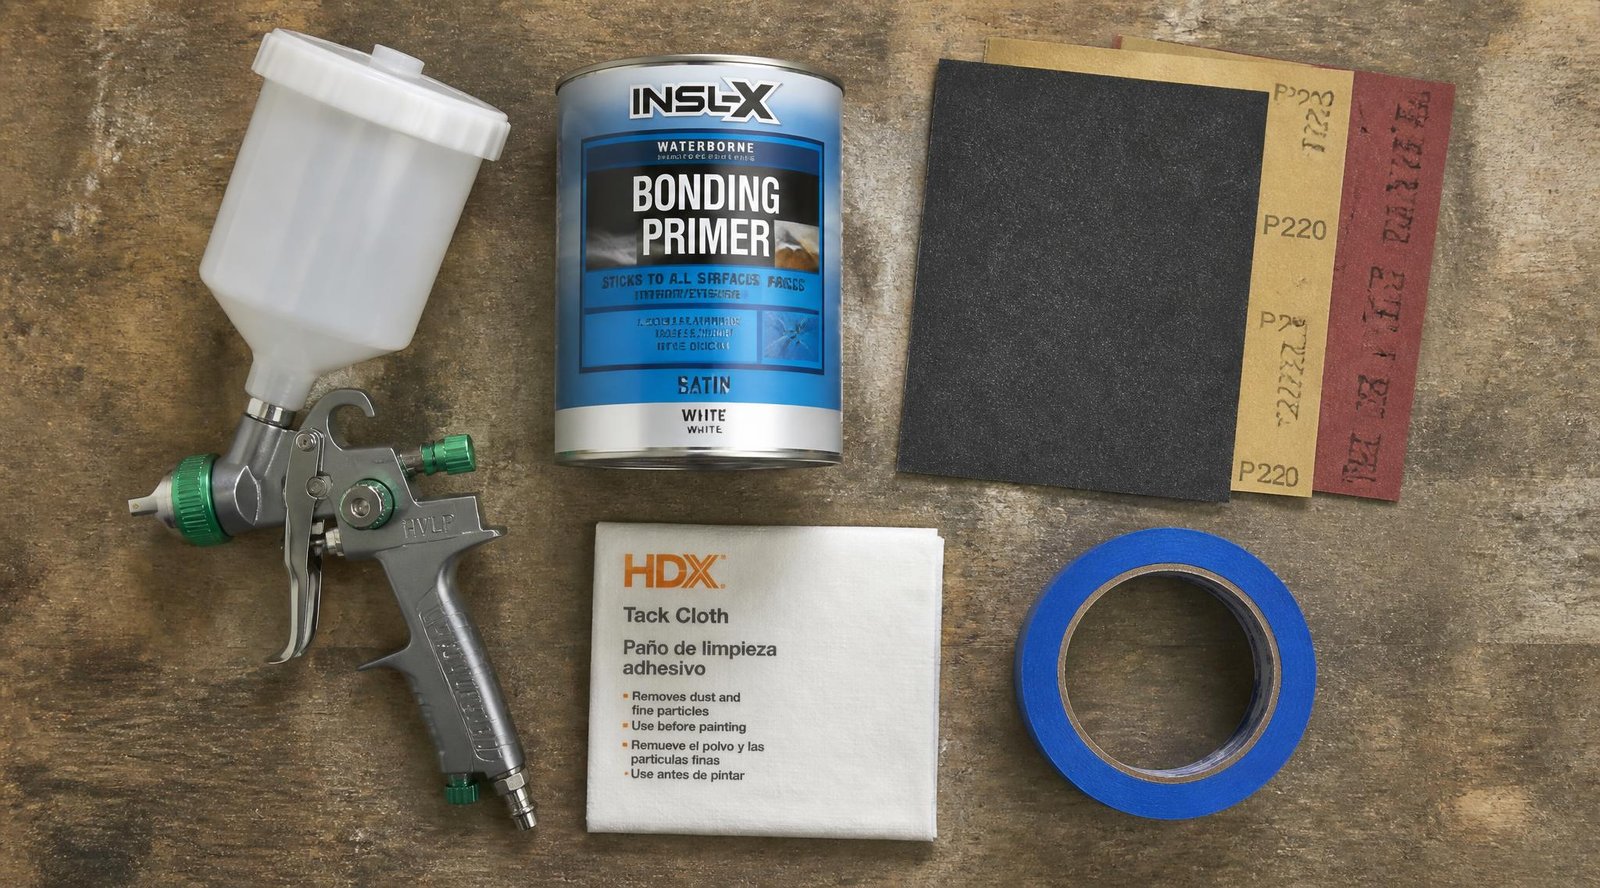
Table of Contents
- How Spray Painting Cabinets Works
- How to Choose the Right Paint and Equipment
- Best Products for Cabinet Painting
- Comparison Table
- Cabinet Painting by Material Type
- How to Spray Paint Cabinets Correctly
- Common Mistakes
- Expert Tips
- Final Verdict
- Frequently Asked Questions
How Spray Painting Cabinets Works
Cabinet doors and face frames are almost always finished with an existing coat — factory lacquer, polyurethane, or old latex — that new paint has to bond to. Unlike raw wood, that existing finish is often slick and, over years of cooking, coated in an invisible layer of aerosolized grease that repels paint no matter how good the product is. This is why cabinet painting fails more often than furniture painting: the surface looks clean but chemically isn’t.
A proper cabinet finish is really three layers working together — a degreased and scuff-sanded substrate, a bonding primer that grabs onto the old finish and blocks tannin bleed-through (especially on oak), and a durable topcoat, usually a cabinet-specific acrylic enamel or waterborne alkyd, applied thin enough in multiple coats to self-level without running. Spraying, rather than brushing or rolling, matters here because cabinet doors show every brush stroke and roller stipple under kitchen lighting in a way a wall or fence never will.
How to Choose the Right Paint and Equipment
Ask yourself three questions before buying anything:
How many doors and drawer fronts are you painting? A full kitchen (25+ pieces) justifies renting or buying an HVLP setup; a small bathroom vanity or single cabinet run can be handled with quality cabinet-grade aerosols.
Do you have space to remove and lay doors flat? Spraying in place (hinges on, doors closed) is faster but limits you to thin coats and risks overspray on countertops and floors. Removing doors to a garage or spare room gives a noticeably better finish.
What’s the current finish? Bare or lightly finished wood needs less aggressive deglossing than cabinets with heavy factory lacquer or oil-based paint, which need a genuine bonding primer, not just a light sand — see our guide on choosing the right spray paint for any project for more on matching product to substrate.
For an authoritative reference on VOC content and ventilation requirements when spraying indoors, the EPA’s guidance on volatile organic compounds is worth a look before you start — cabinet projects often happen indoors in a closed kitchen, which raises exposure risk compared to an open garage.
Best Products for Cabinet Painting
1. HVLP Spray Gun (Gravity-Feed)
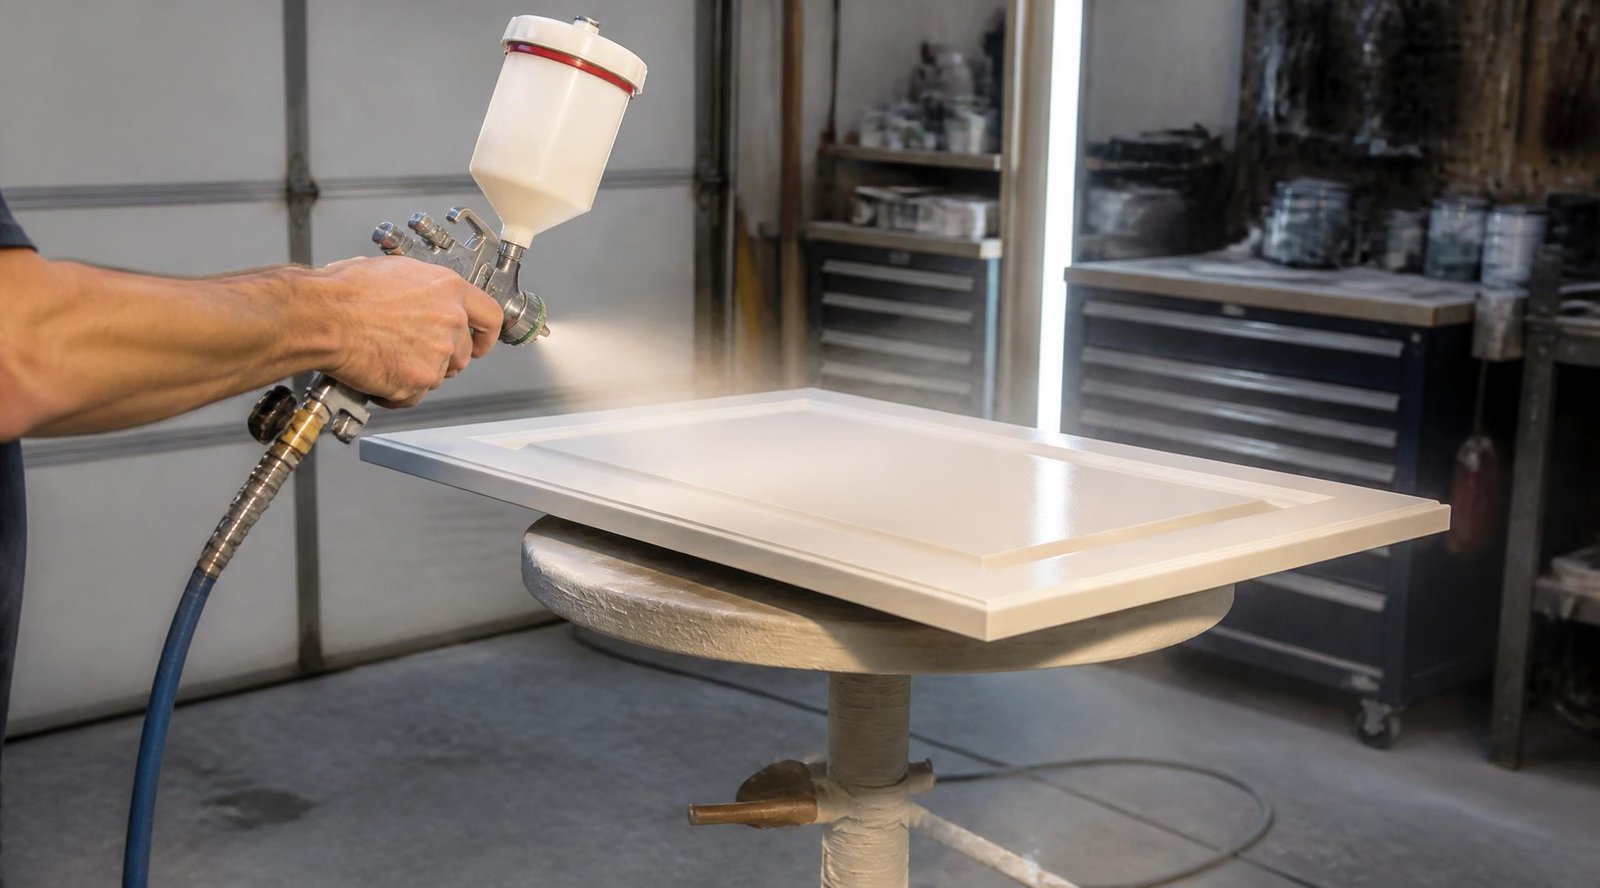
Overview: A gravity-feed HVLP gun is the closest a DIYer gets to a factory finish. It atomizes cabinet-grade enamel into a fine, even mist with minimal overspray compared to airless sprayers, which matters enormously when you’re working near appliances and countertops.
Key Features:
- Adjustable fan pattern for doors vs. face frames
- 1.3–1.5mm tip size ideal for enamels and lacquers
- Detachable cup for easy cleanup between coats
Best For: Full kitchen remodels, anyone spraying more than 15–20 pieces
Pros: ✅ Smoothest achievable finish ✅ Fine control on detail work like raised panels ✅ Reusable for future projects Cons: ❌ Requires a compressor or turbine and a learning curve ❌ Needs a well-ventilated space
Our Verdict: Worth the investment if you’re doing a full kitchen — see our full HVLP spray gun buying guide for model recommendations and CFM requirements.
2. Cabinet-Grade Bonding Primer
Overview: A stain-blocking, adhesion-promoting primer designed to grip glossy factory finishes and block tannin bleed from oak or knotty pine — regular wall primer will not do this reliably.
Key Features:
- Bonds without heavy sanding
- Blocks tannin and grease-stain bleed-through
- Sandable to a smooth base coat
Best For: Any cabinet with an existing factory finish, especially oak
Pros: ✅ Prevents the single most common cabinet-paint failure ✅ Improves topcoat adhesion dramatically Cons: ❌ Slower dry time than standard primer ❌ Strong odor requiring ventilation
Our Verdict: Non-negotiable step — see our complete primer guide for surface-specific picks.
3. Waterborne Acrylic-Alkyd Enamel
Overview: The modern standard for cabinet topcoats — combines the flow and leveling of oil-based paint with water cleanup and lower odor.
Key Features:
- Self-leveling to hide minor spray texture
- Cures to a hard, washable shell over 2–3 weeks
- Available in satin, semi-gloss, and matte
Best For: Kitchen and bathroom cabinets that see daily handling and grease exposure
Pros: ✅ Extremely durable once fully cured ✅ Low odor compared to oil-based enamel Cons: ❌ Needs full cure time before heavy use ❌ More expensive per can than standard spray paint
Our Verdict: The best balance of durability and workability for most home kitchens — if you’re unsure which sheen or type fits your surface, our types of spray paint guide breaks down the differences.
4. Fine-Grit Sandpaper and Deglosser
Overview: Between-coat scuffing and initial degloss are what let each layer actually bond instead of just sitting on top of a slick factory finish.
Key Features:
- 220-grit for scuff sanding between coats
- Liquid deglosser for detail areas sanding can’t reach
- Sanding sponges for curved profiles
Best For: Every cabinet project, regardless of paint choice
Pros: ✅ Cheap insurance against peeling ✅ Works on profiles a sander can’t reach Cons: ❌ Time-consuming across a full kitchen’s worth of doors
Our Verdict: Don’t skip this even if the primer label says “no-sand” — a light scuff still improves adhesion. A spray gun cleaning kit also pays for itself once you’re running multiple coats through the same gun.
5. Turntable or Door Stand for Spraying
Overview: Lets you rotate doors and drawer fronts to spray edges and faces without repositioning yourself constantly, which reduces holidays (missed spots) and inconsistent coat thickness.
Key Features:
- Rotating base rated for door weight
- Adjustable height for face frames vs. doors
- Some models double as drying racks
Best For: Anyone spraying more than a handful of doors
Pros: ✅ Faster, more even coverage ✅ Reduces fatigue on large jobs Cons: ❌ Extra equipment cost for a one-time project
Our Verdict: See our turntable buying guide — genuinely worth renting or buying for a full kitchen.
Comparison Table
| Product | Best For | Skill Level | Durability | Relative Cost |
|---|---|---|---|---|
| HVLP Spray Gun | Full kitchens | Intermediate | High | $$$ |
| Cabinet Bonding Primer | Any factory-finished cabinet | Beginner | High (prevents failure) | $$ |
| Waterborne Acrylic-Alkyd Enamel | Daily-use kitchens/baths | Beginner–Intermediate | Very High | $$$ |
| Fine-Grit Sandpaper/Deglosser | Every project | Beginner | N/A (prep step) | $ |
| Turntable/Door Stand | 15+ doors | Beginner | N/A (equipment) | $$ |
Cabinet Painting by Different Cabinet Types
Oak and Wood-Grain Cabinets
Oak’s open grain telegraphs through thin coats and its tannins bleed through standard primer within weeks, showing up as yellow-brown blotches. Use a dedicated stain-blocking primer and consider a grain filler if you want a fully smooth, modern look rather than a preserved wood-grain texture. Two full primer coats, sanded between, are worth the extra day.
Laminate and Thermofoil Cabinets
Laminate is essentially plastic and needs the same approach as our guide on how to spray paint plastic: a bonding primer specifically rated for slick, non-porous surfaces, applied after a thorough degrease and scuff sand. Skipping this step is the single most common reason laminate cabinet paint peels in sheets within a season.
MDF and Painted Wood Cabinets
MDF edges absorb moisture and swell if not sealed properly before spraying — seal raw MDF edges with a shellac-based primer before your bonding primer coat. Previously painted wood cabinets generally take new paint well after a scuff sand, following the same process as our general wood spray painting guide.
How to Spray Paint Kitchen Cabinets Correctly
For a safety reference on solvent and aerosol exposure limits during indoor spray work, OSHA’s page on respiratory protection standards is a useful baseline before working in an enclosed kitchen.
Step 1: Remove and Label Everything
Take off doors, drawer fronts, and hardware. Number each door and its corresponding cabinet opening with painter’s tape so nothing gets mismatched during reinstall — this single step saves more frustration than any painting technique.
Step 2: Degrease Thoroughly
Wipe every surface with a degreasing cleaner (TSP substitute works well), rinse, and let dry completely. Kitchen cabinets carry invisible cooking grease even when they look clean, and paint will not bond through it.
Step 3: Sand and Prime
Scuff-sand all surfaces with 220-grit, wipe down with a tack cloth to remove dust, then spray on a bonding primer in thin, even passes. Let it cure fully and sand lightly again before topcoating.
Step 4: Spray Thin, Even Topcoats
Apply 2–3 thin coats of your chosen enamel rather than one heavy coat — thin coats self-level and avoid drips far more reliably. Mask off surrounding countertops and appliances with quality masking tape and film before you start.
Step 5: Cure Before Rehanging
Most cabinet enamels are dry-to-touch in hours but need 2–3 weeks to fully cure and reach their rated hardness. Rehang doors after the recommended dry time, but avoid heavy scrubbing or stacking anything against painted surfaces until full cure is complete.
Common Mistakes
Skipping degreasing. Even cabinets that look spotless carry a thin film of aerosolized cooking oil that repels paint. Always degrease before sanding, not after — see our full breakdown in 10 common spray paint mistakes.
Using the wrong primer for oak. A standard multi-surface primer won’t block tannins, and the yellow bleed-through often doesn’t show up until weeks later, forcing a full redo.
Spraying too thick to save time. Heavy coats cause the same orange peel texture common on other surfaces, and it’s much more visible on flat cabinet doors under kitchen lighting than on a curved or textured piece.
Spraying without checking air moisture. Humidity swings cause the same clouding and extended tack time on cabinet enamel as on any other finish — a cheap hygrometer in your workspace takes the guesswork out of it.
Expert Tips
Spray doors flat, not vertically. Laying doors flat on a turntable reduces drips and gives paint more time to level before gravity pulls it down, especially with self-leveling enamels.
Back-brush profile details only if necessary. For raised-panel doors with deep grooves, a very light touch-up with a foam brush in tight corners after spraying can catch spots the gun’s fan pattern missed — but keep this minimal since brush marks are exactly what spraying is meant to avoid.
Test your color and sheen on a scrap door first. Cabinet paint dries to a different sheen and shade than it appears wet, and this is much cheaper to discover on a spare drawer front than on all 30 kitchen doors.
Give doors somewhere clean to dry. A proper drying rack keeps wet doors from picking up dust or sticking to a flat surface while they cure.
Final Thoughts
Best overall: An HVLP gravity-feed sprayer with a dedicated bonding primer and waterborne acrylic-alkyd topcoat — this combination gives the most factory-like result for a full kitchen. Best budget: High-quality cabinet-grade aerosol enamel with a brush-on bonding primer, for smaller jobs like a single vanity or pantry cabinet. Best for beginners: Start with a single drawer front as a test piece using the full process before committing to every door in the kitchen.
Whatever route you choose, the finish depends far more on prep — degreasing, sanding, and priming — than on the specific brand of paint in the can. Get those steps right and even a modest topcoat will outperform an expensive one applied over grease and gloss. For safety while spraying indoors, pair this project with our guides on respirators and masks, portable ventilation fans, and disposable coveralls to keep overspray off your clothes during a multi-day job.
<a name=”faq”></a>Frequently Asked Questions
Do I need to prime kitchen cabinets before spray painting? Yes, almost always. Cabinets typically have an existing factory finish that new paint won’t bond to without a dedicated bonding primer, and skipping this step is the most common cause of peeling within months.
How long does spray-painted cabinet paint take to cure? Most cabinet enamels are dry-to-touch within a few hours but need 2–3 weeks to fully cure to their rated hardness. Avoid heavy use, scrubbing, or stacking items against the surface until that window passes.
Is HVLP better than aerosol cans for cabinets? For a full kitchen, yes — HVLP gives finer atomization and more control over coat thickness across many doors. For a single small cabinet or vanity, quality cabinet-grade aerosols can achieve a comparable result with less equipment investment.
Can I spray paint laminate or thermofoil cabinets? Yes, but they require the same approach as painting plastic: a bonding primer rated for slick, non-porous surfaces after thorough degreasing and scuff sanding, or the paint will peel in sheets.
Do I need to remove cabinet doors to spray them, or can I paint them in place? Removing doors and laying them flat gives a smoother, more even result and better access to edges, but painting in place is possible for small touch-ups if you mask surrounding surfaces carefully and accept a slightly less uniform finish.
How many coats of paint do kitchen cabinets need? Typically one to two coats of primer and two to three thin coats of topcoat. Thin, multiple coats self-level better and are far less prone to drips or orange peel than one thick coat.
Why is my cabinet paint peeling near the sink and stove? These areas see the most grease and moisture exposure, which is exactly why thorough degreasing before painting matters most there — a rushed cleaning step usually shows up first in these high-exposure zones.
What sheen should I use for kitchen cabinets? Satin or semi-gloss is standard for cabinets — glossier sheens wipe clean more easily and resist grease better than matte finishes, which show fingerprints and are harder to clean.
Do I need special ventilation to spray paint cabinets indoors? Yes. Even low-VOC cabinet enamels release fumes that build up quickly in an enclosed kitchen, so cross-ventilation or a portable exhaust fan and a properly rated respirator are essential if you’re not working in a garage.
Can I paint over cabinet hardware instead of replacing it? It’s possible with the right bonding primer for metal, but most results look and wear better with new or professionally refinished hardware, since factory hinge and knob finishes are typically far harder than what a home sprayer can replicate.
What compressor size do I need to spray cabinets with an HVLP gun? Most gravity-feed HVLP guns run comfortably on a mid-size compressor rated for consistent CFM at low pressure — check our air compressor guide for sizing that matches typical cabinet-gun tip requirements.
Author: Rodney Shiner Last Updated: September 2026