
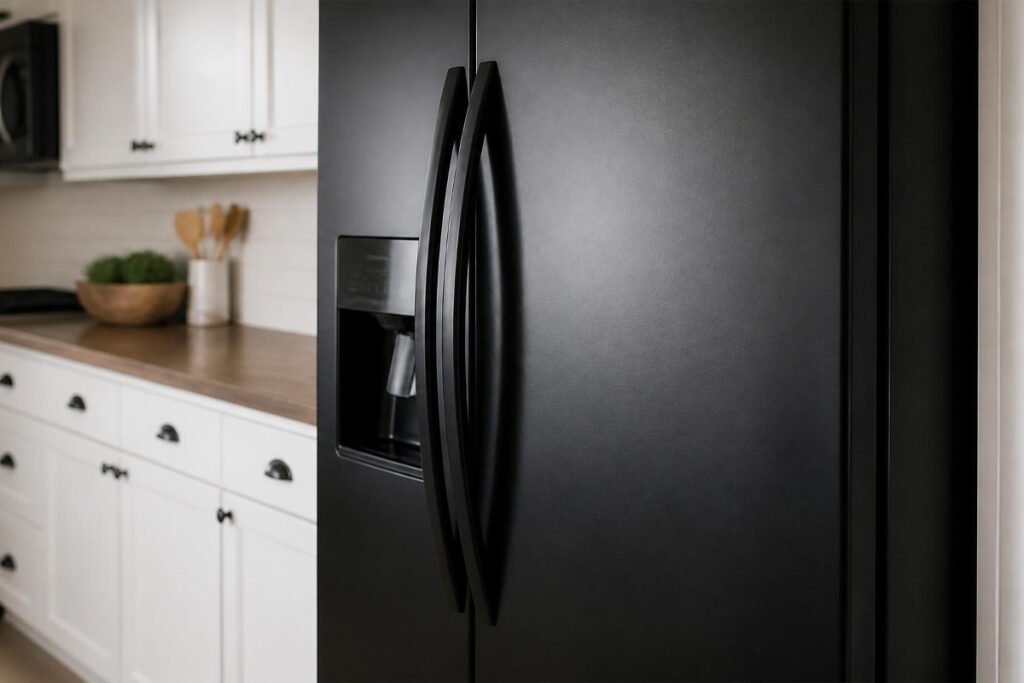
Replacing a full set of kitchen appliances just because the color no longer matches your renovation is one of the most expensive ways to solve a purely cosmetic problem. A perfectly functional refrigerator, dishwasher, or washer and dryer set can look brand new again with the right prep and the right paint — often for under $100 in materials and a single weekend of work, instead of thousands on new appliances.
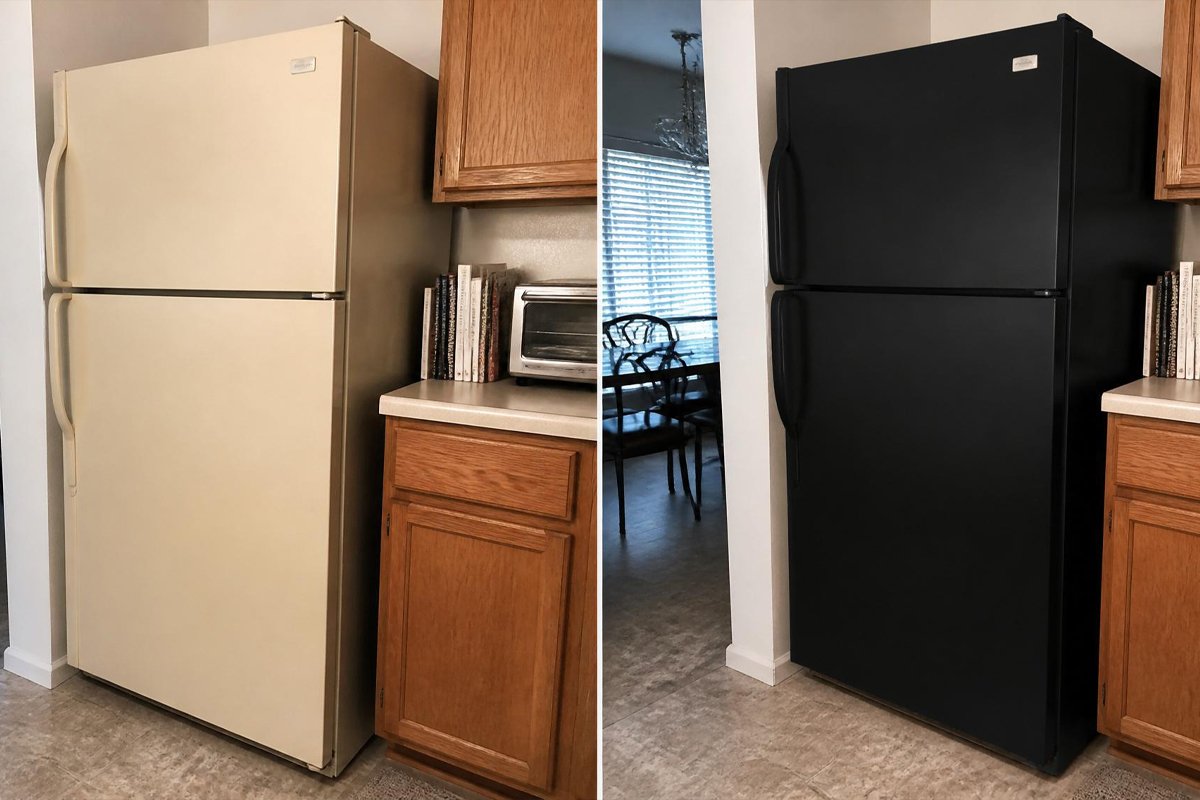
This has become an especially popular move during kitchen remodels where every appliance is only a few years old and works perfectly, but a single outdated finish (black stainless, almond, or an older bisque tone) clashes with new cabinetry or countertops. Rather than replacing appliances that have years of useful life left, a proper repaint solves the mismatch at a fraction of the cost, environmental impact, and installation hassle of buying new units.
This guide covers the specific challenges of painting appliances — their glossy factory finish, exposed hardware and controls, and the daily handling they see — along with the exact products and steps that hold up to real kitchen use. If you’re also refreshing cabinets or other metal surfaces in the same renovation, the prep principles here carry over directly.
Quick Answer
The best paint for kitchen appliances is a dedicated appliance epoxy enamel, not standard spray paint — appliances need a finish that resists moisture, heat, scratching, and repeated cleaning in a way most general-purpose paints aren’t built for. Refrigerators and dishwashers typically need light sanding and a bonding primer before color coats, while range hoods need extra degreasing to remove baked-on kitchen grease before paint will properly adhere.
Table of Contents
- Why Appliances Need a Different Paint Than Furniture or Walls
- How to Choose the Right Paint for Your Appliance
- Appliance Comparison Table
- How to Spray Paint a Refrigerator
- How to Spray Paint a Dishwasher, Washer, and Dryer
- How to Spray Paint a Range Hood
- Common Mistakes
- Expert Tips
- Final Thoughts
- Frequently Asked Questions
Why Appliances Need a Different Paint Than Furniture or Walls
Kitchen appliances are finished at the factory with a baked-on enamel or powder coat specifically engineered to resist scratching, moisture, and the daily wear of handles being touched dozens of times a day. That factory finish is also extremely glossy and low-porosity, which means standard spray paint has almost nothing to physically grip onto without the right prep — a problem covered in more general terms in our types of spray paint guide. A dedicated appliance epoxy enamel is formulated specifically to bond to this kind of glossy factory surface and to hold up to the same moisture and handling an appliance sees every day.
Appliances also involve more complexity than a flat panel: door handles, control knobs, seals and gaskets, and sometimes curved or textured surfaces that all need to be masked, removed, or worked around individually.
How to Choose the Right Paint for Your Appliance
Before starting, answer three questions:
- What’s the appliance’s surface made of? Most modern appliances are painted steel or stainless steel, though some have plastic trim or panels that need a separate plastic-compatible primer.
- Will it face direct heat or heavy grease, like a range hood or stove-adjacent panel? These need a heat-resistant formula and extra degreasing versus a fridge or washer, which stays close to room temperature.
- Are you changing color dramatically or just refreshing the same tone? A major color change (black to white, or vice versa) benefits from a stain-blocking primer coat first, the same principle covered in our metal spray painting guide.
Appliance Comparison Table
| Appliance | Best Paint Type | Prep Difficulty | Avg. Cans Needed |
| Refrigerator | Appliance epoxy enamel | Medium (handles, seals) | 3-4 cans |
| Dishwasher (front panel) | Appliance epoxy enamel | Low | 1-2 cans |
| Washer / Dryer | Appliance epoxy enamel | Medium (control panel masking) | 2-3 cans |
| Range hood (metal) | Heat-resistant enamel | Medium (grease removal) | 1-2 cans |
How to Spray Paint a Refrigerator
Step 1: Prep the Space and Empty the Fridge
Unplug the refrigerator and remove all food, giving yourself a day or two to plan around this downtime. Move the fridge away from the wall if possible for full access to the sides, and lay down a large drop cloth.
Step 2: Remove Handles and Mask Everything Else
Take off door handles if they’re removable, and mask door seals, the control panel, and any glass or plastic trim you don’t want painted. Painter’s tape and plastic sheeting work well for the seals specifically, since paint bonding to a rubber gasket can cause it to crack later.
Step 3: Clean and Sand
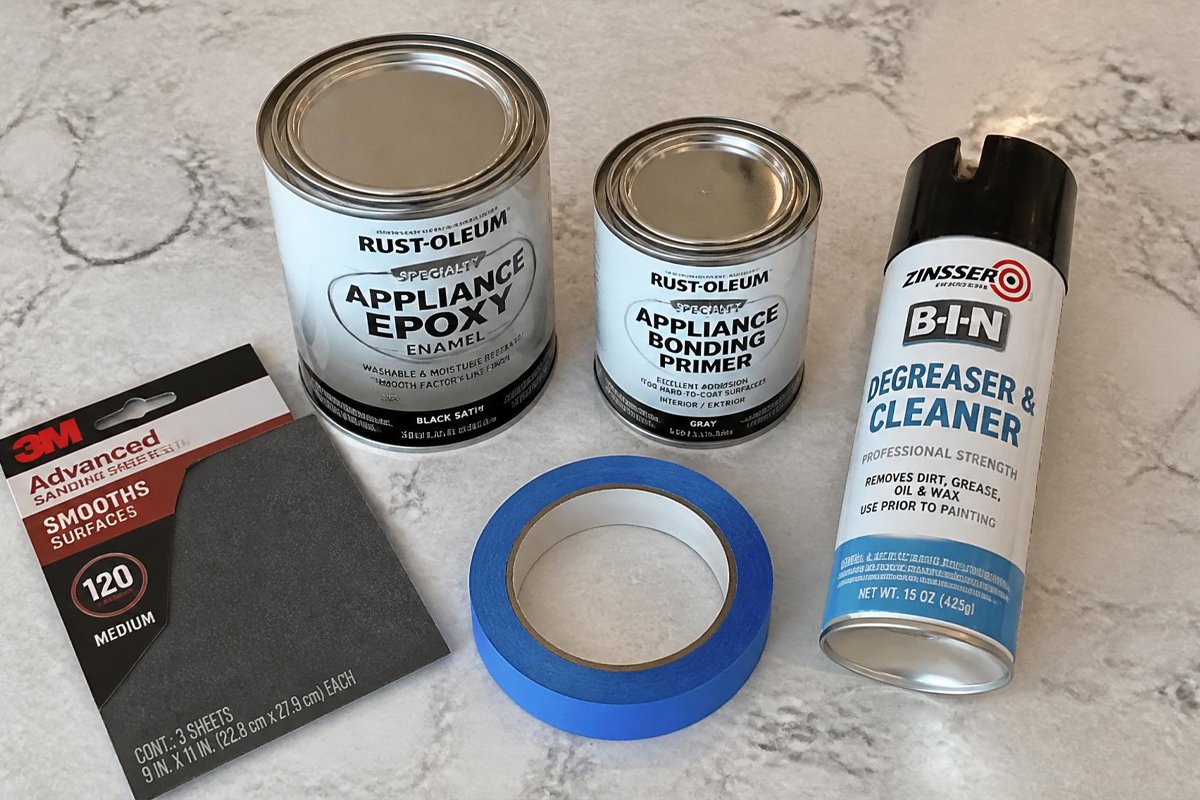
Degrease the entire exterior thoroughly, then lightly sand with 320-grit sandpaper to scuff the glossy factory finish — this step is what actually allows an appliance-rated paint to bond, and skipping it is the single most common reason appliance paint jobs fail early, similar to the adhesion issues covered in our spray paint mistakes guide.
Step 4: Prime and Paint
Apply a bonding primer designed for glossy or metal surfaces, then 2–3 thin coats of appliance epoxy enamel, holding the can 10–12 inches from the surface and working in smooth, overlapping passes. Let each coat reach its recommended recoat time before applying the next.
Step 5: Cure Fully Before Use
Let the final coat cure for the full time listed on the label — often 48–72 hours — before plugging the fridge back in and loading it with food. Reintroducing moisture and cold too early can affect how well the paint finishes curing.
How to Spray Paint a Dishwasher, Washer, and Dryer
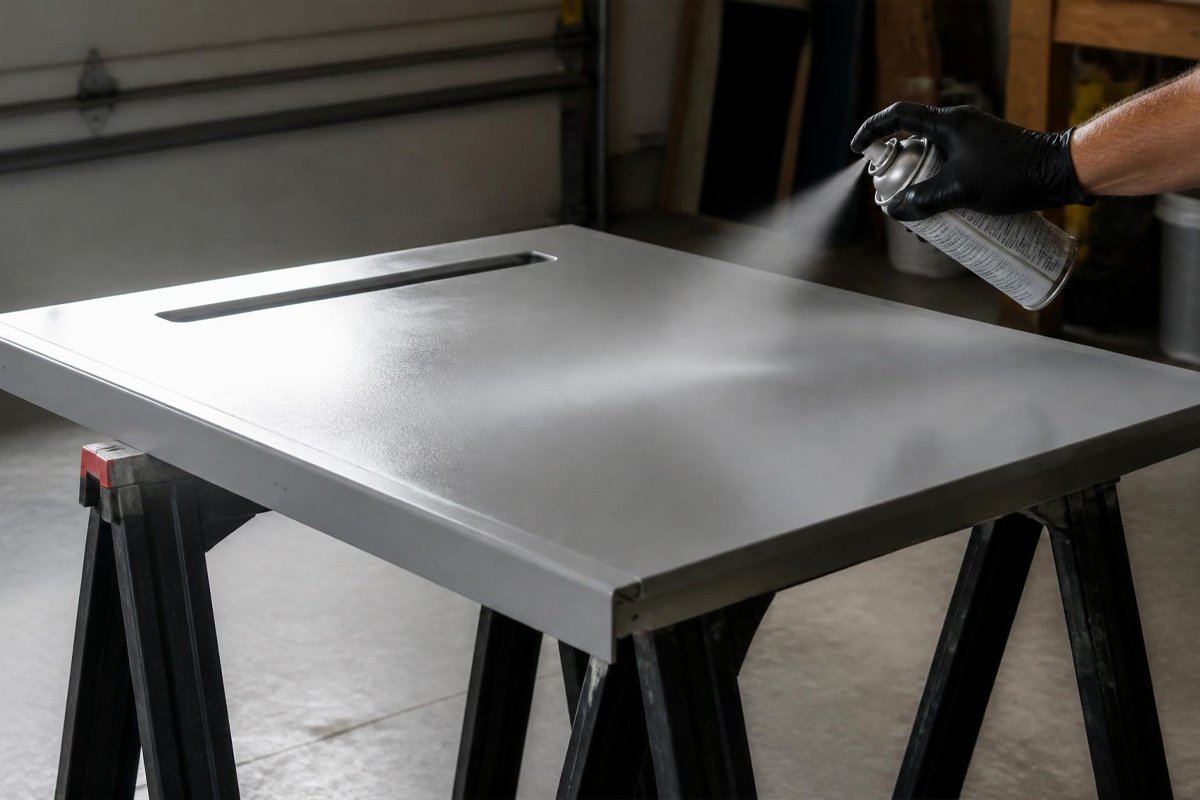
Dishwasher front panels are usually the smallest and easiest appliance surface to spray, since most of the unit is built into cabinetry and only the visible face needs attention. Remove the panel if your model allows, following the manufacturer’s instructions, and spray it flat on sawhorses for the most even coverage — the same approach recommended for larger flat panels in our door and cabinet guides.
Washers and dryers have more exposed surface area and a control panel that needs careful masking, since electronic displays and buttons shouldn’t be sprayed over directly. Move the unit away from the wall, mask the control panel, cord, and any labels the manufacturer requires to remain visible, then follow the same clean-sand-prime-paint sequence as the refrigerator steps above. Our smooth finish guide covers the overlap and pass technique that keeps large flat appliance panels free of banding.
How to Spray Paint a Range Hood
Range hoods accumulate baked-on grease that’s tougher to remove than dust or general grime, so a degreaser formulated for kitchen grease (not just a general all-purpose cleaner) is worth using before sanding. Because range hoods sit directly above heat sources, use a heat-resistant enamel rather than a standard appliance paint — the same heat-rating logic covered in our radiator spray painting guide applies here, just at a lower sustained temperature than a radiator sees.
What About Small Appliances?
Countertop appliances like a stand mixer, toaster, or microwave can also be refreshed with the same core approach, scaled down. These smaller items are actually more forgiving projects than a full-size appliance since they can be fully removed to a garage or well-ventilated space and rotated freely while spraying, giving more even coverage than working around a large appliance in place. Because small appliances are also inexpensive to replace compared to major appliances, they’re a low-risk way to practice the sanding, priming, and spraying sequence before tackling a full-size refrigerator or washer.
- Stand mixers: Remove the bowl, whisk attachments, and any rubber feet before spraying just the painted metal body, using a light sanding pass on the existing enamel.
- Toasters and small countertop appliances: Mask any heating elements, cords, and vents completely, since these components should never be painted over for safety reasons.
- Microwave exteriors: The door’s viewing window and any control panel need full masking, with only the painted metal or plastic housing exposed to the spray.
For any small appliance with exposed electrical components, unplugging and allowing full drying time before reconnecting is just as important as it is for a full-size refrigerator or washer.
Popular Appliance Color Choices
Beyond simply matching an existing kitchen palette, appliance color choice has become part of its own design trend in recent renovation projects.
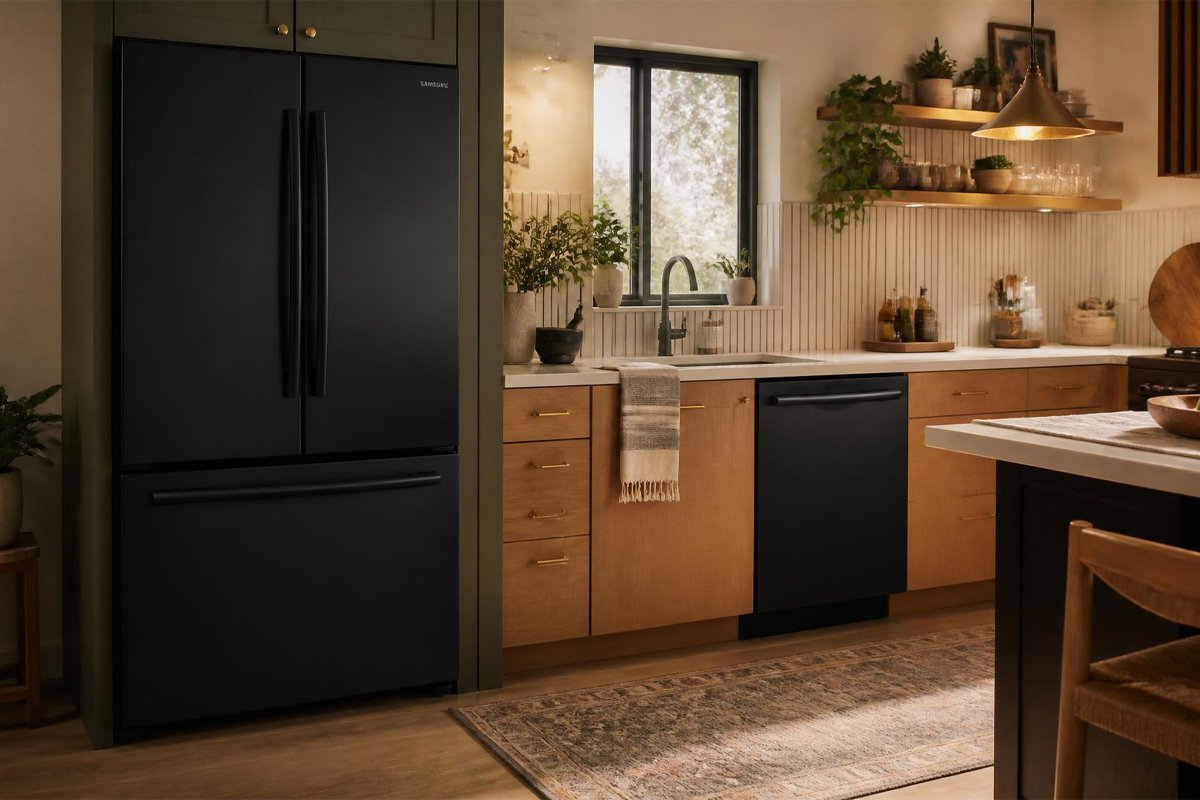
- Matte black has become one of the most requested appliance finishes in recent years, offering a bold, modern look that pairs well with both light and dark cabinetry, though matte finishes show fingerprints more readily than satin or gloss.
- Classic white or stainless-look finishes remain the safest, most resale-friendly choice, and appliance epoxy enamels are available in convincing brushed-metal finishes that mimic real stainless steel at a fraction of the cost of replacement.
- Retro pastel colors — mint green, buttery yellow, soft pink — have seen a resurgence for statement refrigerators in kitchens leaning into a vintage aesthetic, and this is one of the more popular reasons homeowners choose to repaint rather than replace, since retro-colored new appliances can be significantly more expensive than standard finishes.
Whichever color direction you choose, the appliance-rated epoxy enamel and full prep process described above stays the same — see our types of spray paint guide if you’re deciding between paint chemistries for a bold color choice.
How Much Does It Cost and How Long Does It Take?
A single major appliance — a refrigerator, washer, or dryer — typically needs 3-4 cans of appliance epoxy enamel plus a bonding primer, sandpaper, and masking supplies, usually totaling $60-$100 in materials. Active work time runs 3-4 hours per appliance including degreasing, sanding, masking, and spraying multiple thin coats, though the full project timeline stretches to 3-4 days once cure time before reconnecting power or plumbing is factored in. A dishwasher front panel or a small appliance is faster and cheaper, often under $30 in materials and 1-2 hours of active work. Homeowners refreshing an entire kitchen’s worth of appliances at once typically batch the degreasing and sanding steps across all units on day one, spray each unit in sequence over the following day, and allow a final day or two of cure time before everything goes back into daily use.
Common Mistakes
- Skipping the sanding step on glossy factory finishes: Appliance surfaces are specifically engineered to be smooth and low-porosity, which is exactly why paint won’t grip without a light scuff-sand first.
- Painting over control panels or displays: Buttons, screens, and touch controls should always be masked off completely rather than painted over, even lightly, since paint can interfere with sensor function.
- Using standard spray paint instead of an appliance-rated epoxy: Appliances face more moisture, heat, and handling than most surfaces, and a general-purpose paint typically chips or wears through at the handle within months.
- Reconnecting power or plumbing before full cure: Reintroducing moisture, heat, or vibration before the paint has fully cured risks marking or softening the fresh finish.
- Not degreasing a range hood thoroughly enough: Kitchen grease is more stubborn than general household dust and needs a dedicated degreaser rather than just soapy water to fully clear before sanding.
- Forgetting to mask door seals and gaskets: Paint bonding to a rubber refrigerator or dishwasher seal can cause it to crack or lose its ability to seal properly, leading to efficiency problems down the line.
- Underestimating how many coats are needed for full opacity: Appliance epoxy enamels often need a full 2-3 coats to fully hide the original color, especially on a dramatic color change, and stopping after just one coat leaves patchy, uneven results.
Expert Tips
- Photograph handle and hardware placement before removal, especially on appliances with asymmetric designs, so reassembly goes smoothly.
- If you’re painting multiple appliances in the same kitchen renovation, batch the prep work (degreasing, sanding, masking) across all of them before starting to spray any single unit, rather than treating each appliance as a fully separate standalone project.
- Test your exact paint and primer combination on a hidden spot — like the back or bottom edge of the appliance — before committing to the full visible surface.
- Keep the appliance’s model number and the exact paint product name written down together for future touch-ups, since matching sheen and color precisely months or years later is much easier with that information on hand.
- Consider a clear protective topcoat over the final color coat on high-touch spots like handles and the area around control panels, since these see disproportionately more wear than the rest of the appliance’s surface.
Final Thoughts
Painting kitchen appliances is one of the highest-value-per-dollar renovation projects available, since it solves a purely cosmetic mismatch without the cost of full replacement. Best overall approach: a proper appliance epoxy enamel over sanded, degreased, and primed surfaces, with hardware and control panels fully masked or removed. Best for a quick single-appliance refresh: focus on just the dishwasher front panel, which is the smallest and fastest project of the group. Best for a whole-kitchen refresh: batch the prep and spraying across every appliance at once so the finished look, sheen, and color are perfectly consistent from the fridge to the range hood.
For related kitchen projects, see our guides on spray painting cabinets and our complete home improvement spray painting guide.
Frequently Asked Questions
Can you really spray paint a refrigerator?
Yes, with the right prep — degreasing, sanding, and a bonding primer — and an appliance-rated epoxy enamel topcoat, a refrigerator can be repainted with results that hold up to years of normal kitchen use.
Do I need to remove the appliance from the kitchen to paint it?
Not necessarily. Moving it a few feet away from the wall and cabinets for full access, and working in a well-ventilated space, is usually sufficient. Smaller removable panels, like a dishwasher front, benefit from being taken out and sprayed flat.
How long does appliance spray paint take to cure?
Most appliance epoxy enamels need 48–72 hours to fully cure before the appliance is reconnected and used normally, though it may feel dry to the touch much sooner.
What’s the difference between appliance paint and regular spray paint?
Appliance-rated paint is formulated specifically to bond to glossy, factory-finished metal and to resist the moisture, heat, and repeated handling appliances experience daily, while standard spray paint is a more general-purpose formula not built for that level of daily wear.
Can I change my appliance’s color completely, like black to white?
Yes, though a dramatic color change benefits from a stain-blocking primer coat first to ensure even coverage and prevent the old color from showing through in thin spots.
Is it cheaper to paint appliances than replace them?
In almost every case, yes. A full appliance repaint typically costs under $100 in materials, compared to hundreds or thousands of dollars for new appliances, making it one of the best-value cosmetic upgrades in a kitchen renovation.
Can I spray paint stainless steel appliances?
Yes, though stainless steel’s very smooth, low-porosity surface needs thorough sanding and a bonding primer specifically suited to it, since paint has even less to grip onto than on a painted steel surface.
Will painting my appliance void the manufacturer’s warranty?
It can, depending on the manufacturer and what’s being modified — check your appliance’s warranty terms before painting, especially if it’s still under an active warranty period, since altering the exterior finish is sometimes excluded from coverage.
How do I paint around a refrigerator’s water and ice dispenser?
Mask the dispenser opening, buttons, and any lit display thoroughly with painter’s tape and plastic sheeting, since these components have both electronic and moving parts that shouldn’t be exposed to paint or overspray.
Do all appliance brands respond the same way to painting?
Most modern appliances share a similar painted-steel or stainless finish regardless of brand, so the same prep and paint approach generally applies across manufacturers, though it’s always worth checking your specific model’s material and any manufacturer guidance on refinishing before starting.
Author: Rodney Shiner
Last Updated: July 2026