
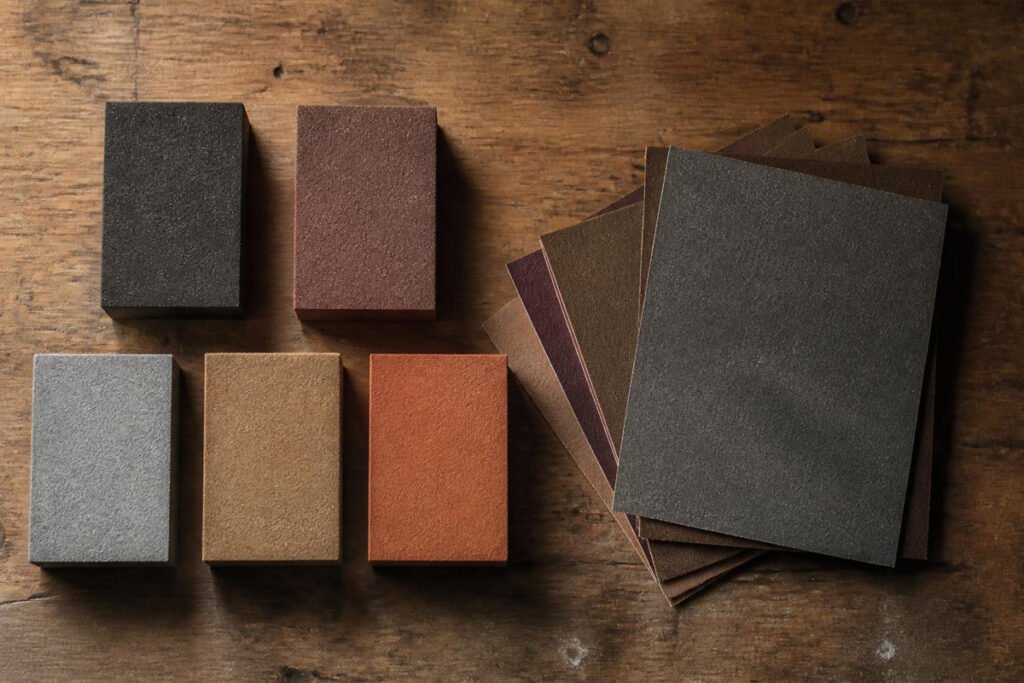
You’ve read every guide on this site about primer, clear coat, and technique — but almost every one of those guides starts with the same throwaway line: “sand the surface first.” That single step is doing more work than it gets credit for. Spray paint doesn’t chemically bond to most surfaces the way glue does; it relies on mechanical adhesion, meaning the primer and color coat need microscopic scratches to physically grip onto. Skip that step, or use the wrong grit, and even the best HVLP spray gun and the best primer on the market will produce a finish that peels, chips, or fails within weeks.
This guide breaks down exactly which sanding sponges and sandpaper actually belong in a home spray painter’s kit, what grit does what job, and which five products cover every stage from stripping old paint to wet-sanding a clear coat to a mirror finish.
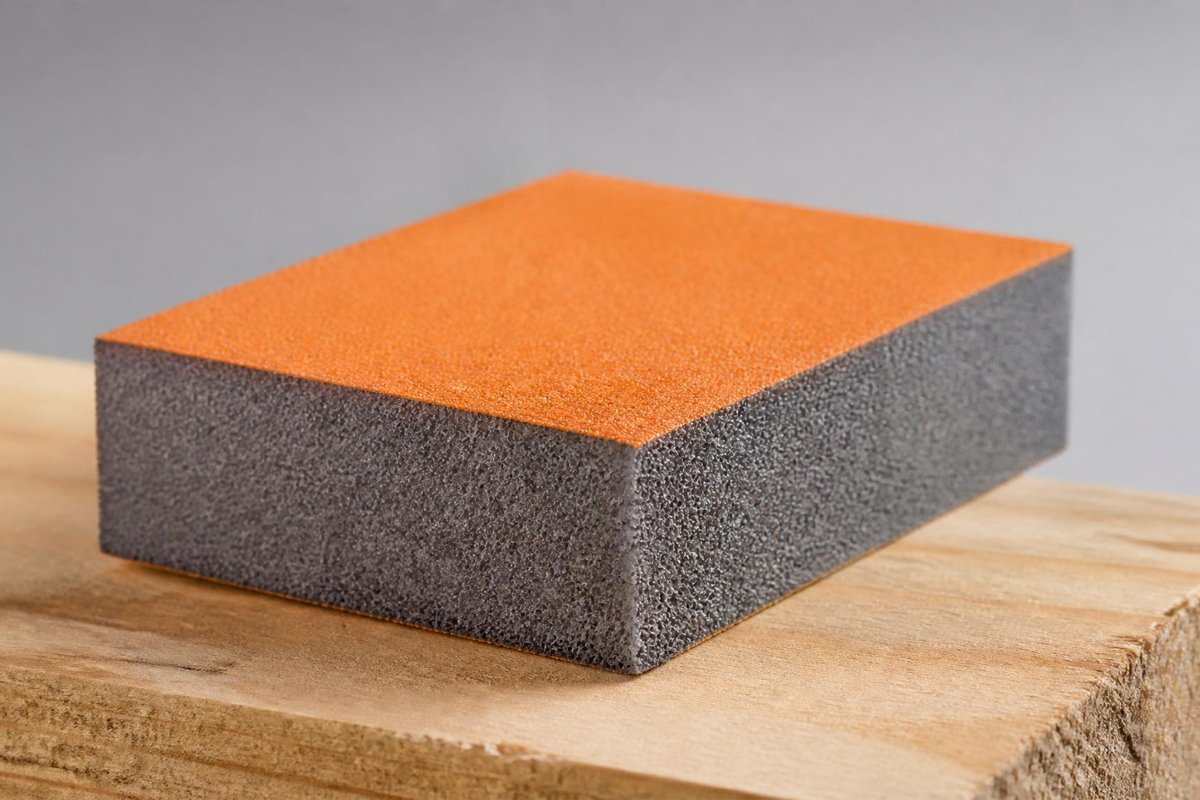
Quick Comparison: 5 Best Sanding Sponges & Sandpaper for Paint Prep
| Product | Best For | Grit Range | Format | Durability |
| 3M Pro Grade Precision 3-in-1 Sanding Sponge | Best Overall | Fine (220) — sold by grit | Foam sponge, 3 shapes | High |
| Dura-Gold 4-Sided Sanding Block Variety Pack | Best Value / Grit Range | 60–320 (6 grits, 12-pack) | Foam sponge blocks | Medium-High |
| Norton MultiSand Double-Sided Sponge | Best for Large Flat Panels | Fine/Medium combo | Dual-sided foam sponge | High |
| Mirka Goldflex-Soft Hand Pads | Best for Contours & Fine Finish | 180–800+ (roll form) | Foam-backed abrasive roll | Medium |
| Dura-Gold 20-Piece Contoured Profile Set | Best for Detail & Profile Work | 60–600 (8 grits, 40 sheets) | Hook & loop foam blocks | High |
What to Look for in Sanding Sponges & Sandpaper for Spray Paint Prep
Not all abrasives are built for the same job, and buying the wrong one is one of the most common (and cheapest to avoid) mistakes in home spray painting. Here’s what actually matters:
- Grit range: A single grit won’t get you through an entire project. You need coarse grits for stripping and leveling, mid grits for standard prep, and fine grits for between-coat scuffing.
- Sponge vs. sheet: Foam sanding sponges conform to curves and corners (great for furniture legs, moldings, and car body panels); flat sandpaper sheets on a block are better for large, flat surfaces like cabinet doors or fence panels.
- Wet-or-dry rating: Wet sanding (with water as a lubricant) produces a finer finish and less airborne dust — essential for fine-grit work above 400 on cured clear coats. Dry sanding is faster for early-stage prep.
- Load resistance: Cheap sandpaper clogs with paint dust and stops cutting within minutes. Look for aluminum oxide or silicon carbide abrasives, which resist clogging far longer than generic garnet paper.
- Durability and reusability: Foam sponges that hold their shape and abrasive coating through multiple projects cost less per use than sheets you replace every session.
Before you sand anything, make sure you’re wearing the right protection — our respirators and masks buying guide and safety glasses & goggles guide cover what you need for dust and debris, separate from the fume protection you’ll need once you’re actually spraying.
Understanding Grit: A Quick Reference Chart
If you only remember one thing from this guide, remember this: the grit number tells you how coarse or fine the abrasive is, and using the wrong one at the wrong stage is the single biggest cause of a botched paint job. Lower numbers are coarser (cut faster, leave deeper scratches); higher numbers are finer (cut slower, leave a smoother surface).
| Grit Range | Stage | What It’s For |
| 60–80 | Stripping | Removing failed paint, heavy rust, or old finish down to bare material |
| 100–150 | Shaping/Leveling | Leveling wood filler, knocking down drips, initial smoothing on bare wood or metal |
| 180–220 | Prep Sanding | Standard scuff before primer; the workhorse grit for most spray paint prep |
| 320–400 | Between-Coat Scuff | Scuff-sanding between primer and color coats, or color and clear coat |
| 600+ | Finish / Wet Sanding | Wet-sanding a cured clear coat to remove orange peel or dust nibs before buffing |
For a deeper look at how this plays out on a specific project, see our step-by-step guides for spray painting kitchen cabinets and spray painting car rims and wheels, both of which call out the exact grit sequence for those surfaces.
The 5 Best Sanding Sponges & Sandpaper for Spray Paint Prep
1. 3M Pro Grade Precision 3-in-1 Sanding Sponge — Best Overall
The 3M Pro Grade Precision 3-in-1 is the sponge most home spray painters should start with. It’s built with three usable surfaces in one block — a flat face for broad areas, an angled edge for corners, and a contoured curve for rounded profiles like chair legs or trim moldings. That versatility means you can prep an entire furniture piece with a single sponge instead of switching tools mid-project.
The aluminum oxide abrasive is bonded to a flexible, washable foam core, so it can be rinsed clean of paint dust and reused across multiple projects rather than discarded after one use. It’s sold by individual grit (fine, medium, and coarse versions), which means you’ll want at least two — a medium (100–150) for initial prep and a fine (220) for scuff-sanding between coats.
Best for: general-purpose prep on furniture, cabinets, trim, and small automotive parts where you need one tool that handles flats, edges, and curves.
2. Dura-Gold 4-Sided Hand Sanding Block Sponge Variety Pack — Best Value / Grit Range
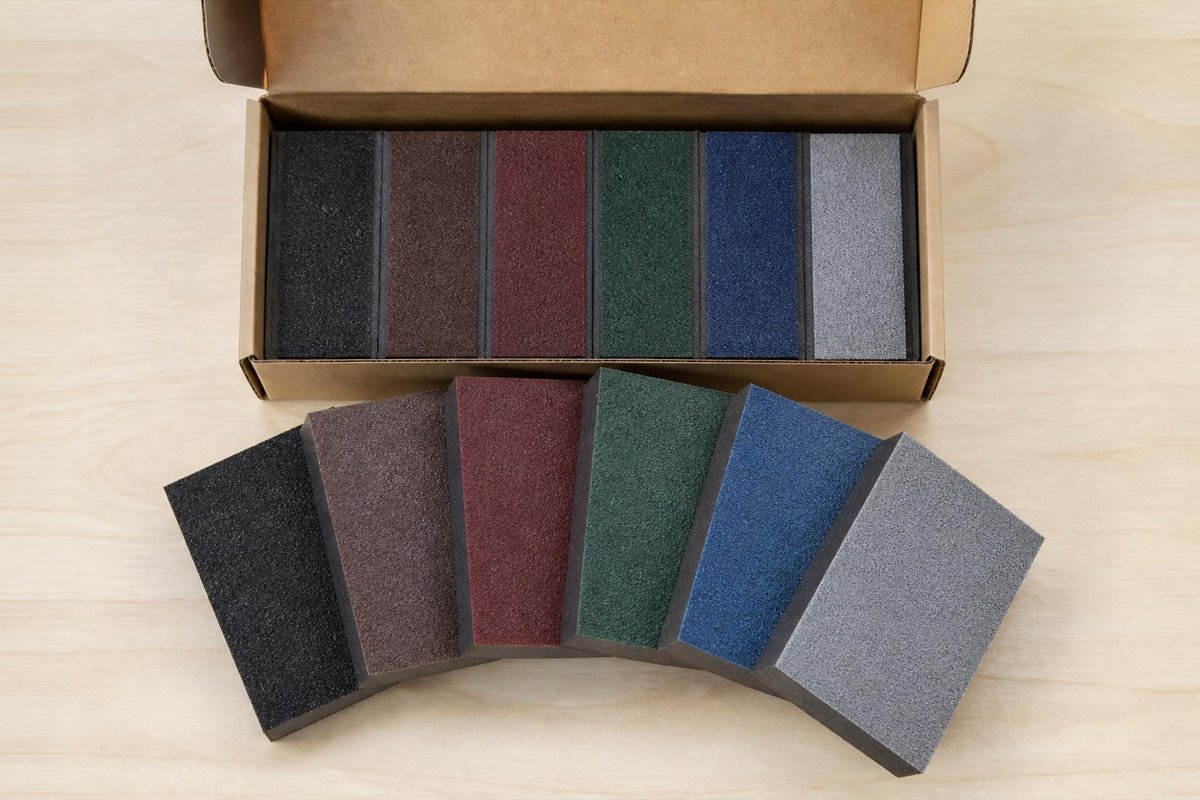
If you’d rather buy one product and have every grit covered, the Dura-Gold variety pack solves that in one purchase. The box includes 12 sponges across six grits — 60, 80, 120, 180, 220, and 320 — with two of each, so you have a coarse option for stripping, mid grits for shaping and standard prep, and fine grits for between-coat scuffing, all in a single kit.
Each block is four-sided, meaning you get four fresh abrasive faces per sponge before it’s worn out, which stretches the value further than a typical single-sided sponge. The aluminum oxide coating is described as clog-resistant, which matters most when you’re working through paint dust rather than raw wood dust.
Best for: DIYers who don’t yet own a sanding kit and want full grit coverage from one box, rather than buying grits individually as projects come up.
3. Norton MultiSand Double-Sided Sanding Sponge — Best for Large Flat Panels
Norton has a long-standing reputation in the abrasives industry for holding an edge longer than most consumer sanding sponges, and the MultiSand double-sided sponge is built around that durability. Each sponge has two usable grit faces (typically a fine and medium combination), so you can flip it mid-job instead of reaching for a second sponge.
Where this sponge earns its spot is on large, flat surfaces — fence panels, garage doors, cabinet fronts, and fabricated metal panels — where a sponge that wears out or loses its shape halfway through the job means visible pressure inconsistencies in the final coat. Painting contractor forums consistently point to Norton as holding up longer under repeated use than more generic sponges on the market.
Best for: fences, doors, cabinet panels, and other large flat areas where consistent pressure and long sponge life matter more than contour flexibility.
4. Mirka Goldflex-Soft Hand Sanding Pads — Best for Contours & Fine Finish Before Clear Coat
Mirka is a name most DIYers only encounter once they start chasing a truly smooth, pre-clear-coat finish, and the Goldflex-Soft pads are built for exactly that stage. Sold on a roll rather than as pre-cut blocks, they let you tear off a piece sized to the job — useful for detail areas like door handles, wheel wells, or curved automotive body lines where a rigid block can’t follow the shape.
The soft foam backing conforms closely to curves without digging in or leaving flat spots, and the higher grit range (commonly available from 180 up through 800+) makes this the pick for the fine scuff-sanding stage between a color coat and a clear coat — the step our
clear coat spray paints guide and orange peel fix guide both point back to when a finish comes out hazy or textured.
Best for: fine scuff-sanding on curved automotive parts, wheel wells, and any surface being prepped for a clear coat where flat-spot-free contact matters.
5. Dura-Gold 20-Piece Contoured Profile Hand Sanding Block Set — Best for Detail & Profile Work
Cabinet doors with raised panels, ornate trim, spindles, and bike frame tubing all share the same problem: a flat sanding block can’t reach into the profile without rounding over the details you want to keep crisp. This 20-piece set includes contoured blocks in a range of convex and concave shapes specifically designed to follow those profiles.
Each block uses a hook-and-loop system with a 40-sheet sandpaper kit spanning 60 to 600 grit, so the same block set carries you from initial shaping through fine pre-paint prep. It’s a more specialized (and more expensive) purchase than a basic sponge kit, but it solves a problem the other four products on this list genuinely can’t.
Best for: raised-panel cabinet doors, ornate trim, spindles, and other detailed profiles — see our
bike frame spray painting guide for an example of a project with exactly this kind of tubular profile.
How to Sand for Spray Painting: A Step-by-Step Sequence
Buying the right abrasive only matters if you use it in the right order. Here’s the sequence that applies across almost every project on this site, whether you’re working on
metal, plastic, or outdoor furniture:
- Clean first, sand second. Degrease or wash the surface before sanding — sanding over grease or wax just grinds contaminants into the material instead of removing them.
- Start coarse only if needed. If the surface is already smooth and unpainted, skip straight to 150–220 grit. Save 60–100 grit for stripping failed paint or heavy rust.
- Sand in the direction of the grain (on wood) or in a consistent circular pattern (on metal and plastic) to avoid visible cross-scratches under the topcoat.
- Wipe away dust completely before priming — a tack cloth removes what a rag leaves behind. See our tack cloth guide for pairing options with each grit stage.
- Scuff-sand between coats at 320–400 grit. This is the step most beginners skip, and it’s the reason a topcoat sometimes lifts or shows adhesion lines between layers.
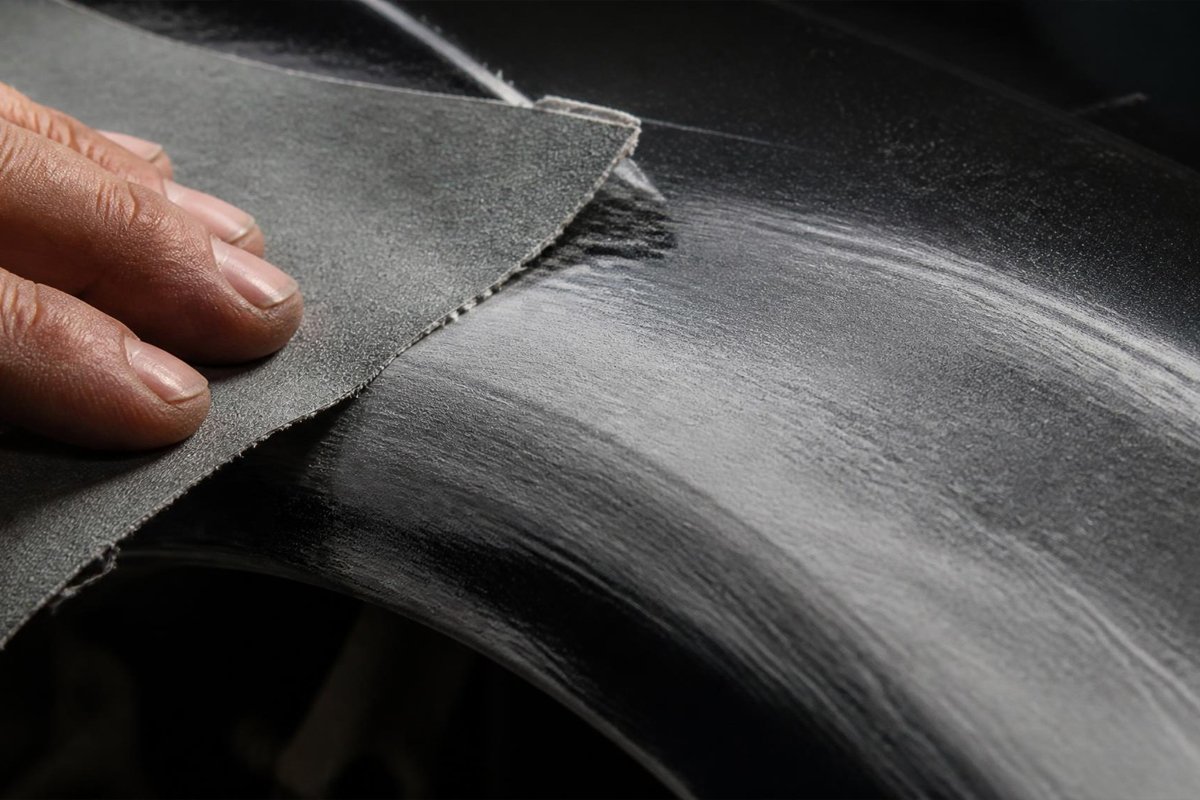
- Wet-sand only the final clear coat, once fully cured, using 600 grit or finer, if you’re chasing a glass-smooth show finish rather than a standard DIY result.
For the full masking and edge-prep process that pairs with sanding, see our masking tape guide and our complete beginner’s guide to spray painting furniture.
Common Sanding Mistakes That Ruin a Spray Paint Job
- Sanding through the primer coat: pressing too hard with a fine grit between coats can cut straight through primer to bare material, creating a weak spot that shows through the topcoat.
- Using one grit for the entire project: a single 220-grit sponge can’t strip old paint and also deliver a glass-smooth pre-clear-coat finish. Different stages need different grits.
- Skipping the degrease step: sanding over silicone, wax, or grease embeds the contaminant into the surface instead of removing it, and no amount of extra primer will fix the resulting fisheye or adhesion failure.
- Not switching to a fresh abrasive surface once one loads up with paint dust: a clogged sponge burnishes the surface instead of cutting it, which reduces the mechanical grip primer needs.
- Dry-sanding a cured clear coat at high grits: this creates heat that can gum up fine abrasives almost instantly — wet sanding is strongly preferred above 400 grit.
How Much Sandpaper Do You Actually Need Per Project?
Under-buying is almost as common a mistake as buying the wrong grit. Paint dust loads abrasives faster than raw wood or bare metal dust does, so a sponge that would last through three furniture projects might only get through one spray-painted piece before it stops cutting cleanly. As a rough planning guide:
- Small projects (a chair, a lamp base, a set of cabinet knobs): one medium-grit and one fine-grit sponge is usually enough for the full prep-and-scuff cycle.
- Medium projects (a full cabinet door set, a bike frame, a set of porch railings): budget two to three sponges per grit stage, since corners and edges wear a sponge’s abrasive faster than flat faces do.
- Large or multi-stage projects (a full kitchen cabinet run, a car panel respray, outdoor furniture sets): a full variety pack like the Dura-Gold 12-piece kit is more economical than buying single grits repeatedly, and you’ll want a fresh fine-grit sponge specifically reserved for the final between-coat scuff so an already-loaded sponge doesn’t burnish instead of cut.
A sponge that’s visibly smooth, shiny, or clogged with hardened paint dust is no longer doing its job even if it looks physically intact — replace it rather than pushing through a project with a worn abrasive, since the inconsistent scratch pattern it leaves behind can show up as uneven texture once primer goes on.
Frequently Asked Questions
What grit sandpaper should I use before spray painting?
For most home projects on wood, metal, or plastic, 150–220 grit is the standard prep grit before primer. Use 60–100 grit first only if you’re stripping old failed paint or heavy rust, then work up to 220 for the final pre-primer pass.
Do you need to sand between coats of spray paint?
Yes, for the best adhesion and a smooth final result. A light scuff-sand at 320–400 grit between primer and color coat, and again between color coat and clear coat, removes dust nibs and gives the next layer something to mechanically grip.
Is wet sanding or dry sanding better for spray paint prep?
Dry sanding is faster and more practical for early-stage prep (stripping, shaping, standard pre-primer sanding). Wet sanding produces a finer, smoother result with less airborne dust and is the better choice for fine-grit work (400+) on a cured clear coat.
Can I reuse a sanding sponge across multiple projects?
Most foam sanding sponges, including the ones in this guide, are designed to be rinsed clean of paint dust and reused until the abrasive coating visibly wears smooth. Sandpaper sheets, by contrast, are generally treated as more disposable since the abrasive layer is thinner.
What’s the difference between a sanding sponge and sandpaper on a block?
A sanding sponge has a flexible foam core that conforms to curves and corners, making it better for furniture, moldings, and automotive body lines. Flat sandpaper on a rigid block is better for large, perfectly flat surfaces where you want even, consistent pressure across the whole area.
Final Thoughts
A can of expensive spray paint and a top-rated HVLP gun can’t compensate for a surface that wasn’t properly sanded. The 3M Pro Grade Precision 3-in-1 covers most general prep work, the Dura-Gold variety pack gets you every grit in one purchase, the Norton MultiSand holds up best on large flat panels, the Mirka Goldflex-Soft pads deliver the finest pre-clear-coat finish on curves, and the Dura-Gold contoured profile set handles the detail work none of the others can reach. Pick based on the project in front of you — and once the surface is properly prepped, move on to our guides on primer, clear coat, and technique to finish the job right.