
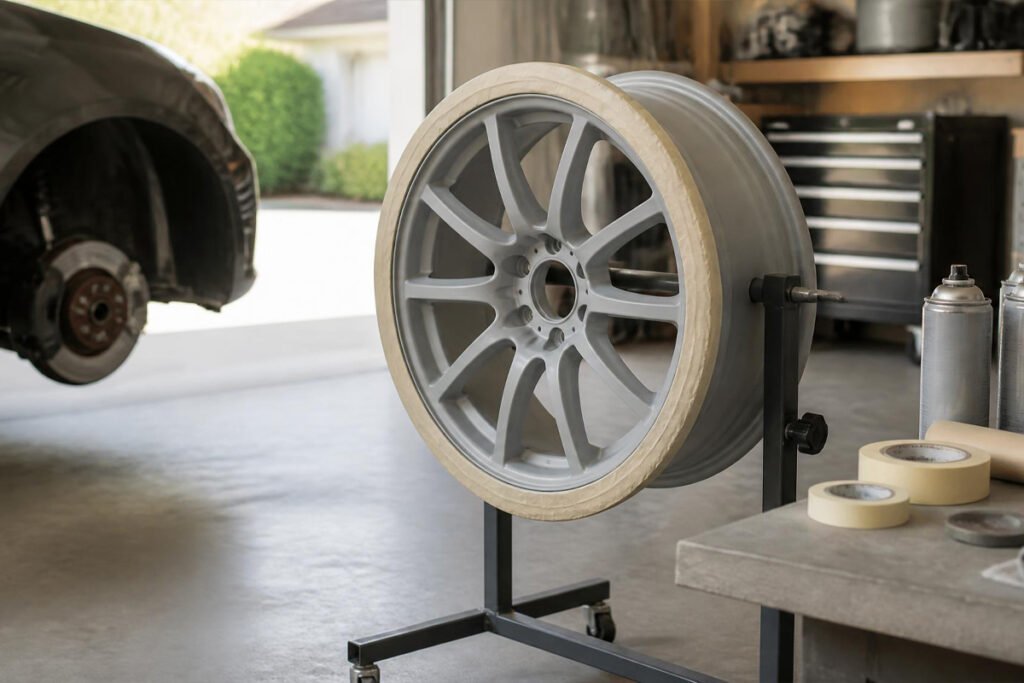
Curb rash, brake dust staining, and peeling factory clear coat make wheels look tired years before the rest of the car does — and a shop respray or powder coat job routinely runs $400-800 for a full set. A well-executed DIY spray paint job costs under $60 in materials and, done correctly, holds up for years. The word doing the heavy lifting in that sentence is “correctly.” Wheels are one of the least forgiving surfaces in DIY spray painting: they’re exposed to sustained heat from braking, direct road debris impact, brake dust chemically attacking the finish, and constant washing — conditions that expose sloppy prep or the wrong paint type within a single season.
This guide covers the full process end to end, including the one decision that determines whether your paint job survives its first summer: choosing a genuinely heat-rated wheel paint rather than a standard aerosol. If you haven’t reviewed general spray painting fundamentals yet, our how to spray paint metal guide covers the base technique this project builds on, and our spray painting safety guide plus respirator buying guide are worth reviewing before you start, since this project involves extended solvent exposure in a garage.
Why Wheels Need Different Treatment Than Other Metal Projects
A painted patio chair needs to survive weather. A painted wheel needs to survive weather, plus repeated heat cycling from 70°F ambient to 300°F+ at the rotor and hub during hard braking, plus direct impact from road debris and curbs, plus chemical exposure from brake dust, which is mildly corrosive and abrasive. Standard spray paint — even a good general-purpose enamel — will often look fine for the first few weeks and then start showing hairline cracking near the hub and lug areas within a couple months, because ordinary paint films aren’t formulated to flex through that kind of thermal cycling. This is the single biggest reason DIY wheel paint jobs fail early, and it’s an easy mistake to avoid once you know to look for it: buy paint explicitly labeled for wheels, calipers, or high-heat automotive use, not a general metal or automotive spray paint.
What You’ll Need
- A jack and jack stands (never work under a car supported only by a jack)
- Lug wrench or impact driver
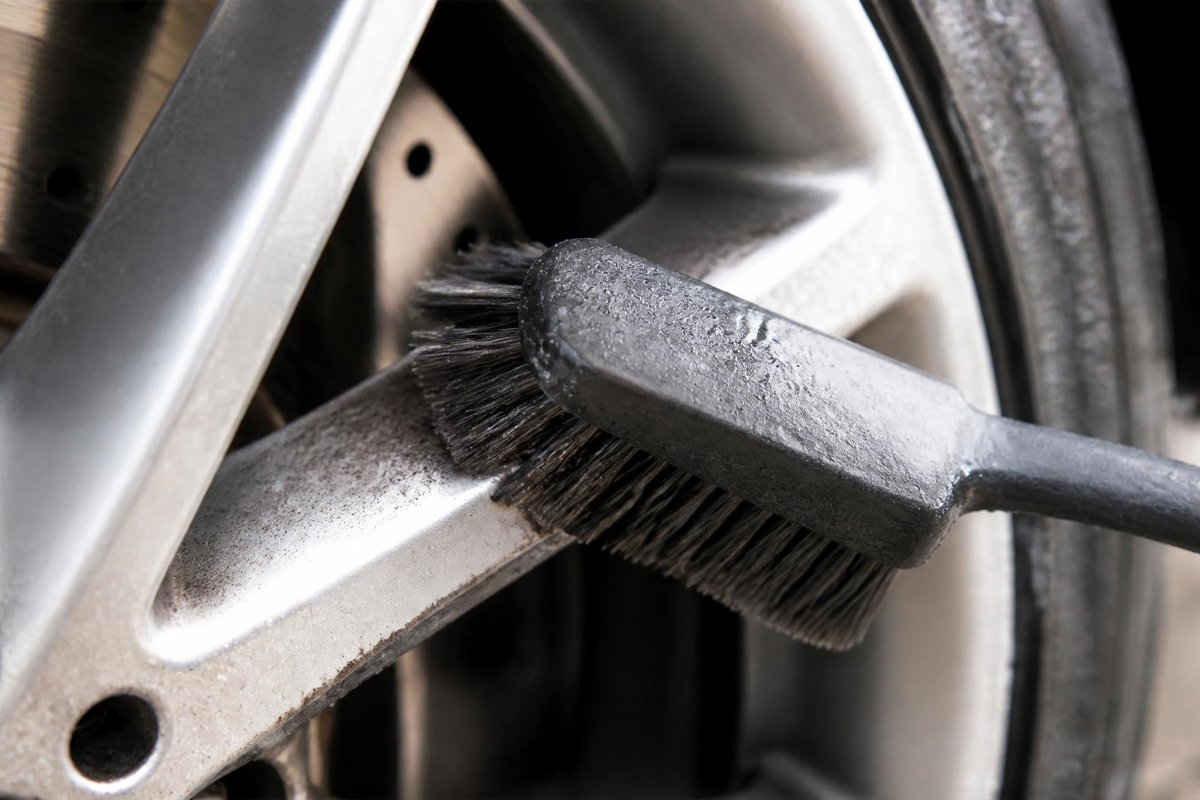
- Wheel cleaner and a stiff wheel brush for brake dust removal
- Degreaser
- Sandpaper: 180-220 grit for stripping/scuffing, 400-600 grit for finish prep
- Wheel-specific or high-heat-rated primer
- Wheel-specific or high-heat-rated color spray paint (not general automotive paint)
- Clear coat rated for wheels or high-heat use
- Painter’s tape and tire masking film or trash bags for tire protection
- A wheel stand, sawhorses, or a way to elevate and rotate the wheel while painting
- Respirator with organic vapor cartridges, safety glasses, nitrile gloves
Step 1: Remove the Wheels
Painting wheels while still mounted on the car is possible for a very light touch-up, but a full respray with proper results requires removing them. Break the lug nuts loose while the wheel is still on the ground, then jack the car and support it securely on jack stands before fully removing the lugs and pulling each wheel. Working on a wheel off the car lets you access the entire barrel, the inner lip, and the back side facing the brake rotor — areas that are impossible to reach evenly with the wheel still mounted and that show up as an obvious inconsistency once the car is back together.
Step 2: Deep Clean and Degrease
This step matters more here than on almost any other spray painting project, because brake dust isn’t just dirt — it’s a mix of metallic particulate and friction material residue that’s often baked onto the wheel surface by heat. A standard degreaser wipe-down often isn’t enough. Use a dedicated wheel cleaner and a stiff brush to work brake dust out of every crevice, spoke junction, and lug area, then follow with a general degreaser pass to strip any remaining oils or waxes from prior detailing products. Rinse thoroughly and let the wheel dry completely — any trapped moisture in a crevice will surface later as a paint defect.
Step 3: Strip or Sand, Then Mask the Tire
If the existing finish is peeling, chipped, or has clear coat failure (a cloudy, flaking look), strip it back with a chemical wheel paint stripper or aggressive sanding rather than painting over a failing base — new paint over old, damaged clear coat will fail again quickly no matter how well you apply it. If the existing finish is intact, scuff the whole surface with 220-grit sandpaper to give the new coats something to grip, focusing extra attention on the barrel and any curb rash gouges, which need to be sanded smooth before they’ll disappear under paint.
Masking the tire is not optional and is easy to underestimate. Use dedicated tire masking film, or in a pinch, trash bags and tape, to cover the entire tire right up to the bead — overspray on a tire is difficult to fully remove and looks unmistakably amateur even from a distance. Mask the valve stem separately so it stays functional and paint-free.
Step 4: Prime
Apply a wheel-specific or self-etching primer in 2-3 light coats, holding the can 8-10 inches away and keeping steady motion to avoid buildup in the tight spoke areas where primer commonly pools and drips. Pay close attention to the barrel — it’s the area most people rush because it’s less visible, but it’s also the area most exposed to brake heat and road spray, so it needs the same careful coverage as the visible face.
Step 5: Apply Color Coats
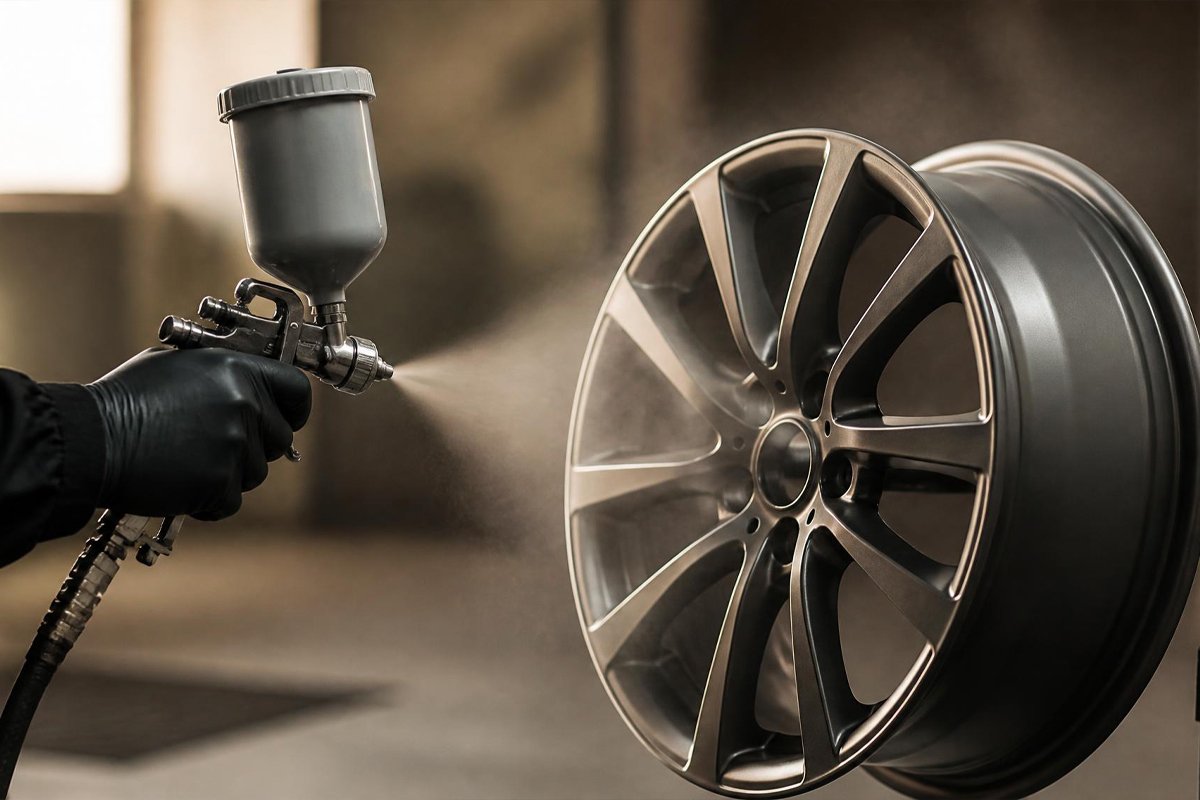
Apply 3-4 thin coats of your chosen wheel color, allowing proper flash time between coats per the can’s instructions rather than rushing to build coverage in fewer, heavier passes. Work systematically — spokes first, then the barrel, then the outer lip — so you can track coverage on a complex, multi-plane surface without missing sections. Rotate the wheel between passes if it’s mounted horizontally on a stand, or work around a vertically mounted wheel in sections, to maintain consistent spray distance across the entire curved surface.
This is the step where paint choice matters most. A wheel-specific paint (Dupli-Color Wheel Coating, Rust-Oleum Automotive Wheel paint, or a genuine high-heat caliper-and-wheel product) is formulated to flex through thermal cycling in a way general spray paint isn’t. If you’re painting brake calipers as part of the same project, they need an even higher heat rating — typically 500°F+ rated caliper paint, since calipers run hotter than the wheel itself during hard or repeated braking.
Step 6: Clear Coat
Once the color has fully cured, apply 2-3 coats of a wheel-rated clear coat. This is not the place to substitute a general-purpose clear coat meant for furniture or crafts — wheel clear coats are formulated for UV resistance, chemical resistance against brake dust and cleaning products, and the same heat flexibility as the color coat underneath. Skipping a dedicated wheel clear coat is a common reason paint jobs that looked great for the first month start showing chemical staining and dulling within a season.
Step 7: Cure Fully Before Reinstalling
Let painted wheels cure for a full 48-72 hours minimum before reinstalling and driving — and ideally longer before any hard driving or track use that generates serious brake heat. A wheel that’s been driven on before the paint has fully cross-linked and hardened is far more susceptible to heat-related cracking the very first time it experiences a hard stop, which can undo days of careful work in a single braking event. If you can wait a full week before any aggressive driving, do it — cure time under real-world heat cycling is the final test of everything done up to this point.
Common Mistakes That Ruin Wheel Paint Jobs
Using general-purpose spray paint instead of a heat-rated product. This is the single most common failure point. A paint that looks identical on the shelf to a wheel-specific product may have no heat resistance rating at all, and it will show cracking near the hub within one or two heat cycles.
Skipping brake dust removal before sanding. Sanding over baked-on brake dust just grinds contaminants into the surface rather than removing them, leaving a compromised base under the new paint.
Painting over failing clear coat instead of stripping it. New paint applied over lifting or cracking factory clear coat inherits that instability and fails at the same points, often faster than the original finish did.
Rushing tire masking. Overspray on a tire sidewall is genuinely difficult to fully remove and is one of the fastest ways to make an otherwise excellent paint job look unfinished.
Reinstalling and driving too soon. Even paint that feels hard to the touch may not have finished cross-linking. The first real heat cycle from driving is often what exposes an undercured finish.
Comparison: Wheel Paint Options
| Product | Heat Rating | Finish | Best For |
| Dupli-Color Wheel Coating | High-heat rated | Gloss | Alloy and steel wheels, DIY standard |
| Rust-Oleum Automotive Wheel | High-heat rated | Gloss | Budget-friendly full respray |
| VHT Caliper Paint | 500°F+ rated | Gloss | Brake calipers specifically |
| Plasti Dip | Not heat-rated for calipers/barrel | Matte/satin, peelable | Temporary color change, easy removal |
Frequently Asked Questions
Can I paint my wheels without removing them from the car? You can for a very minor touch-up, but a full respray needs the wheel off the car to properly access the barrel and inner lip, and to avoid overspray on the brake components and suspension.
Is Plasti Dip a good alternative to actual paint for wheels? Plasti Dip works well for a temporary, fully reversible color change, but it isn’t heat-rated the way dedicated wheel paint is, and manufacturers typically advise against applying it directly on the wheel barrel or near the brake components due to heat exposure.
Do I need to paint the brake calipers separately? Yes — calipers need a much higher heat rating (typically 500°F+) than the wheel face itself, since they’re in direct, sustained contact with braking heat. Use a dedicated caliper paint, not the same product you used on the wheel.
How long does a DIY wheel paint job actually last? Done correctly with heat-rated paint and full cure time, a DIY wheel respray commonly lasts 2-4 years of normal driving before it needs touch-ups, comparable to a professional job at a fraction of the cost.
Final Thoughts
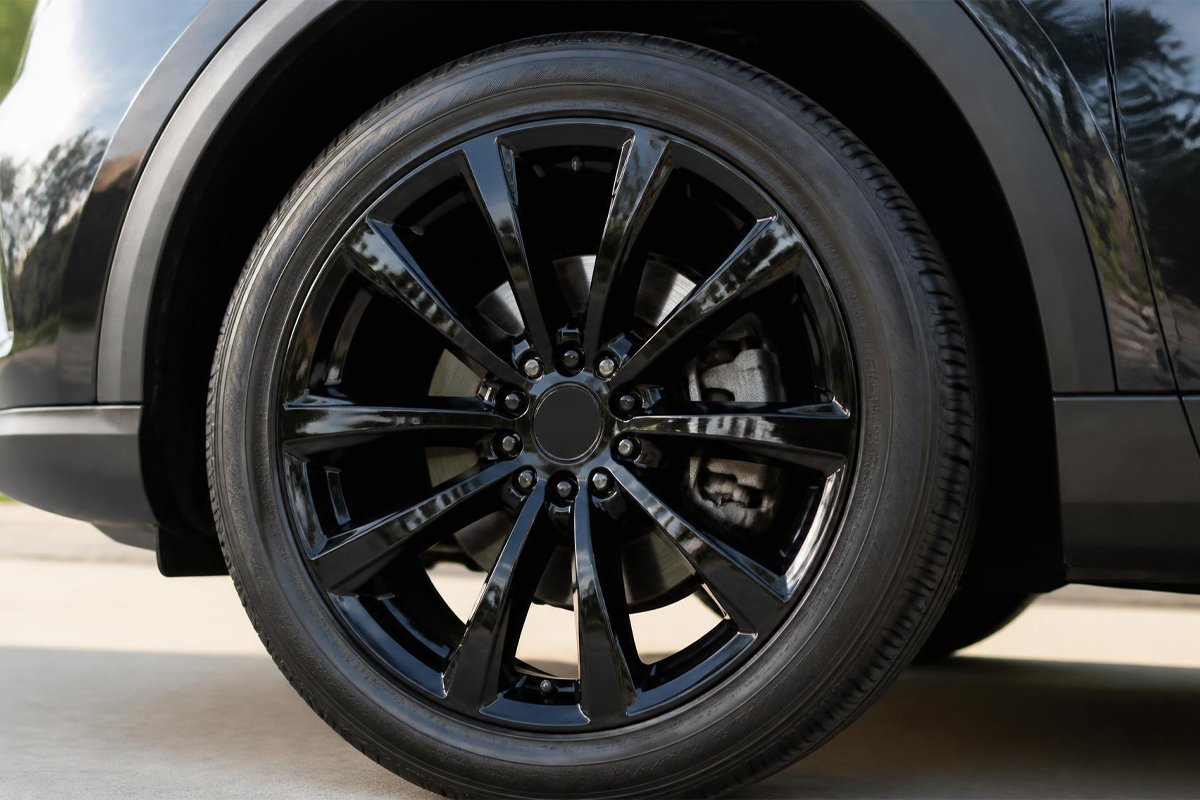
Wheels punish shortcuts faster and more visibly than almost any other spray painting project, because heat cycling exposes weak prep and the wrong paint choice within weeks rather than years. The fix isn’t complicated — remove the wheel, clean it properly, strip failing finish rather than painting over it, and use paint genuinely rated for the heat wheels experience — but skipping any one of those steps is what separates a respray that looks factory-fresh for years from one that’s cracking by the following summer. Get the prep and the paint choice right, and this is one of the highest-value, most visible upgrades available in a weekend of DIY spray painting.
Last Updated: August 2026