
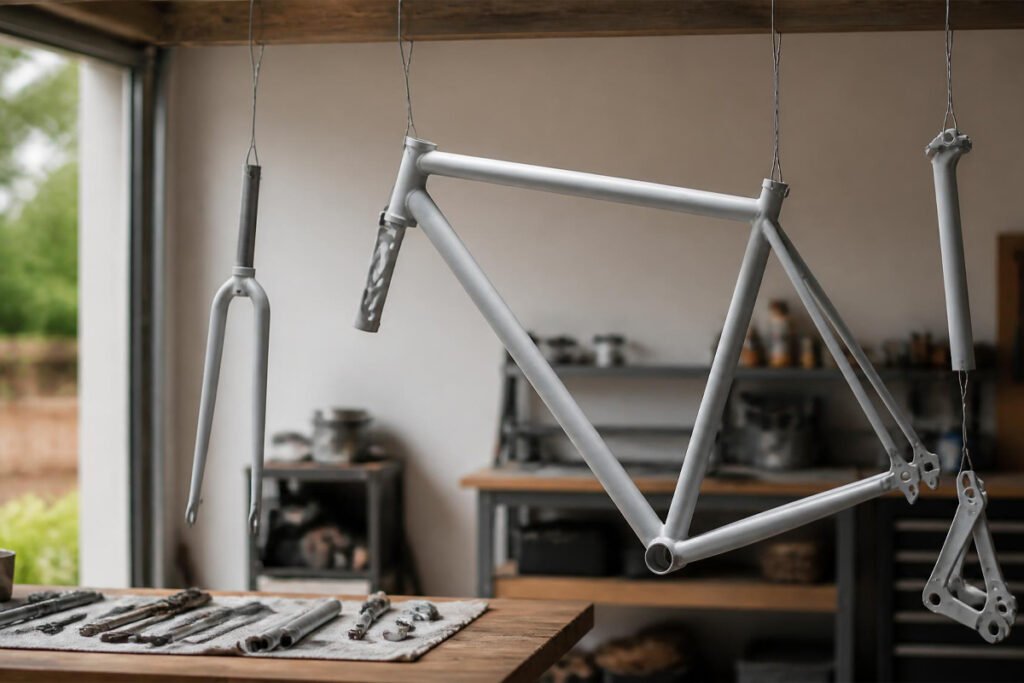
A scratched, faded bike frame is one of the most satisfying weekend transformations in DIY spray painting — a $15-30 can of paint turns a tired commuter or a garage-sale find into something that looks intentional again. It’s also one of the projects most likely to go wrong for first-timers, not because the technique is hard, but because bike frames are full of small tubes, tight junctions, and curved surfaces that punish rushed prep and inconsistent spray distance in ways a flat panel never would.
This guide walks through the full process — disassembly, prep, priming, color coats, and clear coat — with the specific details that separate a paint job that looks factory-fresh from one that chips at the first scratch. Since this project involves solvents and extended spraying time in a garage, review our spray painting safety guide and make sure you’ve got proper respiratory protection before you start — bike frame projects typically run longer than a quick furniture touch-up, which means more sustained vapor exposure.
What You’ll Need
- Allen keys and a pedal wrench for disassembly
- Degreaser and a stiff-bristle brush
- Sandpaper: 220 grit for initial scuffing, 400 grit for between coats
- Painter’s tape and masking paper for headset, bottom bracket, and dropouts
- Self-etching metal primer (steel or aluminum, matched to your frame material)
- Color spray paint — Spray.Bike frame-specific paint, Rust-Oleum Enamel, or Krylon ColorMaster all work well
- Clear coat spray (gloss, satin, or matte to match your desired finish)
- A way to suspend the frame — a length of wire through the seat tube or a repair stand works better than laying it flat
- Respirator with organic vapor cartridges, safety glasses, nitrile gloves
Step 1: Full Disassembly
Strip the frame down to bare metal — remove the fork, headset, bottom bracket, derailleurs, brakes, cables, and wheels. This isn’t optional if you want a professional result: painting around components leaves hard tape lines, uneven coverage in tight junctions, and missed spots that show immediately once the bike is reassembled. Bag and label small hardware as you remove it so reassembly doesn’t turn into a second project.
Step 2: Strip and Clean
Degrease the entire frame thoroughly — chain lube, road grime, and handling oils all prevent paint adhesion if left behind. If the existing finish is in good shape and well-adhered, you can scuff-sand over it rather than stripping to bare metal; if it’s chipped, rusted, or peeling in places, strip those areas down to metal with a paint stripper or aggressive sanding before moving on. Wipe the frame down with isopropyl alcohol after cleaning — it removes residue that a rag alone leaves behind and evaporates without a residue of its own.
Step 3: Sand and Mask
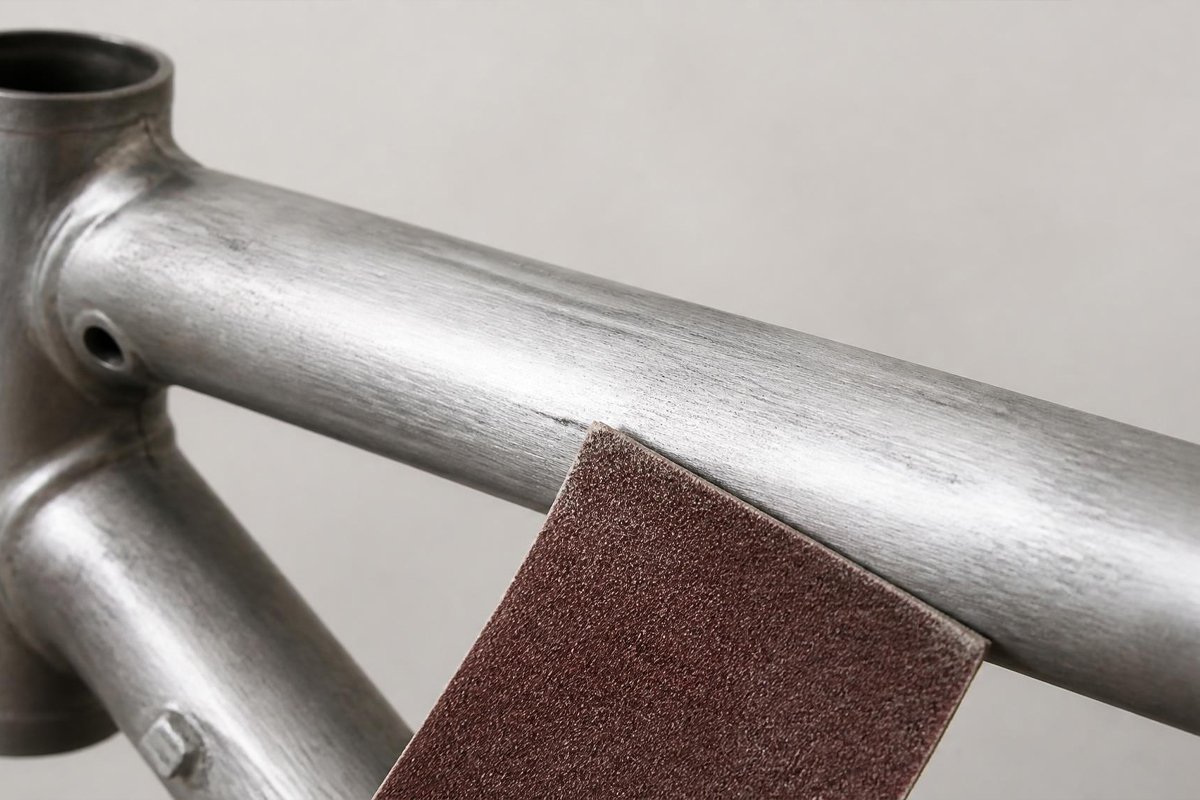
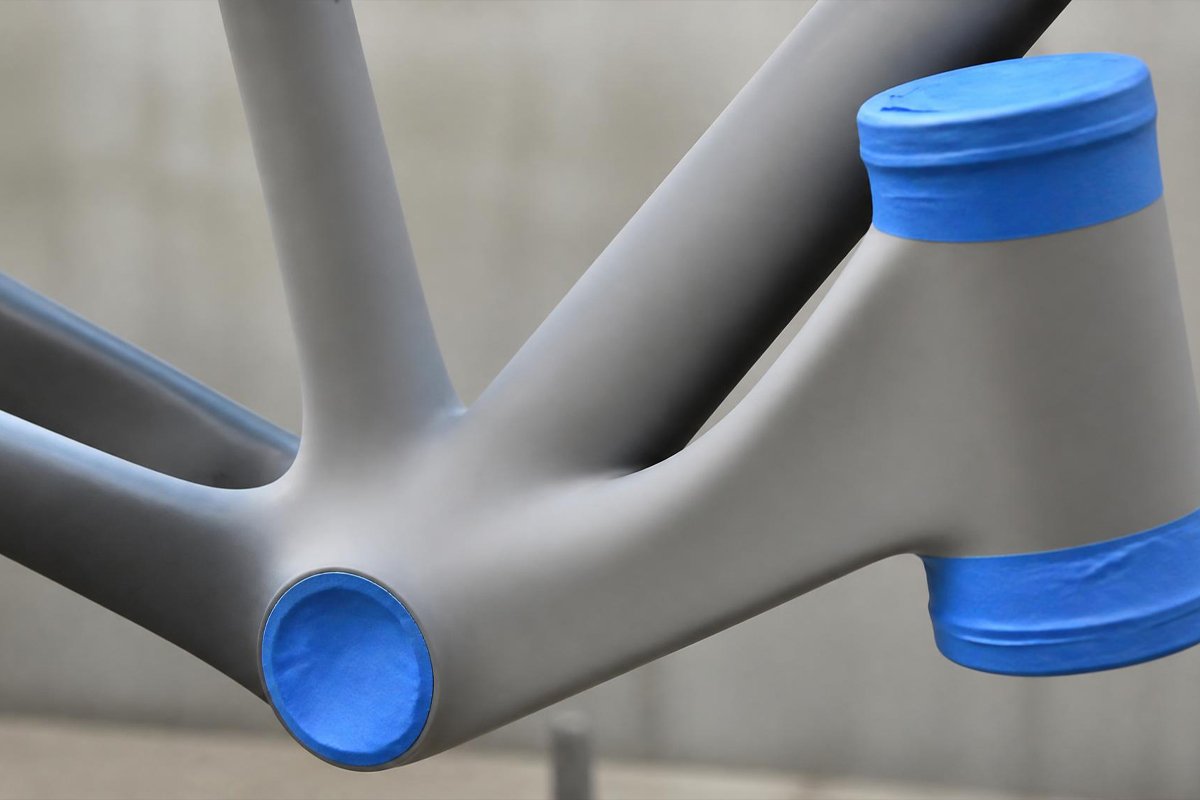
Scuff the entire frame with 220-grit sandpaper, paying close attention to tube junctions, lug edges, and weld seams where paint tends to sit thicker and needs a rougher surface to grip. Wipe away all dust with a tack cloth. Mask off anything paint shouldn’t touch — the inside of the seat tube, bottom bracket threads, headset cups, and derailleur hanger threads — with painter’s tape and small pieces of masking paper or plastic pushed into openings.
Step 4: Prime
Apply a self-etching primer matched to your frame material — steel and aluminum etch differently, and using the wrong type of primer is one of the most common reasons bike frame paint fails early. Apply 2-3 light coats, holding the can 6-8 inches from the surface and keeping it moving constantly to avoid pooling at tube junctions, which are the single most common place primer runs and drips form. Let the primer cure fully per the can’s instructions before moving to color — rushing this step is the single biggest cause of adhesion failure on high-flex areas like the seat stays.
Step 5: Apply Color Coats
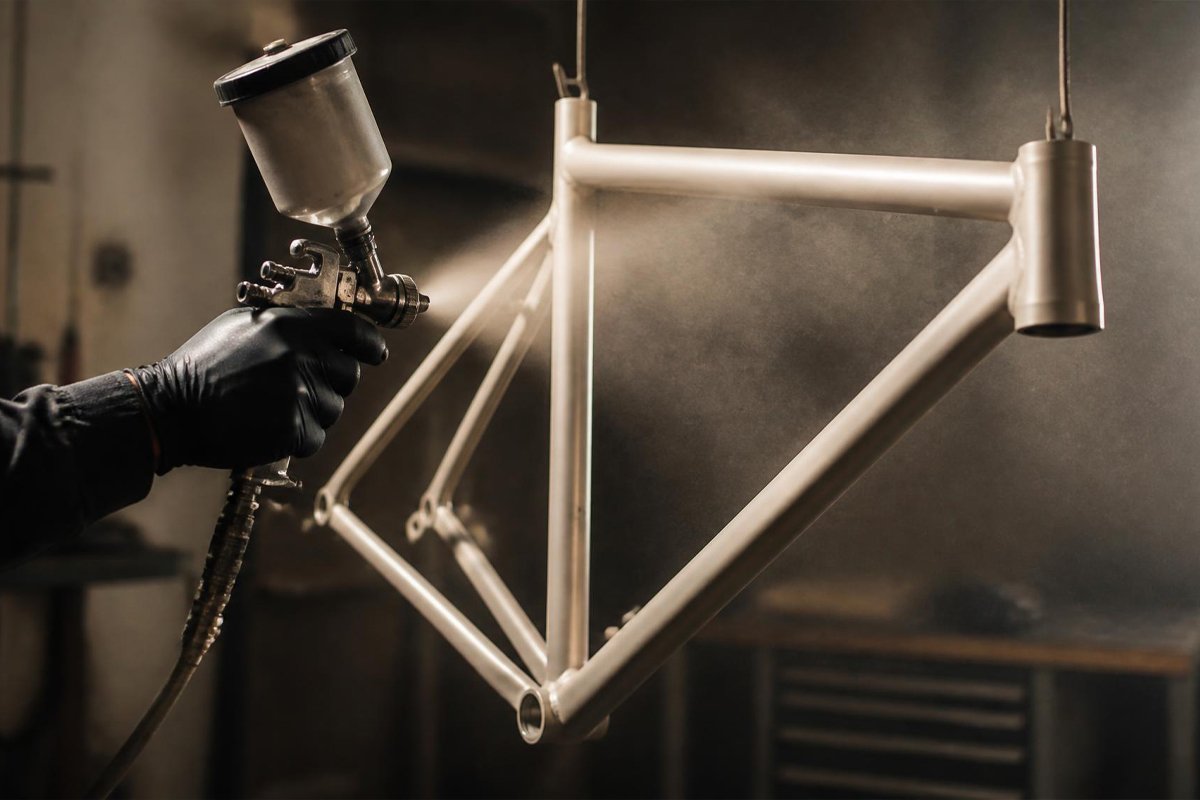
Apply color in 3-4 thin coats rather than 1-2 heavy ones. Frame-specific paints like Spray.Bike are formulated to be held closer to the surface (often 1-4 inches) than general-purpose spray paint, so check your specific product’s label rather than defaulting to the standard 8-10 inch rule most aerosol cans recommend. Work in a consistent pattern — top tube, then down tube, then seat tube, then stays — so you can track coverage and flash time systematically rather than spraying at random and losing track of which sections have had their recommended dry time between coats.
Rotate the frame as you go if it’s suspended rather than trying to reach around a stationary piece — bike frames have surfaces facing every direction, and awkward spray angles are where thin spots and missed coverage happen most.
Step 6: Clear Coat
Once the color coat has fully cured — not just dried to the touch — apply 2-3 thin coats of clear coat for UV protection and chip resistance. This step matters more on a bike than on most spray painted objects, since frames get direct sun exposure, road grit impact, and frequent handling. Our clear coat buying guide covers gloss, satin, and matte options if you’re deciding which finish fits your bike’s look.
Step 7: Cure and Reassemble
Let the finished frame cure for at least 48-72 hours before reassembly — longer if your garage is cold or humid, since both slow cure time significantly. Handle the frame by areas that won’t be visible once reassembled (dropouts, bottom bracket shell) rather than gripping tubes with painted surfaces still soft. Reinstall components carefully to avoid scratching fresh paint with tool slips, and consider wrapping a rag around wrench jaws when tightening near painted surfaces.
Common Mistakes That Ruin Bike Frame Paint Jobs
Skipping degreasing before sanding. Sanding over grease and chain lube just spreads it into the surface rather than removing it, and paint applied over that residue peels within weeks.
Painting a horizontal, laid-flat frame. Gravity pulls paint toward the lowest points on a flat-laid frame, creating pooling and runs at tube junctions. Suspending the frame lets gravity work evenly across the whole surface.
Not masking the inside of tube openings. Overspray drifting into the seat tube or bottom bracket shell can interfere with component fit later — a few pieces of tape and paper at the start save a frustrating reassembly.
Reassembling too soon. A frame that feels dry after a few hours can still be soft enough underneath to dent or scratch under the pressure of a wrench or a tightly clamped component.
Comparison: Paint Options for Bike Frames
| Paint | Type | Spray Distance | Best For |
| Spray.Bike | Frame-specific acrylic | 1-4 inches | Purpose-built bike finish |
| Montana Gold | Acrylic lacquer | 6-8 inches | Smooth, durable custom finish |
| Rust-Oleum Enamel | Oil-based enamel | 10-12 inches | Budget-friendly, widely available |
| Krylon ColorMaster | Acrylic enamel | 8-10 inches | Fast-drying, easy cleanup |
Frequently Asked Questions
Do I need to strip the frame down to bare metal? Only if the existing finish is chipped, rusted, or peeling. A well-adhered existing paint layer just needs a thorough scuff-sand to give new paint something to grip.
How many cans of paint does a full frame need? One 400ml can typically covers a frame and fork with proper thin-coat technique, though a second can is worth having on hand in case coverage runs short or you want a heavier final coat.
Can I paint over carbon fiber the same way as steel or aluminum? Carbon fiber needs a carbon-specific primer rather than a metal-etching primer — check your paint manufacturer’s guidance, since using the wrong primer type is a common cause of adhesion failure on carbon frames.
Final Thoughts
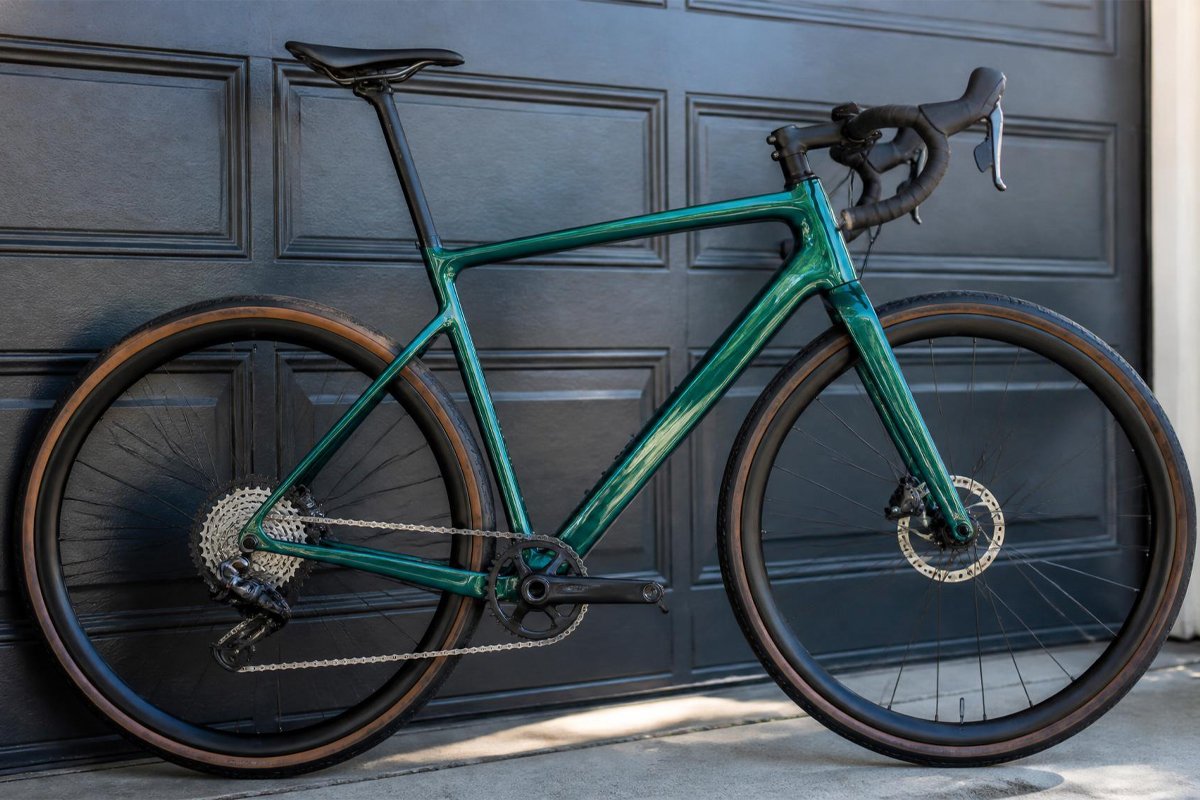
A bike frame repaint rewards patience more than almost any other spray painting project — the tube junctions and tight geometry that make bikes visually interesting are exactly the surfaces that punish rushed prep and thick, impatient coats. Take the disassembly and masking steps seriously, keep coats thin, and give the finish real cure time before you put the bike back together, and the result holds up to years of actual riding rather than chipping the first time it leans against a wall.
Last Updated: August 2026