
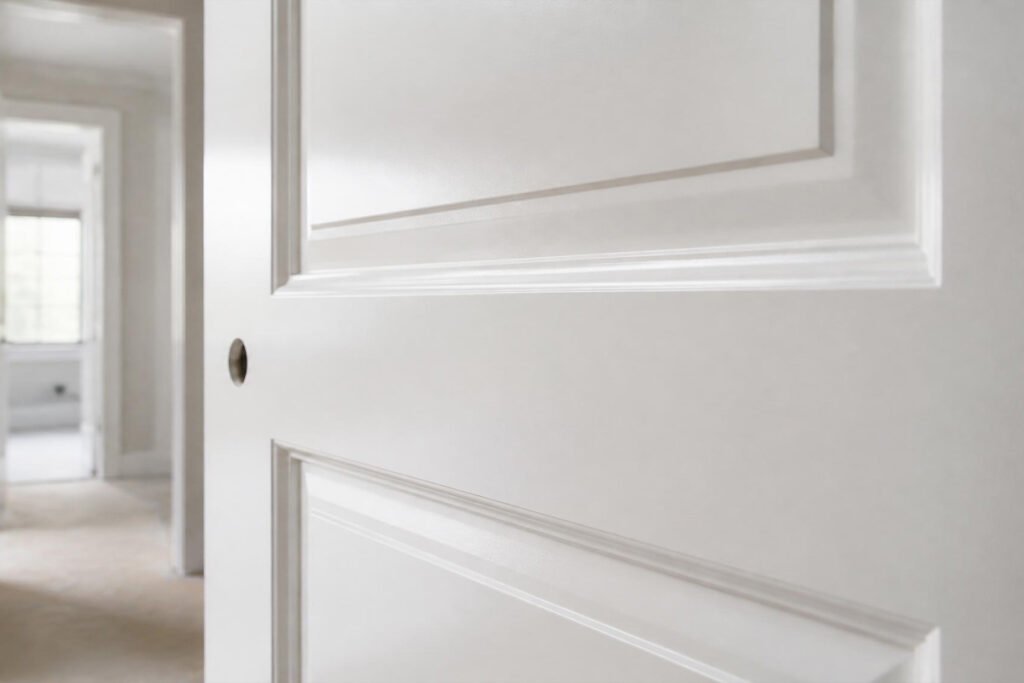
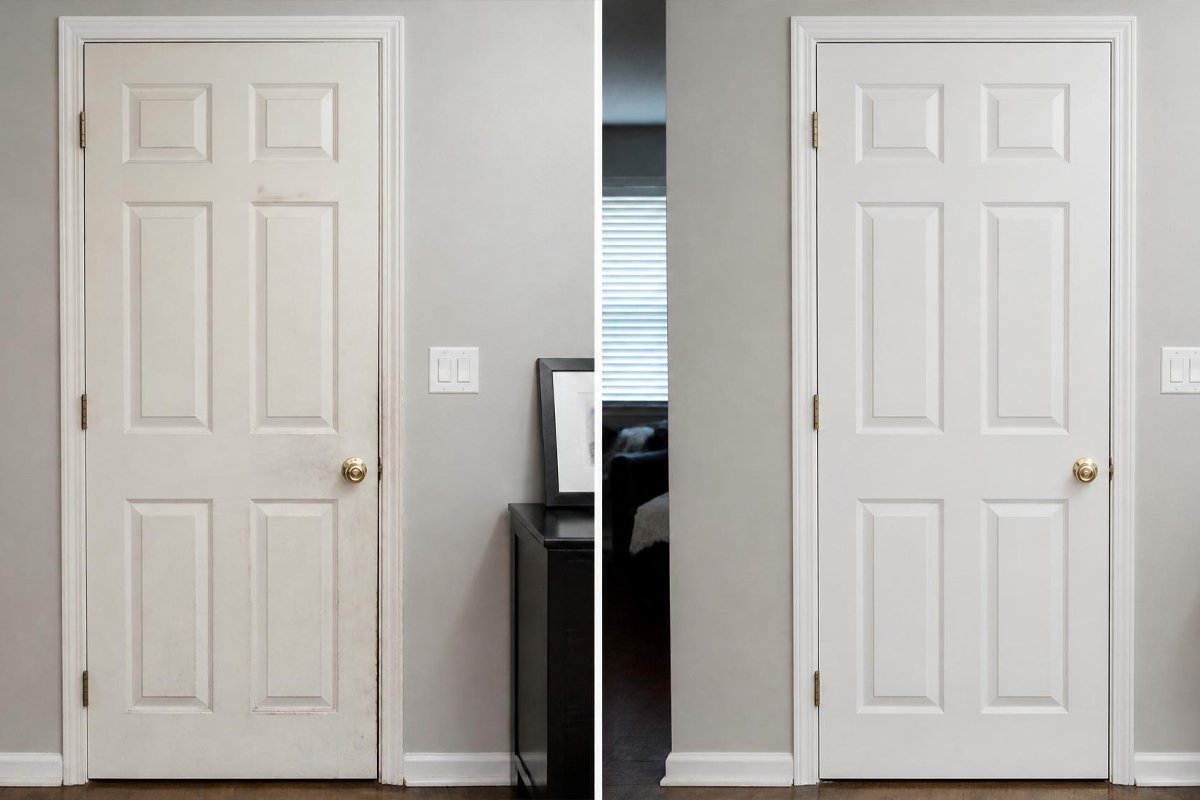
Every interior door in a house gets more daily contact than almost any other painted surface — hands, shoulders, pets, moving furniture — which is exactly why brush-painted doors so often show visible strokes and an uneven sheen within a year or two. A sprayed finish is what gives new-construction doors and hotel-quality trim that flawless, glass-smooth look, and it’s a project well within reach of a weekend DIYer with the right setup.
There’s also a compounding effect with doors that doesn’t apply to most other surfaces: because they’re viewed constantly, at close range, and under a mix of natural and artificial light throughout the day, any texture or brush-mark imperfection is far more noticeable on a door than the same flaw would be on, say, a garden fence or the underside of a shelf. That visibility is exactly why doors are one of the projects where the extra care of a proper spray setup pays off the most relative to the time invested.
This guide covers both approaches worth considering — spraying a door in place on its hinges versus removing it to a garage or driveway for a controlled spray booth setup — along with paint selection, prep, and the exact step-by-step process for a professional-looking result. If you’re also tackling cabinets or trim in the same room, the technique here carries over directly to both.
Quick Answer
The best approach for spray painting interior doors depends on your setup: removing the door and spraying it flat on sawhorses in a garage gives the most controlled, professional-looking finish with the least risk of drips, while spraying in place on hinges is faster and works fine for touch-ups or when removal isn’t practical. Either way, a hard-drying enamel or a cabinet-and-trim-specific acrylic enamel outperforms standard wall paint on doors, since it needs to withstand repeated handling and closing impact that walls never experience.
Table of Contents
- Why Interior Doors Need Different Treatment Than Walls
- How to Choose the Right Paint and Method
- Method Comparison Table
- Should You Remove the Door or Spray It in Place?
- How to Spray Paint an Interior Door Correctly
- Panel Doors vs Flush Doors: What Changes
- Common Mistakes
- Expert Tips
- Final Thoughts
- Frequently Asked Questions
Why Interior Doors Need Different Treatment Than Walls
A wall sits still. A door slams, gets bumped by vacuum cleaners and moving boxes, and is touched by hands dozens of times a day near the handle — all of which puts far more mechanical stress on the paint film than almost any wall surface will ever see. That’s why a paint formulated for walls, even a good one, often shows wear and fingerprint marking on doors within months, while a harder cabinet-and-trim enamel holds up for years. It’s the same durability logic covered in our types of spray paint guide, applied specifically to a surface that gets handled constantly.
Doors also have more surface complexity than a flat wall — recessed panels, routed detail, and often a mix of flat and profiled areas — which changes both how paint should be applied and how much of it a single door actually needs compared to an equivalent flat square footage of wall.
How to Choose the Right Paint and Method
Before starting, answer three questions:
- How many doors are you doing? One or two doors are reasonable to remove and spray individually; a whole-house repaint of 10+ doors often benefits from setting up an assembly-line process with all doors removed and propped on sawhorses at once.
- What finish do you want? Semi-gloss and satin are the most popular sheens for interior doors because they resist fingerprints better than flat while still looking less clinical than full gloss — see our smooth finish guide for sheen-specific technique notes.
- What equipment do you have access to? An HVLP sprayer gives the most professional, brush-mark-free result but requires more setup than an aerosol can, which is perfectly capable for one or two doors.
Method Comparison Table
| Method | Best For | Finish Quality | Time Required |
| Aerosol spray paint | 1-2 doors, small touch-ups | Good to very good | Fast (1-2 hrs active) |
| HVLP sprayer | Multiple doors, best finish | Excellent | Moderate (setup + spray) |
| Airless sprayer | Whole-house door projects | Very good | Fast for volume, more overspray |
| Brush and roller | Budget, no removal needed | Fair to good | Slowest, most visible strokes |
Should You Remove the Door or Spray It in Place?
Spraying the Door on Its Hinges
Spraying in place is faster since there’s no removal or rehanging step, and it’s often the only realistic option for a single door that needs a quick refresh. The tradeoff is more careful masking of the surrounding frame, floor, and wall, and slightly more risk of overspray drifting into the room.
Removing the Door for a Flat Spray Setup
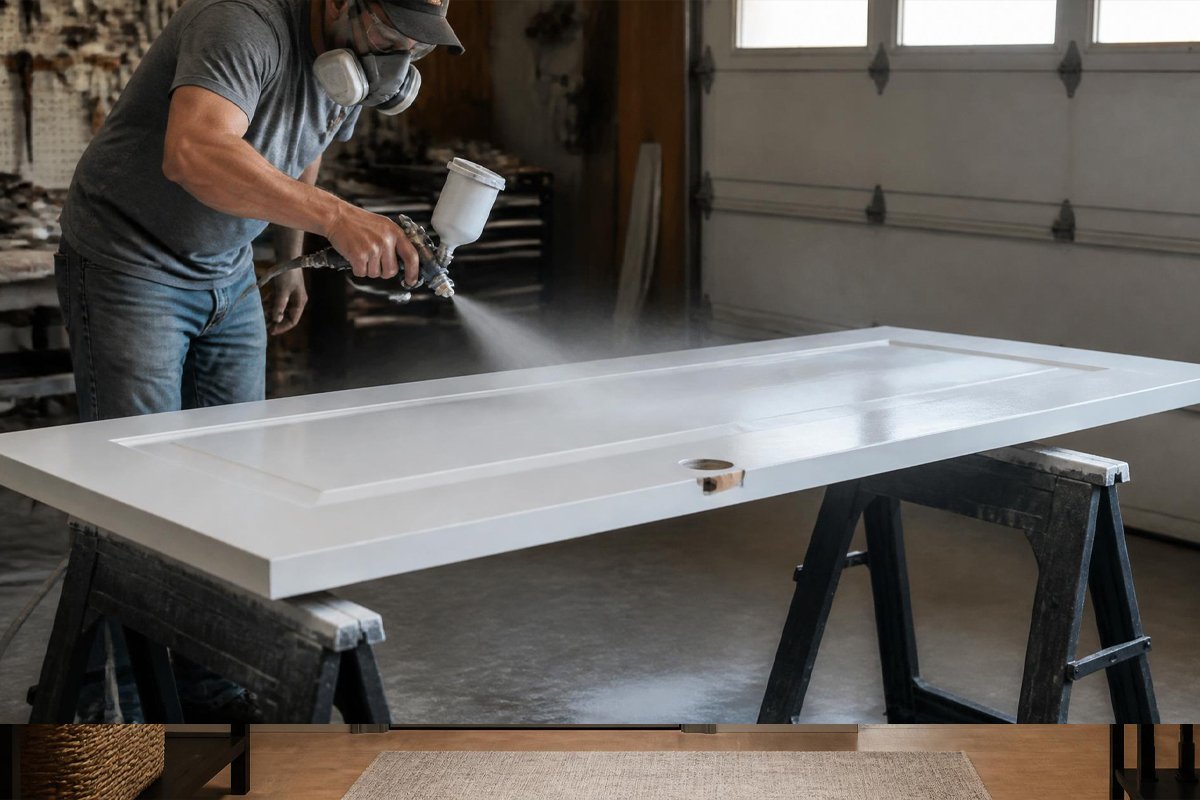
Removing the door and laying it flat across two sawhorses (or standing it upright in a simple spray frame) gives the most even, professional-looking coverage, since gravity pulls paint evenly rather than toward the floor the way it can on a vertical, hinged door. This is the same setup logic used for furniture spray painting projects, and it’s the method most professional painters actually use for anything beyond a single quick touch-up.
If you remove the door, label the hinge-side edge and top with painter’s tape before taking it down — doors are rarely perfectly symmetrical, and rehanging one upside down or backward is a frustrating way to end an otherwise smooth project.
How to Spray Paint an Interior Door Correctly
Step 1: Remove Hardware and Clean the Surface
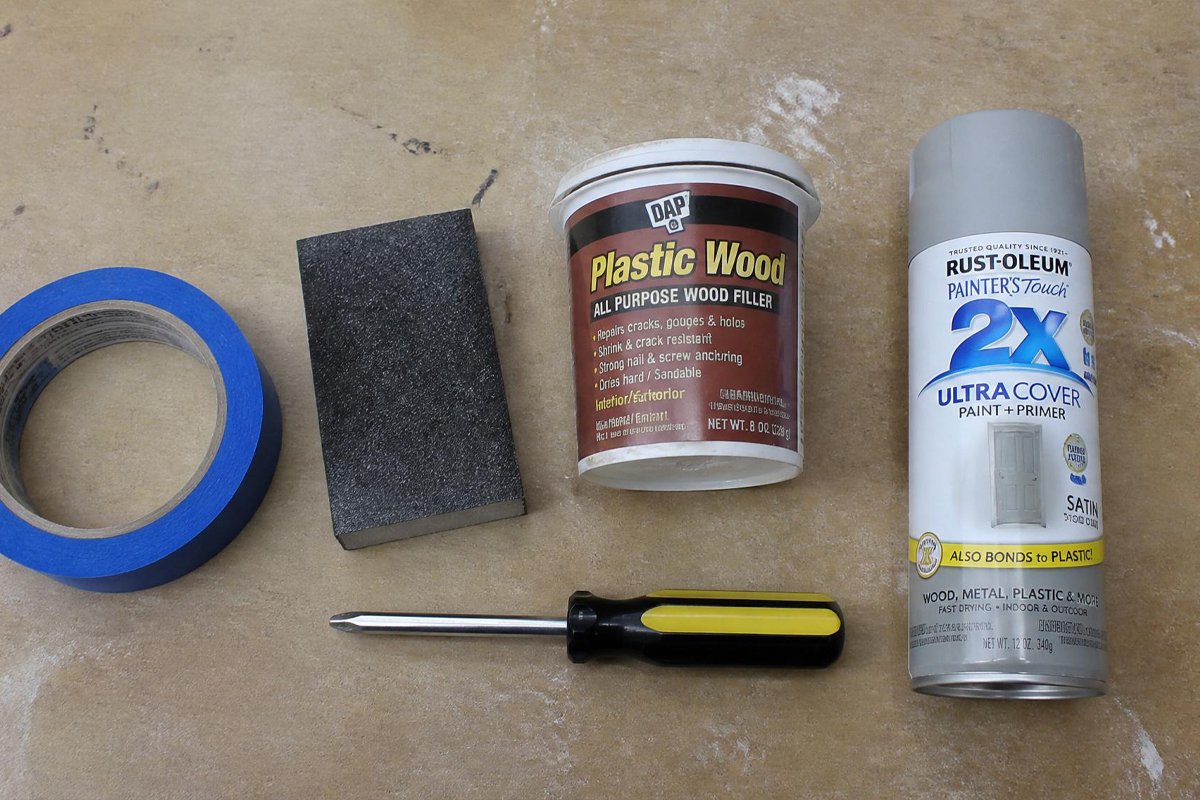
Take off doorknobs, hinges (if removing the door), and any other hardware. Wipe the entire door down with a degreaser to remove the accumulated hand oils and dust that build up around handles and edges over years of use.
Step 2: Sand and Fill
Lightly sand the existing finish with 220-grit sandpaper to scuff the surface for better adhesion, and fill any dents, old nail holes, or dings with wood filler, sanding it flush once dry. This step matters more on doors than almost any other surface, since raking light from a hallway fixture makes even small surface imperfections very visible on a large flat panel — the same principle covered in our wood spray painting guide.
Step 3: Mask Thoroughly
Mask the door frame, hinges (if spraying in place), floor, and any glass panels with painter’s tape and plastic sheeting. If removing the door, lay it flat on sawhorses over a large drop cloth in a well-ventilated garage or covered outdoor space.
Step 4: Prime If Needed
A stain-blocking primer is worth applying if the door has water stains, marker, or a significant color change planned (dark to light or vice versa), since it prevents old color or stains from bleeding through the new topcoat.
Step 5: Spray in Thin, Even Coats
Work from the recessed panels outward to the flat rails and stiles, using light, overlapping passes rather than one heavy coat. Apply 2–3 thin coats, following the same overlap and distance principles from our beginner spray painting guide, allowing the manufacturer’s recoat window between passes.
Step 6: Cure Fully Before Rehanging
Let the final coat cure for the time listed on the label — often 24–72 hours for a hard enamel — before rehanging the door and reinstalling hardware. Rehanging too early risks the door sticking to the frame or the fresh paint marking under hardware pressure.
Panel Doors vs Flush Doors: What Changes
Raised-Panel Doors
Traditional raised-panel doors have the most surface complexity — recessed fields, routed profiles, and multiple planes that catch paint differently. Spray from an angle into the recessed panel first, then flat-coat the surrounding rails and stiles, to avoid pooling paint in the corners of each panel. Take extra care at the inside corners of each panel, where two profile angles meet — this is the spot most prone to visible pooling if the spray pass lingers even slightly too long.
Flush (Flat-Slab) Doors
Flush doors are the fastest and most forgiving to spray, since there’s no panel detail to work around — the main risk is inconsistent overlap across a large flat area, which shows up as visible banding under raking light. Keep passes moving at a steady, consistent speed edge to edge, the same discipline used on wall spray painting projects.
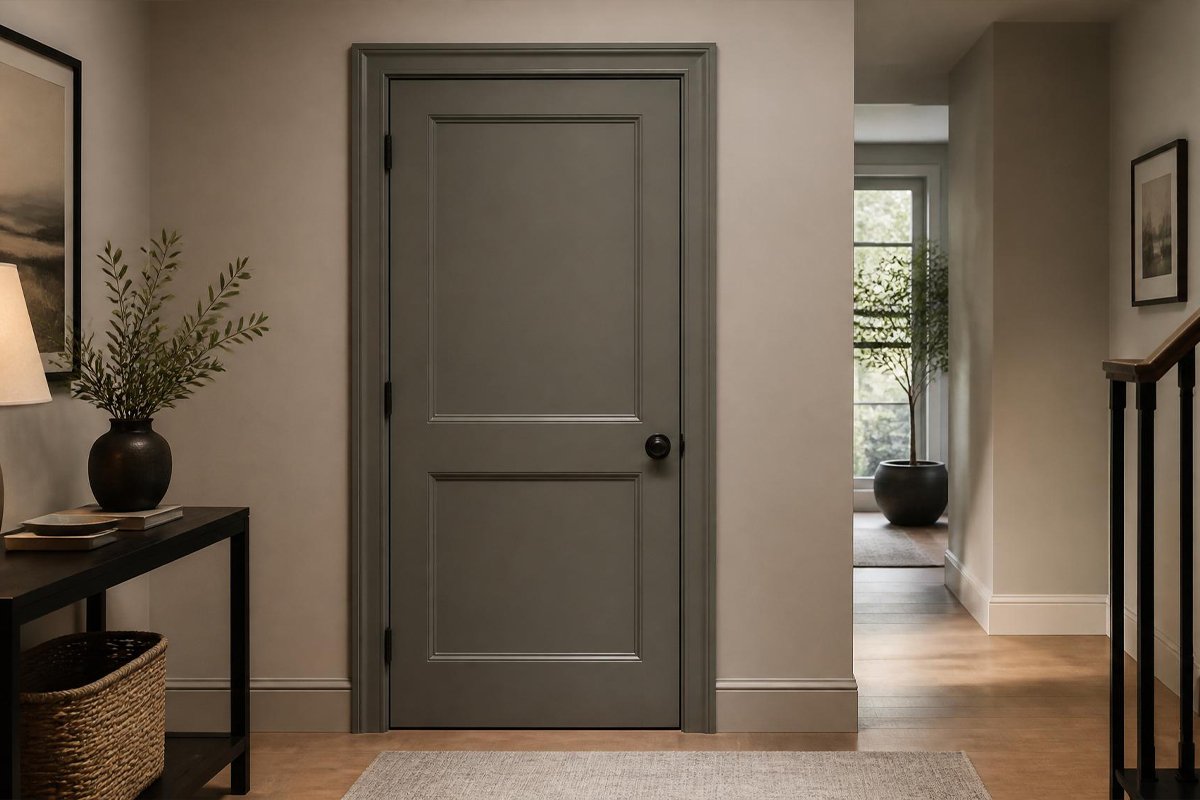
Popular Interior Door Color Approaches
Beyond technique, color choice on doors has become its own small design trend in recent years. Matching doors exactly to the surrounding trim in a crisp white or off-white remains the most classic, resale-friendly choice, and it’s the most forgiving option if you’re painting doors in different rooms with slightly different wall colors.
- Black or deep charcoal interior doors have become popular as a bold contrast against lighter walls, particularly on French doors or doors with glass panels where the frame becomes a visible design feature.
- Painting a door the same color as the wall it’s set into (rather than matching the trim) creates a more seamless, modern look that makes the doorway feel like part of the wall rather than a separate element.
- Two-tone doors — a different color on each face — let you match one side to a hallway’s palette and the other to a bedroom’s, a detail more achievable with spray application than brush painting since sharp masking lines are easier to hold with a sprayer.
Whatever color direction you choose, the same enamel-over-wall-paint durability logic applies — see our types of spray paint guide if you’re deciding between paint chemistries for a bold color that will get heavy daily handling.
Common Mistakes
- Spraying with hardware still attached: Paint builds up around hinges and knobs left in place, creating a messy edge and making the hardware harder to clean later. Always remove what you can.
- Rehanging before full cure: A door that feels dry to the touch can still be soft enough underneath to stick to the frame or mark under hinge pressure — always wait for the label’s full cure time, not just surface dry time.
- Skipping the label/hinge-tracking step: Removed doors that look nearly identical on both faces are easy to rehang backward or upside down without a quick tape label noting orientation before removal.
- Using standard wall paint instead of a door-rated enamel: A softer wall paint wears through at the handle and edge within months on a high-traffic door, where a proper enamel would last years.
- Inconsistent spray distance across a large flat panel: A flush door’s size makes it easy to drift closer or farther from the surface partway through a pass, producing visible density bands once the paint dries and catches light.
- Forgetting the top and bottom edges: The top edge and bottom edge of a door are easy to skip entirely, but they’re visible when the door is open and are just as exposed to humidity and wear as the faces.
How Much Time Does a Door Project Take?
A single door, including removal, cleaning, sanding, masking, and two to three coats, typically takes 2–3 hours of active work spread across a day or two once cure time between coats and before rehanging is factored in. A whole-house project of 8–10 doors is usually tackled as a batch: remove and prep all doors on day one, spray all of them in a rotating sequence on day two so each gets its full recoat window, and rehang once cure time has passed on day three or later. Budgeting realistic time this way avoids the common trap of rehanging doors too early just to keep a renovation timeline on schedule.
Expert Tips
- If doing multiple doors, prop them all up at once on a simple sawhorse assembly line so each one gets its full recoat window while you move to the next — this dramatically speeds up a whole-house project.
- A slightly higher sheen (satin or semi-gloss) on doors compared to the surrounding wall paint is a common professional touch that makes doors read as intentionally finished rather than mismatched — see our types of spray paint guide for sheen and durability tradeoffs.
- Photograph each door’s hardware placement before removing anything, especially with older doors that may have non-standard hinge or knob positioning that’s easy to forget by the time you’re reinstalling.
- Number each door and its matching frame with a small piece of painter’s tape in an inconspicuous spot before removal, especially on a whole-house project where doors can look interchangeable once they’re all off their hinges and lined up in a garage.
- Consider spraying the strike plate area and edges slightly heavier than the face, since these spots see the most direct mechanical contact from the door latch and frame over years of use.
Final Thoughts
Interior doors reward the extra step of removing and spraying flat far more than most surfaces in a home, simply because gravity and full access to every edge make such a visible difference on a large, frequently-viewed panel. Best overall approach for most homeowners: remove the door, spray flat on sawhorses in the garage, using a hard-wearing satin or semi-gloss enamel. Best for a quick single-door touch-up: spray in place with careful masking, accepting a slightly less perfect result in exchange for speed. Best for a whole-house project: batch the removal, prep, and spraying across all doors at once rather than treating each one as a separate standalone project.
For related projects in the same room, see our guides on spray painting cabinets, spray painting a wall, and our complete home improvement spray painting guide.
Frequently Asked Questions
Do I need to remove a door to spray paint it well?
Not strictly, but removing it and laying it flat on sawhorses gives noticeably more even coverage and is the method most professionals use, since gravity distributes paint more evenly on a horizontal surface than a vertical, hinged one.
How many coats does an interior door need?
Most projects need 2–3 thin coats for full, even coverage and durability. Fewer thicker coats increase the risk of drips and orange peel texture, especially on the recessed panels of a paneled door.
What sheen is best for interior doors?
Satin and semi-gloss are the most popular choices, since they resist fingerprints and are easier to wipe clean than a flat finish, while looking less stark than full gloss under normal room lighting.
How long before I can rehang a freshly painted door?
Wait for the paint’s full cure time on the label, typically 24–72 hours depending on the product, before rehanging and reinstalling hardware. Surface-dry paint that still hasn’t fully cured underneath can stick to the frame or mark easily.
Can I spray paint a door without removing the hardware?
It’s possible with careful masking, but paint tends to build up around hinges and knobs left in place, creating a messier result than removing hardware first and painting a clean, unobstructed surface.
Is spray paint better than brush painting for doors?
Spray paint generally produces a smoother, more even finish without visible brush strokes, especially on paneled doors with detailed profiles that are difficult to cut in evenly with a brush. Brush and roller remain a reasonable lower-cost option when spraying equipment or ventilation isn’t practical.
Do I need a primer if the door is already painted?
A primer isn’t always required over an existing coat in good condition, but it’s worth using if there are stains, a major color change planned, or bare wood showing through worn areas, to ensure even color and prevent old stains from bleeding through.
What’s the biggest difference between painting a flush door and a panel door?
Panel doors have recessed fields and routed detail that need to be sprayed first before the surrounding flat areas, while flush doors are a single flat plane where consistent overlap across the whole surface is the main technique to focus on.
Should closet doors be painted the same as regular interior doors?
Yes, the same prep and paint recommendations apply, though sliding or bifold closet doors may have track hardware that’s easier to mask in place than to fully remove, depending on the track system.
Can I spray paint doors that have a wood veneer or laminate finish?
Veneer and laminate surfaces need a bonding primer designed for slick, low-porosity surfaces, since standard wood primer won’t adhere well without it. Skipping this step is a common reason paint peels off laminate doors within months.
Is it worth hiring a professional instead of spraying doors myself?
A professional setup with a dedicated spray booth can produce a slightly more consistent finish across a large number of doors at once, but a careful DIY approach with proper masking, sanding, and a garage or well-ventilated space can achieve very comparable results for a fraction of the cost, especially for one to a handful of doors.
Author: Rodney Shiner
Last Updated: July 2026