
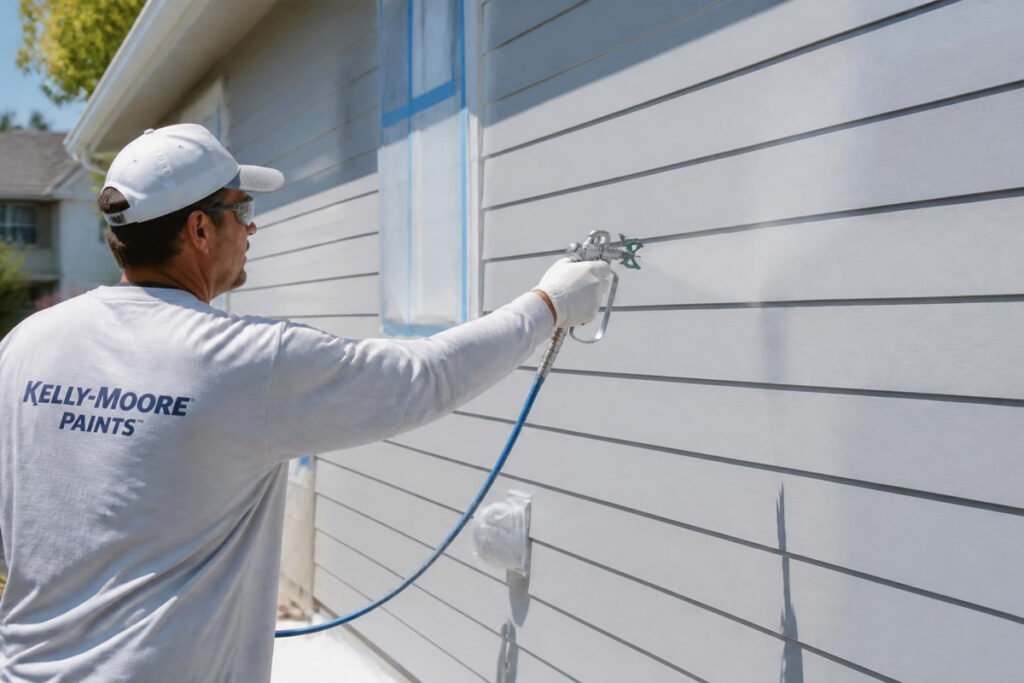
Faded, chalky, sun-bleached vinyl siding can make an otherwise solid house look tired — and replacing it isn’t cheap. A full siding replacement often runs $12,000–$25,000 for an average home, while repainting the siding you already have can cost a fraction of that and still deliver a dramatic curb-appeal upgrade.
The problem is that most homeowners assume vinyl can’t be painted at all, or they try to roll and brush it the way they would a wall — and end up with streaks, missed grooves, and a finish that peels within a season. Vinyl has a unique surface chemistry: it’s flexible, it expands and contracts significantly with temperature, and it will crack or bubble under the wrong paint.
The good news is that when you spray paint vinyl siding with the correct products and technique, you get an even, professional-looking coat that reaches into every groove and lap line — something a brush or roller struggles to do. This guide walks through exactly how to choose the right paint, prep the surface, and apply it so the finish holds up for 8–10+ years. If you’re also weighing options for other exterior surfaces, our guides on how to spray paint a fence and spray paint concrete cover similar outdoor projects.
Quick Answer
The best paint for vinyl siding depends on your siding’s current color and your climate. If you’re going lighter or the same shade, a 100% acrylic exterior paint formulated for vinyl works well. If you’re going darker, you need a paint with a specialized heat-reflective (vinyl-safe) formulation — standard dark paint absorbs too much heat and can warp the panels. Either way, an airless sprayer gets paint into the overlapping grooves far more evenly than a brush or roller, and two thin coats will always outperform one thick one.
Table of Contents
- What Is Vinyl Siding Spray Painting? / How It Works
- How to Choose the Right Paint and Sprayer
- Best Products for Painting Vinyl Siding
- Comparison Table
- Best Approach for Different Siding Conditions
- How to Spray Paint Vinyl Siding Correctly
- Common Mistakes
- Expert Tips
- Final Thoughts
- Frequently Asked Questions
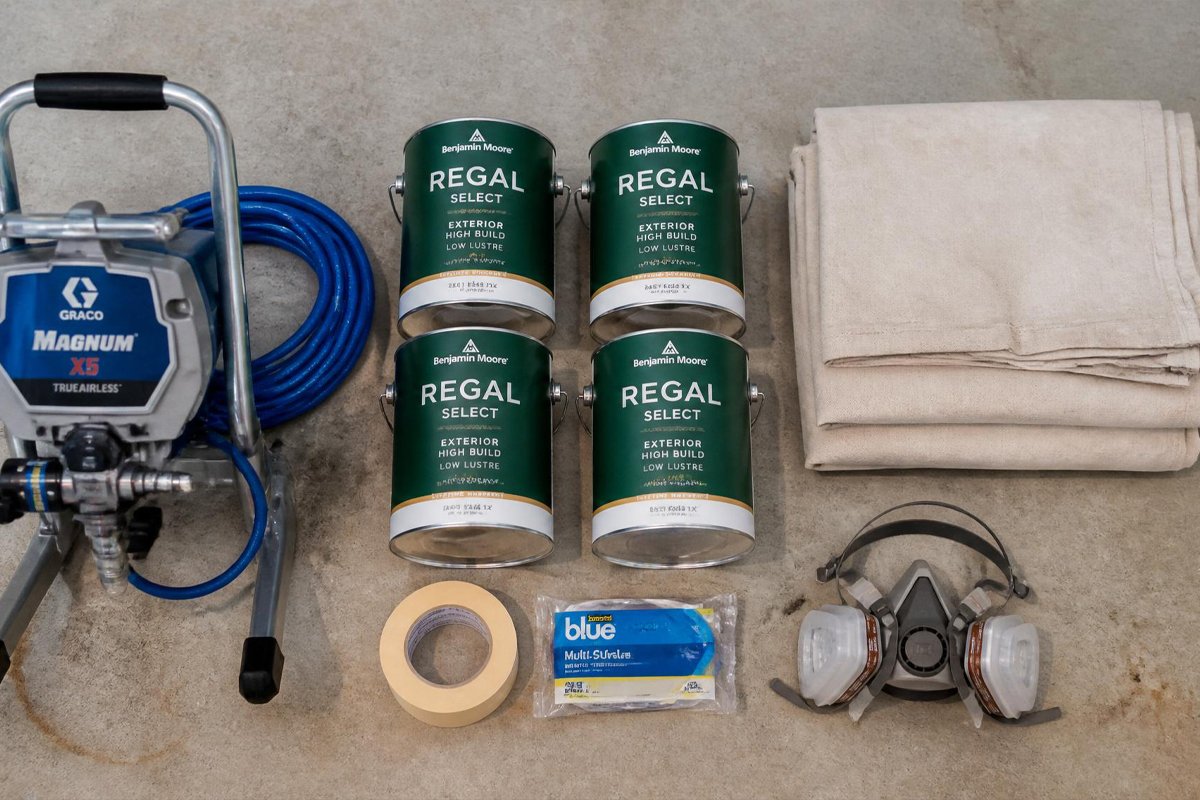
What Is Vinyl Siding Spray Painting? / How It Works {#what-is-it}
Vinyl siding is made from PVC (polyvinyl chloride), a plastic that flexes with temperature changes far more than wood, fiber cement, or metal. Standard exterior paint is formulated with wood and masonry in mind — it’s rigid once cured, which means it cracks and peels when applied over a surface that’s constantly expanding and contracting.
Vinyl-safe paint is different: it contains flexible acrylic resins that move with the panel instead of fighting it. When you spray paint vinyl siding, you’re not just adding color — you’re applying a coating engineered to survive the same freeze-thaw and heat cycles the vinyl itself is built for.
Spraying (rather than brushing or rolling) matters here specifically because of the panel design. Vinyl siding overlaps in a lap pattern, with a groove where each panel locks into the one below it. A roller skips over these grooves; a sprayer’s atomized mist reaches into them, giving continuous, even coverage across the entire wall. For a broader look at how spray equipment compares across home projects, see our guide to spray gun types for painting.
How to Choose the Right Paint and Sprayer {#how-to-choose}
Before buying anything, ask yourself three questions:
1. Am I going lighter, the same shade, or darker than the existing siding? This is the single biggest factor. Going darker requires a vinyl-specific “heat-reflective” formula (sometimes marketed as “vinyl safe” paint), because dark colors absorb more solar heat and can warp unprotected panels.
2. Is my siding dirty, chalky, or already peeling? Chalky residue (a powdery film left by UV degradation) has to be washed off completely, or new paint won’t bond. According to the EPA’s guidance on lead-safe renovation practices, homes built before 1978 should be tested for lead paint before any sanding or scraping, since disturbing old paint can release hazardous dust.
3. Airless or HVLP? For a job this size — an entire house exterior — an airless sprayer is almost always the better choice; it handles thicker exterior paints without heavy thinning and covers large flat areas fast. HVLP offers more control but is better suited to smaller sections, trim, or touch-ups. Our comparison of how airless paint sprayers work breaks down the mechanics if you want the full picture before renting or buying equipment.
Best Products for Painting Vinyl Siding {#best-products}
100% Acrylic Exterior Paint (Vinyl-Safe Formula)
Overview: The standard choice for most vinyl siding projects, especially when staying at or lighter than the original color. These paints flex with temperature swings and resist UV fading far better than standard latex.
Key Features:
- Flexible acrylic resin that expands and contracts with the vinyl
- UV-resistant pigments that resist chalking
- Available in flat, satin, and low-sheen finishes
- Typically rated for 8–10+ years of exterior durability
Best For: Full-house siding jobs, especially lighter or same-tone color changes
Pros: ✅ Excellent flexibility and adhesion ✅ Wide color selection ✅ Sprays easily through an airless gun Cons: ❌ Standard tints can still limit how dark you go ❌ Needs 2 full coats for even coverage
Our Verdict: This is the safest starting point for most homeowners. If your project is a color refresh rather than a dramatic darkening, a quality acrylic exterior paint gets the job done reliably. Pair it with proper prep from our primer buying guide if your siding has bare or repaired spots.
Heat-Reflective “Vinyl Safe” Paint
Overview: A specialized subcategory of acrylic paint engineered with reflective technology that keeps darker colors from absorbing excess solar heat.
Key Features:
- Reflective pigment technology approved for use on vinyl
- Manufacturer color-matching tools to confirm a shade is vinyl-safe before you buy
- Available in deep grays, blues, greens, and other popular darker exterior tones
Best For: Homeowners wanting a darker or dramatically different color than the existing siding
Pros: ✅ Prevents warping from heat absorption ✅ Opens up darker color options ✅ Long-lasting, purpose-built formula Cons: ❌ Pricier than standard exterior paint ❌ Fewer brands offer it, so shopping around takes more effort
Our Verdict: If you’ve been dreaming of a charcoal or navy exterior, this is non-negotiable — skipping it on a dark color is one of the fastest ways to warp a whole wall of siding.
Elastomeric Exterior Coating
Overview: A thicker, more rubberized coating originally designed for masonry that some manufacturers have adapted for vinyl-compatible use.
Key Features:
- Thick, high-build film that bridges small cracks and imperfections
- Strong flexibility and weatherproofing
- Often needs to be sprayed with a larger tip due to viscosity
Best For: Older siding with minor surface imperfections you want to smooth over
Pros: ✅ Excellent weather sealing ✅ Hides small surface flaws Cons: ❌ Requires a more powerful sprayer setup ❌ Can look thick/textured if over-applied
Our Verdict: A niche option — worth it only if your siding has minor pitting or texture issues you want to minimize, otherwise standard acrylic is simpler to apply.
Comparison Table {#comparison-table}
| Product Type | Best For | Color Flexibility | Application Ease | Durability |
|---|---|---|---|---|
| 100% Acrylic Exterior | Lighter/same-tone refresh | Moderate | Easy | 8-10 years |
| Heat-Reflective Vinyl-Safe | Darker color changes | High (with reflective tech) | Moderate | 8-10 years |
| Elastomeric Coating | Older/imperfect siding | Moderate | Requires larger tip | 10+ years |
Best Approach for Different Siding Conditions {#different-conditions}
Faded but Structurally Sound Siding
If your siding is chalky or faded but not cracked or warped, this is the easiest scenario. A thorough wash, one coat of vinyl-safe acrylic primer if needed, and two coats of your chosen exterior paint will restore it fully. This is functionally similar in spirit to refreshing faded outdoor metal furniture — the surface just needs a clean slate and the right flexible formula.
Siding With Minor Cracks or Warping
Small cracks (under a few inches) can often be filled with an exterior-grade vinyl caulk before painting. Larger warps usually indicate heat damage and should be replaced rather than painted over — paint won’t fix a structural warp, and it will just highlight the distortion once it’s a solid new color.
Siding Going From Light to Dark
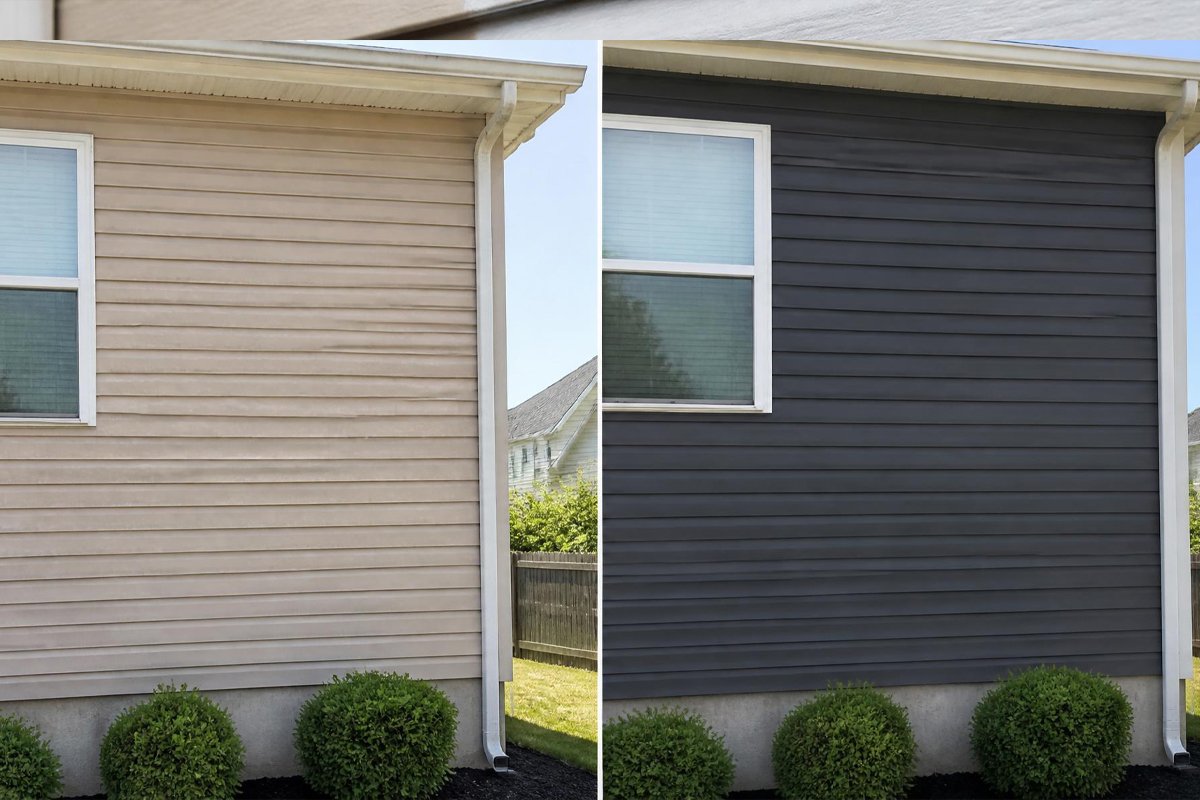
This is the trickiest scenario. Beyond the heat-reflective paint requirement, plan for at least 2-3 coats to achieve full, even coverage without streaking, and always test a small hidden section first (like behind a shrub or on a back-corner panel) to confirm the color holds up as expected after 48 hours of cure time.
How to Spray Paint Vinyl Siding Correctly {#how-to}
For general spray fundamentals — distance, overlap, and coat thickness — our guide on how to get a smooth finish with spray paint covers the core technique that applies across every surface, including this one. According to the CDC/NIOSH guidance on spray painting safety, always use a properly rated respirator when spraying exterior coatings outdoors for extended periods, even in open air.
Step 1: Prepare
Remove or mask off downspouts, light fixtures, window trim, and any hardware you don’t want painted. Lay drop cloths over nearby plants, walkways, and outdoor furniture.
Step 2: Clean/Setup
Pressure wash the entire surface to remove chalking, dirt, mildew, and loose debris. Let the siding dry completely — a minimum of 24 hours in good weather — before moving forward. Skipping this step is the single most common cause of early paint failure on vinyl.
Step 3: Apply
Load your airless sprayer with your chosen vinyl-safe paint (thin slightly if the manufacturer recommends it for your equipment). Spray in smooth, horizontal passes, overlapping each pass by about 50%, and keep the tip 10-12 inches from the surface to avoid drips while still getting full coverage into the grooves.
Step 4: Wait/Cure
Allow 1-2 hours of dry time between coats in moderate weather, and apply a second full coat for even, opaque coverage. Full cure typically takes 24-48 hours — avoid touching or pressure washing the siding again during this window.
Step 5: Finish/Review
Once dry, walk the perimeter of the house in daylight to check for missed spots, thin areas, or drips, and touch up as needed with a small handheld sprayer or brush.
Common Mistakes {#common-mistakes}
Skipping the heat-reflective formula on a dark color. This is the #1 cause of vinyl siding warping after a DIY repaint — standard dark paint simply absorbs too much heat for the plastic to handle.
Painting over chalky residue. If your hand comes away powdery after wiping the siding, it needs another wash. Paint applied over chalk peels almost immediately, similar to how paint fails when applied over any uncleaned or contaminated surface.
Painting in direct, high heat. Applying paint when the siding surface itself is hot to the touch causes it to dry too fast on the outside while trapping solvents underneath — leading to bubbling and an uneven finish, much like the bubbling issues covered in our troubleshooting guide for spray paint problems.
Expert Tips {#expert-tips}
Work in the shade whenever possible. Painting the side of the house that’s currently in shadow — and rotating around as the sun moves — keeps the surface temperature consistent and prevents flash-drying that leads to lap marks.
Check the weather window, not just the day. Vinyl-safe paints typically need a stretch of dry weather (no rain for 24-48 hours after the final coat) and moderate temperatures (roughly 50-85°F) to cure properly — check an extended forecast, not just the day you plan to start.
Keep a wet edge across each panel run. Because vinyl siding panels run in long horizontal strips, stopping mid-panel and restarting later creates a visible line. Plan your working sections around natural breaks — corners, windows, doors — so every panel gets sprayed in one continuous pass.
Final Thoughts / Final Verdict {#final-thoughts}
Best overall: A quality 100% acrylic vinyl-safe exterior paint applied with an airless sprayer — reliable, widely available, and proven for full-house jobs.
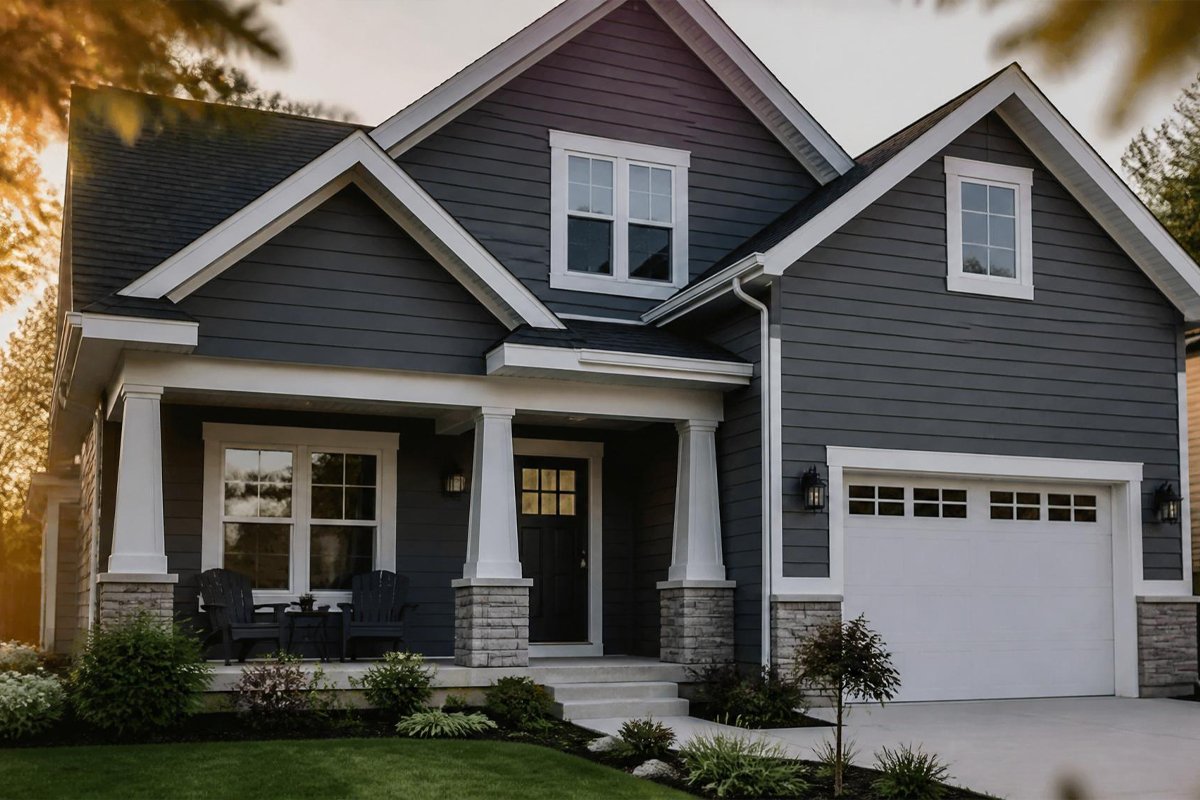
Best for darker colors: Heat-reflective vinyl-safe paint, which is the only safe way to move into deeper exterior tones without risking warped panels.
Best for older or imperfect siding: An elastomeric coating that bridges minor surface flaws while still flexing with the vinyl underneath.
Whichever product you choose, the fundamentals stay the same: wash thoroughly, choose a formula matched to your target color, and apply two thin, even coats with a sprayer rather than a brush or roller. If this project has you thinking about the rest of your exterior, our guides to spray painting a fence and the complete home improvement spray painting guide are good next stops.
Frequently Asked Questions {#faq}
Do I need a primer before painting vinyl siding? Not always. If the existing siding is a similar color and in good condition, most vinyl-safe paints can go directly over it. If you’re covering bare repaired sections, going from a very dark to a very light color, or dealing with stains, a dedicated primer — see our primer buying guide — will improve adhesion and coverage.
How long does it take to spray paint vinyl siding on an average house? For a typical single-story home, plan on a full weekend: one day for washing and prep, and one day for spraying two coats with dry time between them. Larger or multi-story homes can take longer.
How much does it cost to spray paint vinyl siding vs. replace it? Repainting typically costs a few hundred to low thousands of dollars in materials and equipment (or a moderate professional fee), compared to $12,000–$25,000+ for a full siding replacement — making it a strong option if the siding itself is still structurally sound.
Vinyl-safe paint vs. regular exterior paint — what’s the real difference? Vinyl-safe paint uses more flexible resins that move with the panel’s expansion and contraction, and (for darker shades) reflective pigment technology that limits heat absorption. Regular exterior paint, formulated primarily for wood or masonry, is more rigid and can crack or cause warping on vinyl over time.
Can I spray paint vinyl siding myself, or do I need a professional? It’s a very doable DIY project with an airless sprayer, proper prep, and a weekend of good weather. If your home has multiple stories, requires extensive scaffolding, or you’re not comfortable working at height, a professional crew may be worth the added cost.
Why is my newly painted vinyl siding bubbling? Bubbling almost always traces back to trapped moisture or solvents — either the siding wasn’t fully dry before painting, or coats were applied too heavy or too fast in hot conditions. Our guide on why spray paint bubbles walks through causes and fixes in more detail.
What’s the best time of year to spray paint vinyl siding? Spring and early fall are ideal — moderate temperatures (50-85°F), lower humidity, and a better chance of an extended dry stretch for full cure time, without the extreme heat that can flash-dry paint in mid-summer.
Do I need to caulk before painting? Yes, if there are visible cracks, gaps around trim, or separated seams. Use an exterior-grade, paintable vinyl caulk and let it fully cure before spraying, otherwise the paint will crack right along with the gap underneath it.
Can I use an HVLP sprayer instead of an airless sprayer for a whole house? You can, but it will take considerably longer and require more thinning of thicker exterior paints. For a full exterior job, an airless sprayer is the more efficient choice; HVLP is better suited to trim, shutters, or smaller accent areas. See our breakdown of how airless sprayers work for more on the mechanics.
Will spray painting void my vinyl siding’s warranty? Some manufacturers’ warranties are voided by painting, especially with non-approved paint types — check your specific manufacturer’s documentation before starting, particularly if the siding is still under a material warranty.
How do I clean my sprayer afterward so it’s ready for future projects? Flush the system thoroughly with the manufacturer-recommended cleaning solution immediately after use — letting exterior paint dry inside the lines is one of the fastest ways to ruin a sprayer. Our guide on cleaning a Wagner paint sprayer walks through the process step by step.
Author: Rodney Shiner Last Updated: July 2026