
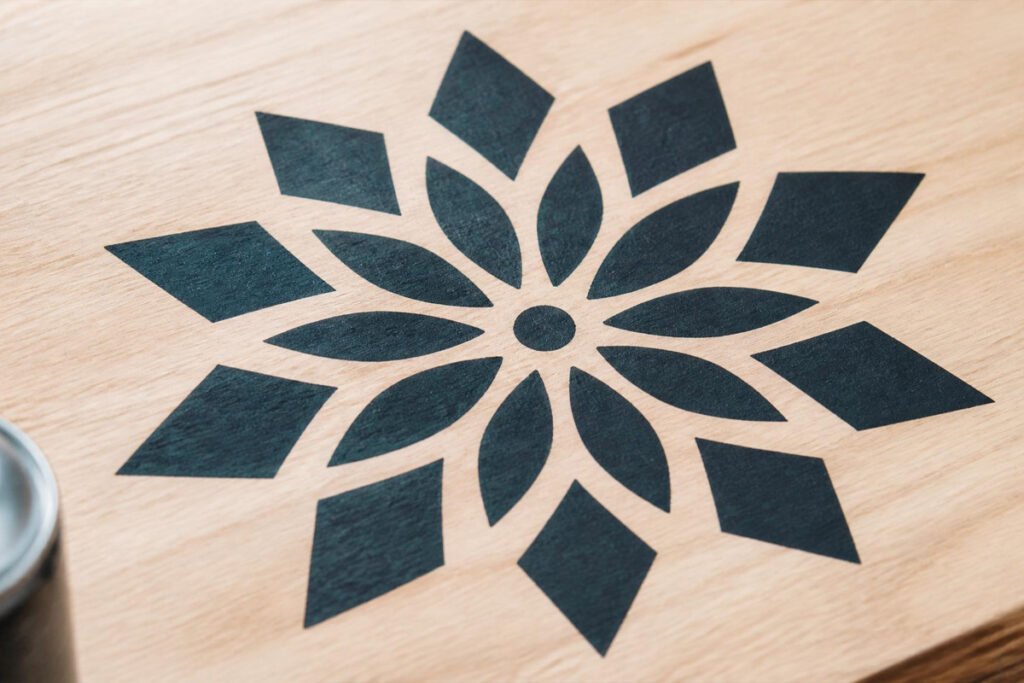
Stenciling with spray paint promises the easiest path to a crisp, professional-looking design — no freehand skill required, just a cutout shape and a can of paint. In practice, though, it’s one of the most common places beginners get frustrated: paint bleeds under the stencil edge, the design looks fuzzy instead of sharp, or a heavy-handed pass warps a paper stencil halfway through the project.
Part of what makes stenciling deceptively tricky is that it looks like a purely mechanical process — line up the cutout, spray, peel it off — when really it’s a balance of surface contact, paint volume, and timing that has to be right all at once. Get any one of those slightly wrong and the result shifts from a crisp, professional-looking design to something that reads as an obvious DIY attempt, even though the underlying idea and shape were exactly right.
The good news is that the fixes are simple and repeatable once you understand what’s actually happening at the stencil edge. This guide covers stencil material choice, adhesion, spray distance and technique, and how to get the same crisp, bleed-free lines seen in professional signage and wall art. If you’re stenciling on canvas specifically, see our acrylic spray paint for canvas guide for surface-specific technique notes.
Quick Answer
Crisp, bleed-free stencil results come down to three things: a stencil material that lies completely flat against the surface (with adhesive or spray adhesive helping on textured surfaces), light, short bursts of paint from about 10-15 inches away rather than one heavy continuous spray, and building color gradually over 2-3 light passes instead of trying to achieve full opacity in one go. Most bleeding happens when the stencil isn’t fully sealed against the surface or when too much paint is applied in a single pass.
Table of Contents
- Why Stencils Bleed and Blur
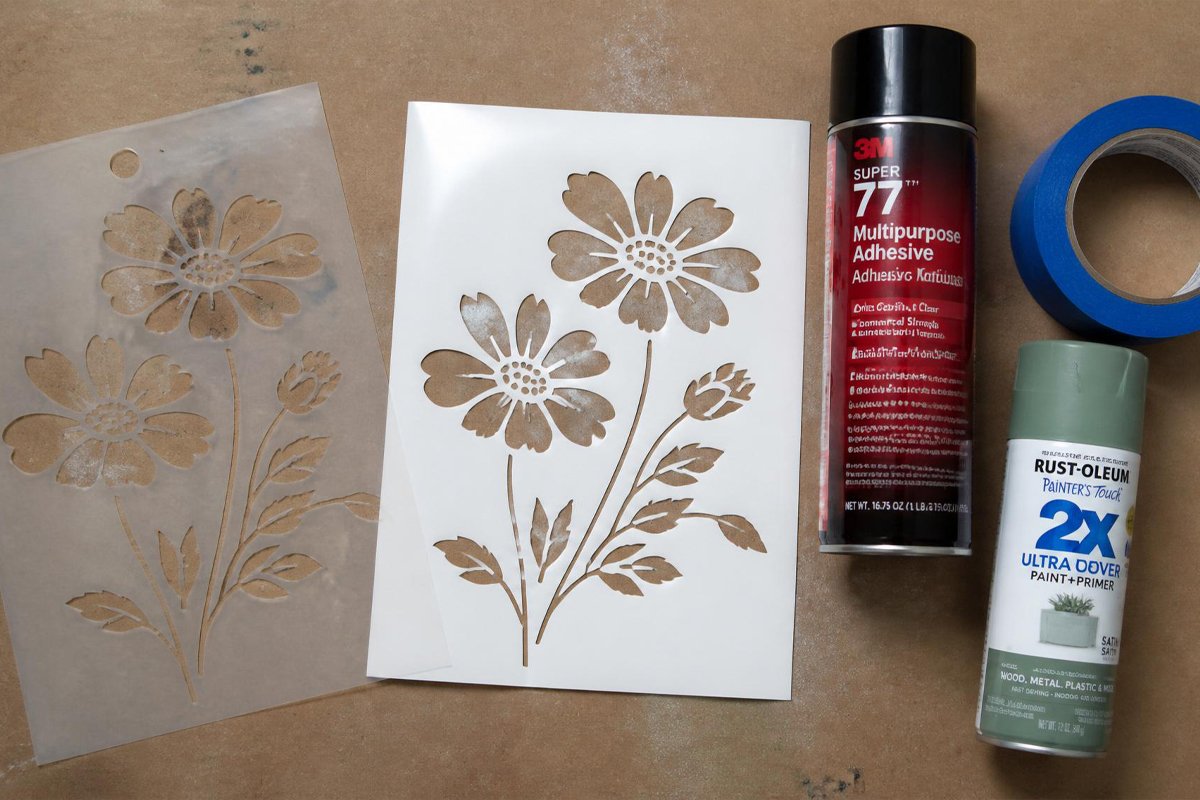
- Choosing the Right Stencil Material
- How to Cut Your Own Stencil
- Material Comparison Table
- How to Prep and Secure a Stencil
- How to Spray Paint a Stencil Correctly
- Stenciling on Different Surfaces
- Common Mistakes
- Expert Tips
- Final Thoughts
- Frequently Asked Questions
Why Stencils Bleed and Blur
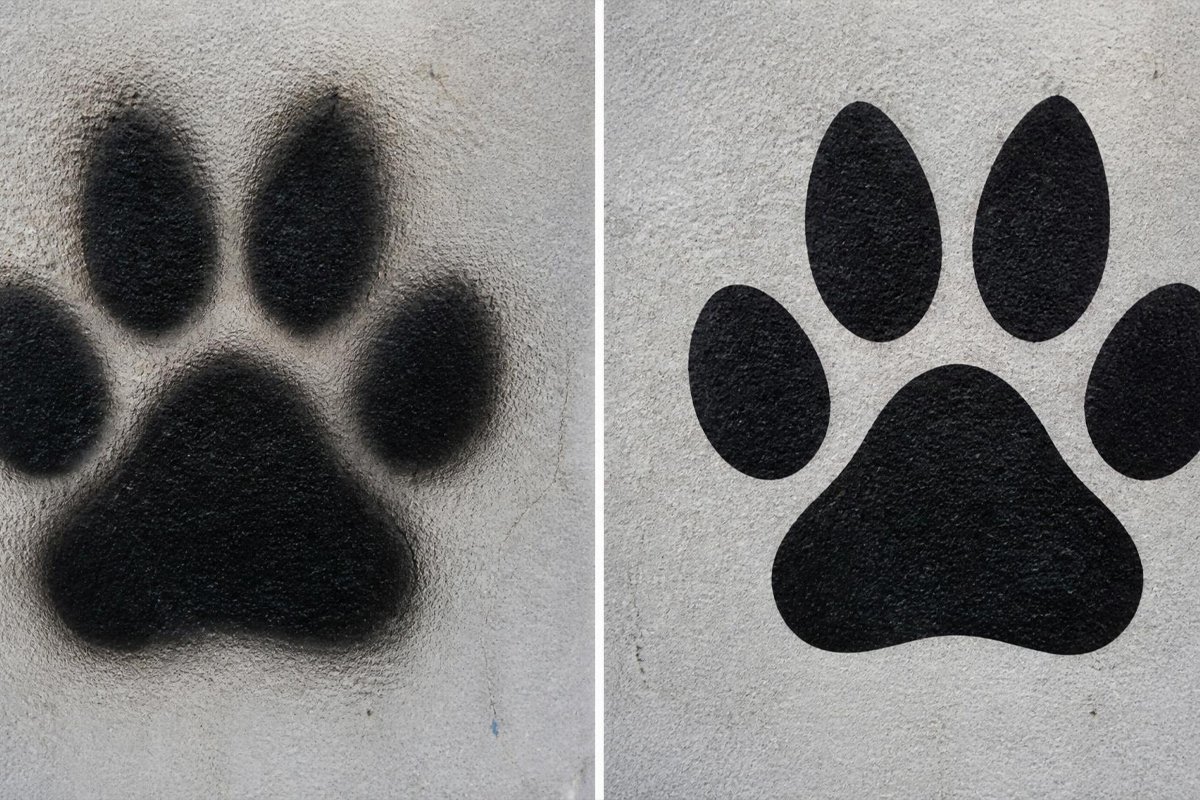
A stencil works by physically blocking paint from reaching everything except the cutout shape. Bleeding happens whenever paint finds a way past that barrier — usually because the stencil isn’t lying perfectly flat against the surface, letting paint creep underneath the edge, or because too much paint is applied in one heavy pass, which pools at the stencil’s edge and pushes under it rather than staying contained within the cutout.
Blurring is a related but slightly different problem: it happens when the stencil shifts mid-spray, when paint is applied from too far away and drifts before landing, or when the cutout material itself is too thin or floppy to hold a sharp edge under the force of the spray. Understanding which of these two problems you’re actually seeing is the first step to fixing it — see our smooth finish guide for the general spray control principles that apply here too.
Choosing the Right Stencil Material
Before starting, answer three questions:
- How many times will you reuse this design? A one-off project doesn’t need the same durable material as a stencil you’ll use repeatedly on multiple walls or pieces of furniture.
- How intricate is the design? Fine detail and thin bridges between cutout sections need a material stiff enough to hold its shape, like mylar or acetate, rather than flimsy paper.
- What surface are you stenciling onto? Textured surfaces like brick or stucco need a more flexible or heavily-adhered stencil than a smooth, flat wall or canvas.
How to Cut Your Own Stencil
Making a custom stencil is straightforward and opens up far more design options than pre-made stencils allow. Start with a design that has bold, simple shapes rather than fine thin lines, since intricate detail is harder to cut cleanly and more prone to tearing during use.
- Choose your material based on how many times you’ll reuse the design — mylar or acetate for repeated use, cardstock for a one-off project.
- Transfer your design onto the material, either by printing directly onto it or tracing a printed design taped underneath a transparent material like acetate.
- Cut using a sharp craft knife or precision blade rather than scissors, which struggle with tight curves and interior cutouts.
- Leave bridges — small uncut connections — between separate interior sections of a design (like the center of a letter “O”) so the stencil holds together as one piece rather than falling into loose fragments.
A dull blade is one of the most common reasons homemade stencils end up with ragged, torn edges instead of clean cuts — replacing blades more often than feels necessary usually pays off in cleaner final results.
Material Comparison Table
| Material | Reusable? | Best For | Cost |
| Mylar/acetate | Yes, many uses | Repeated designs, walls, furniture | $ |
| Adhesive vinyl | Single use | Precise, complex designs | $$ |
| Cardstock/paper | Limited (1-3 uses) | One-off projects, testing designs | ¢ |
| Freezer paper (iron-on) | Single use | Fabric and canvas stenciling | ¢ |
How to Prep and Secure a Stencil
Step 1: Clean and Prep the Surface
Wipe down the surface to remove dust and debris, since anything trapped under the stencil creates a small gap that paint can bleed through. On porous surfaces like raw wood or unsealed canvas, consider a light sealing coat first so the surface doesn’t absorb paint unevenly around the stencil edge.
Step 2: Position and Secure the Stencil
Use painter’s tape around the outer edges and, for adhesive-backed stencils, press firmly across the entire design — not just the border — to eliminate small air pockets that let paint creep underneath. On textured surfaces, a light coat of spray adhesive on the back of the stencil (never on adhesive-backed stencils, which already have their own sticky layer) significantly improves the seal, as covered in more detail in our how to spray paint on graffiti guide, where stencil sealing against uneven surfaces is especially important.
Step 3: Mask Everything Outside the Stencil
Cover any surrounding area you don’t want painted with additional tape, cardboard, or plastic sheeting — overspray drifts further than most people expect, especially outdoors or in a breezy space.
How to Spray Paint a Stencil Correctly
Step 1: Test Your Spray Pattern First
Do a few test bursts on cardboard or scrap material to check your can’s spray pattern and confirm your distance before committing to the actual project — this is especially useful with a new can or an unfamiliar brand, since spray patterns vary.
Step 2: Spray in Short, Light Bursts
Hold the can 10-15 inches from the surface and use short bursts rather than one continuous spray, moving steadily across the stencil rather than lingering in one spot. This keeps paint from pooling at any single point on the stencil edge, which is the most common cause of bleeding even on a well-sealed stencil — the same overlap discipline covered in our beginner spray painting guide.
Step 3: Build Color Gradually
Apply 2-3 light coats rather than trying to achieve full opacity in a single pass, letting each layer flash-dry briefly between passes. This keeps the paint film thin enough to stay contained within the stencil’s edges instead of building up enough volume to push underneath.
Step 4: Remove the Stencil at the Right Moment
Peel the stencil away once the paint has dried to the touch but before it’s fully cured — waiting too long can cause the stencil to pull up dried paint at the edge as the two surfaces bond together slightly over time. Pull at a shallow angle, away from the design, for the cleanest release.
Stenciling on Different Surfaces
Walls
Wall stenciling is one of the most common uses of this technique, and the same light-coat, short-burst approach applies directly — see our wall spray painting guide for broader wall-specific prep and technique.
Canvas and Fabric
Canvas and fabric are more porous than a painted wall, which makes bleeding more likely if the stencil isn’t fully sealed against the weave — our canvas spray paint guide covers wet-edge management specific to this more absorbent surface.
Furniture and Wood
Wood grain can catch paint unevenly around a stencil’s edge if the surface isn’t sanded smooth first, and a stiffer stencil material like mylar holds its shape better against wood’s slight surface irregularities than thin paper does.

Common Mistakes
- Spraying too close: Distances under 10 inches deliver too much paint volume too quickly, overwhelming the stencil’s edge seal and causing bleed even on a well-secured stencil.
- Using continuous spray instead of short bursts: A held-down trigger deposits far more paint than the thin, light coats a clean stencil result actually needs.
- Skipping spray adhesive on textured surfaces: A stencil that doesn’t fully contact the surface everywhere is one of the most common causes of bleeding, especially on brick, stucco, or wood grain.
- Removing the stencil too early or too late: Pulling it while paint is still wet smears the design, while waiting until fully cured risks pulling up paint at the stencil’s edge.
- Reusing a warped or damaged stencil: Once a stencil edge has curled, torn, or lost its crisp cutout shape, it will reproduce that same imperfection in every subsequent use.
- Cutting bridges too thin when making a custom stencil: Delicate connecting pieces are the first part of a stencil to tear during use, and a torn bridge changes the design’s shape for every future use of that stencil.
- Not testing spray pattern on a new can before starting: Different brands and nozzle types have noticeably different spray widths and densities, and skipping a quick test increases the risk of an unpleasant surprise on the actual project.
How Much Time and Materials Does Stenciling Take?
A single small to medium stencil project — a wall accent, a piece of furniture, a sign — typically takes 20-40 minutes of active spraying time once the stencil is prepped and secured, plus drying time between color coats if using more than one color. Materials are inexpensive: a reusable mylar stencil costs a few dollars if purchased, or can be cut at home from a sheet of acetate for even less, and a single can of spray paint covers many stencil applications. Larger repeating patterns across a full wall take proportionally longer, often 1-2 hours, since the stencil needs to be repositioned, re-secured, and resprayed at each repeat while keeping alignment consistent across the whole sequence.
Expert Tips
- Keep bridges (small connecting pieces within a complex design) as wide as practical when cutting your own stencil, since thin bridges are the first thing to tear or warp during repeated use.
- For multi-color designs, let each color fully dry before repositioning a stencil for the next color to avoid smudging the previous layer.
- If you’re stenciling a repeating pattern across a large wall, use a level for your first placement to keep the whole sequence aligned — a small error compounds visibly across multiple repeats, similar to the overlap consistency discussed in our smooth finish guide.
- Store reusable stencils flat rather than rolled or folded, since a crease can telegraph through as a visible line in your next design.
- Clean paint buildup off a reusable stencil promptly after each use, since dried paint ridges around the cutout edges change the design’s shape slightly with every additional use.
- When working outdoors, choose a calm, low-wind day if at all possible — even light breeze can carry overspray past the stencil’s edge and undermine an otherwise well-executed technique.

Final Thoughts
Clean stencil work comes down to sealing the edge, controlling paint volume, and being patient enough to build color in light layers rather than rushing a single heavy coat. Best overall stencil material for most projects: mylar or acetate, for its durability and clean edge retention across multiple uses. Best for one-off projects: cardstock or adhesive vinyl, both inexpensive and precise enough for a single clean result.
For related creative spray painting projects, see our guides on acrylic spray paint for canvas art and spray painting on graffiti-style surfaces.
Frequently Asked Questions
What’s the best distance to hold a spray can from a stencil?
Around 10-15 inches works well for most stencils — closer risks overwhelming the edge seal with too much paint, while farther increases the chance of overspray drifting past the design edges.
Why does my stencil paint bleed even when I use spray adhesive?
Bleeding despite adhesive usually means too much paint was applied in a single heavy pass rather than light, short bursts, or that a small section of the stencil wasn’t fully pressed down against the surface.
Can I reuse a paper stencil?
Paper stencils can typically be reused 1-3 times before the edges become saturated and start to warp or tear, at which point the design will start reproducing that damage in subsequent uses.
How long should I wait before removing a stencil?
Remove it once the paint feels dry to the touch but hasn’t fully cured, typically 15-30 minutes for most spray paints, to avoid both smearing wet paint and pulling up dried paint at the stencil edge.
Do I need spray adhesive for every stencil project?
Not for adhesive-backed vinyl stencils, which already have their own sticky layer, but yes for reusable mylar, acetate, or paper stencils on any surface with texture or on vertical surfaces where gravity can pull the stencil away from the wall mid-spray.
What causes fuzzy edges instead of sharp lines?
Fuzzy edges usually mean the can was held too far from the surface, letting paint droplets partially dry and drift before landing, or that the stencil material itself is too thin and flexible to hold a crisp cutout shape under spray pressure.
Can I stencil multiple colors on the same design?
Yes — mask off sections not being painted in the current color, let each color fully dry before moving to the next, and consider separate stencils for each color layer on more complex multi-color designs for the cleanest results.
What’s the difference between adhesive vinyl and mylar stencils?
Adhesive vinyl stencils stick directly to the surface using their own sticky backing, making them great for one-time precise designs, while mylar stencils are reusable but need separate spray adhesive or careful taping to stay flat, especially on textured surfaces.
Why did my stencil design come out patchy instead of solid?
Patchy coverage usually means too few coats were applied, or the paint was applied too lightly in an attempt to avoid bleeding. Build opacity gradually with 2-3 light coats rather than trying to get full coverage from a single very light pass.
Author: Rodney Shiner
Last Updated: July 2026