
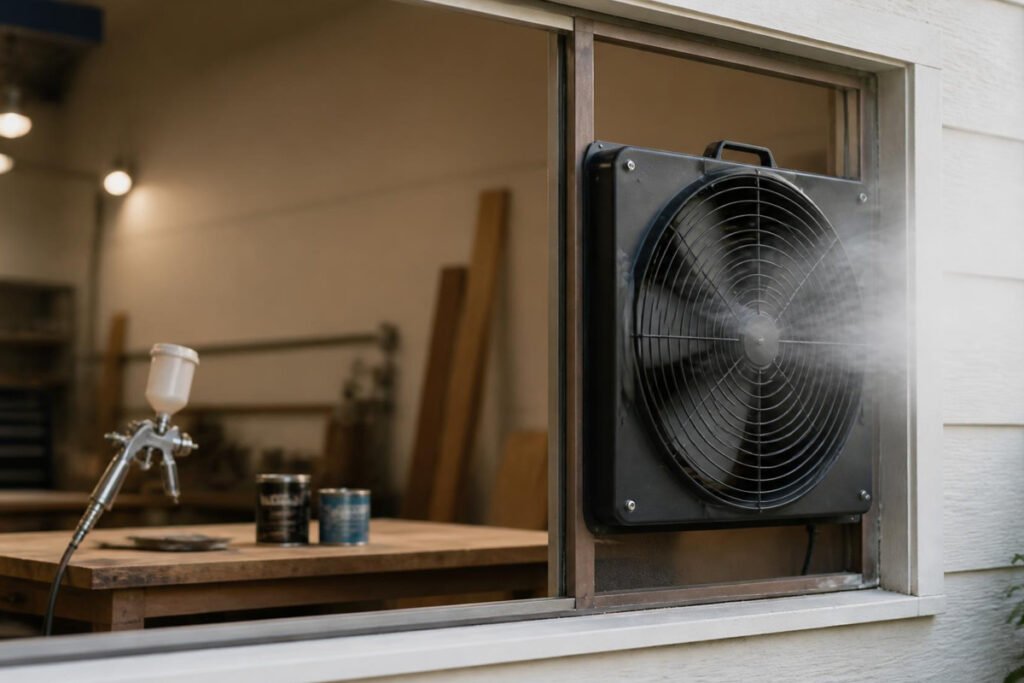
You close the garage door halfway to keep dust out, fire up the spray gun, and twenty minutes later your eyes are stinging, there’s a haze hanging in the air, and you can taste solvent at the back of your throat. A respirator protects your lungs during the spray itself, but it does nothing about the fumes building up in the room after you’ve finished — or the overspray mist settling on every surface because the air simply isn’t moving.
Ventilation is the part of a home spray setup people skip most often, usually because it feels like a step meant for professional booths, not a garage project. A portable exhaust fan closes that gap without construction — pull fumes and overspray out through a window or door opening while you work, and clear the air fast once you’re done. This guide compares the 5 best portable ventilation fans for spray painting, from budget window units to true explosion-proof exhaust fans for solvent-heavy work.
Table of Contents
- Why Ventilation Matters Beyond Your Respirator
- How to Choose the Right Ventilation Fan
- The 5 Best Ventilation Fans for Spray Painting
- Setting Up Airflow Correctly
- Common Ventilation Mistakes to Avoid
- FAQ
Why Ventilation Matters Beyond Your Respirator
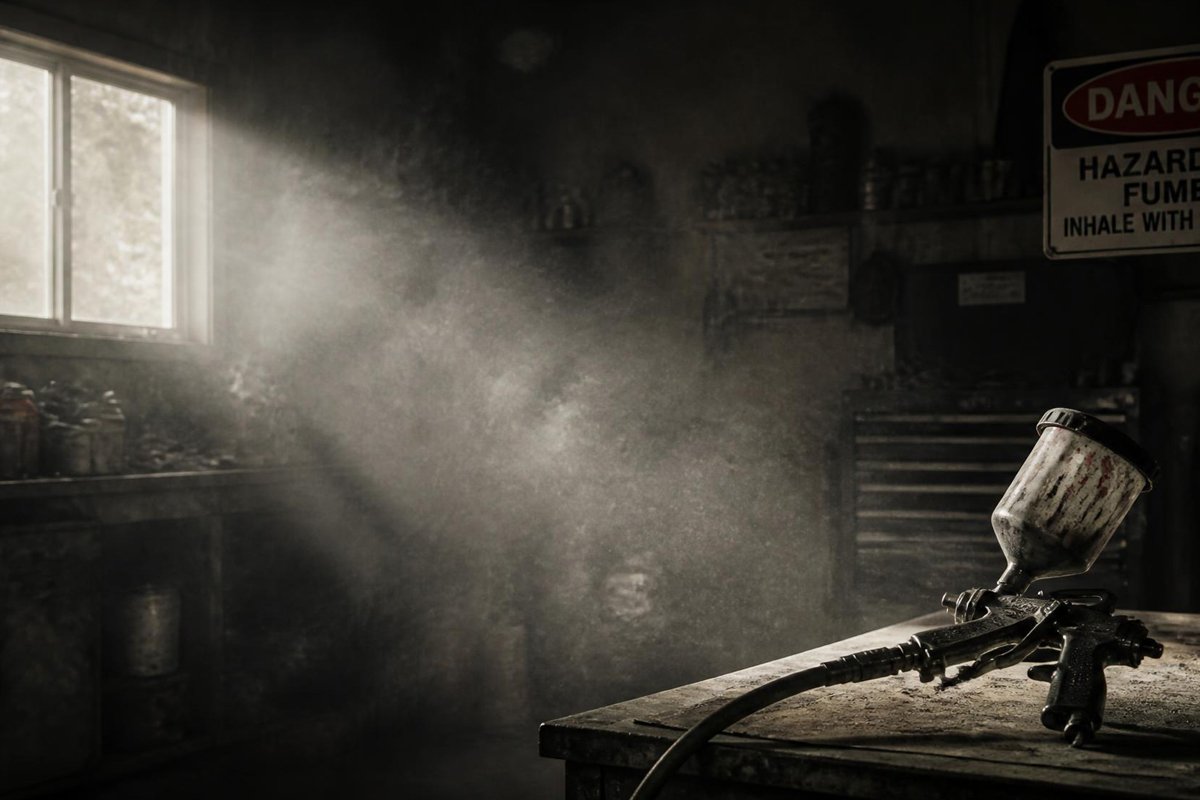
A respirator filters what you breathe in the moment; it doesn’t clear the room. Without active airflow, solvent vapor and fine overspray particles build up in a garage or workshop over the course of a session, which creates three compounding problems:
- Concentration builds over time — Even with a good respirator, ambient solvent concentration rising in an enclosed space increases exposure risk for anyone else nearby and makes the space unsafe to enter without protection for longer afterward.
- Overspray resettles on your work — Still air lets fine mist drift and land back on the piece you just painted, causing the dust-nib texture covered in our spray paint troubleshooting guide.
- Solvent vapor is flammable in enclosed spaces — Many spray paint solvents are combustible, and a buildup of vapor in an unventilated garage near a water heater pilot light or other ignition source is a real risk, not a theoretical one.
Pair a ventilation fan with the respirator from our best respirators for spray painting guide and the moisture control in our best hygrometers for spray booths guide for a genuinely safe home setup.
How to Choose the Right Ventilation Fan
| Setup | What You Need | Why |
|---|---|---|
| Occasional aerosol can projects | Compact window/box exhaust fan | Enough airflow for light, infrequent solvent load |
| Regular HVLP or airless spraying | Higher-CFM axial exhaust fan | Sustained overspray volume needs stronger continuous airflow |
| Enclosed garage with limited airflow paths | Dual-fan setup (intake + exhaust) | Cross-ventilation clears fumes far faster than a single fan |
| Solvent-heavy or lacquer-based work | Explosion-proof rated fan | Standard motors can ignite vapor-heavy air; spark-proof motors are required |
| Tight budget, small space | Clip-on or bungee-mount box fan | Cheapest functional option for very small booths or hobby setups |
If you’re building a dedicated spray area, our DIY spray paint projects list includes several projects where a fixed ventilation setup pays off over repeated use.
The 5 Best Ventilation Fans for Spray Painting
1. Hessaire Portable Exhaust Fan — Best Overall
Best for: General garage and workshop spray painting, both aerosol and HVLP.
Hessaire’s exhaust fan line is a common recommendation in home workshop circles because it balances real CFM output with a price that doesn’t feel like buying commercial booth equipment. It mounts easily in a window frame or a cut-out panel, moving enough air to noticeably clear fumes within minutes rather than leaving a lingering haze after a session.
Approx. price: $90–$130
- ✅ Strong CFM output for the price point
- ✅ Easy window or panel mounting
- ✅ Durable housing that holds up to garage conditions
- ❌ Not explosion-proof rated — avoid with heavy lacquer/solvent work
- ❌ Louder than smaller box fans at full speed
Our verdict: The practical default for the aerosol and light HVLP projects covered in our spray painting for beginners guide — enough airflow without overbuying.
2. XPOWER Axial Exhaust Fan — Best for Regular HVLP Use
Best for: Frequent HVLP or airless spraying with higher overspray volume.
XPOWER’s axial fans are built for continuous-duty airflow rather than occasional use, which matters if you’re spraying multiple pieces in a session and need the air staying clear the entire time, not just clearing out afterward. The higher sustained CFM keeps overspray from drifting back onto wet surfaces mid-project.
Approx. price: $150–$220
- ✅ High sustained CFM built for continuous spraying sessions
- ✅ Durable motor rated for longer duty cycles than budget fans
- ✅ Reduces overspray resettling on wet paint
- ❌ Bulkier and heavier — less convenient to move between spaces
- ❌ Pricier than needed for occasional aerosol can use
Our verdict: Worth the upgrade if you’re regularly using the best HVLP spray guns we’ve reviewed, where overspray volume is significantly higher than a spray can.
3. Air King 9166F Whole Room Fan — Best Budget Option
Best for: Occasional projects, tight budgets, small booths or corner setups.
Not every project needs commercial-grade airflow. Air King’s whole room fan is a straightforward, inexpensive option that moves enough air to clear light fume buildup from occasional spray can projects, without the cost or footprint of a dedicated exhaust unit. It’s a fan first and an exhaust solution second, which is exactly enough for casual DIY use.
Approx. price: $40–$60
- ✅ Low cost, widely available
- ✅ Multiple speed settings for adjustable airflow
- ✅ Compact enough for small garages or booths
- ❌ Not designed specifically for exhaust/vapor clearing — less directional airflow
- ❌ Insufficient CFM for regular HVLP or solvent-heavy sessions
Our verdict: A reasonable starting point for the smaller furniture and decor projects in our spray paint for outdoor furniture guide, with room to upgrade later if your project frequency increases.
4. TPI Corporation Explosion-Proof Exhaust Fan — Best for Solvent-Heavy Work
Best for: Lacquer, urethane clear coats, and any project with significant flammable solvent load.
Once you’re working with stronger solvents regularly, an explosion-proof rated motor stops being optional. TPI’s exhaust fan is built with spark-resistant construction specifically for environments where flammable vapor concentration is a real risk, which standard consumer box fans are not rated to handle safely.
Approx. price: $250–$400
- ✅ Explosion-proof motor rated for flammable vapor environments
- ✅ Commercial-grade durability and CFM output
- ✅ The right safety margin for lacquer and urethane work
- ❌ Significant price jump over standard exhaust fans
- ❌ Larger and heavier — best suited to a semi-permanent setup
Our verdict: Necessary rather than optional if your projects lean toward the higher-solvent finishes in our automotive spray primer picks — the safety margin justifies the cost for that use case specifically.
5. Lasko High Velocity Utility Fan — Best for Cross-Ventilation Intake
Best for: Pairing with an exhaust fan to create proper directional airflow.
A single exhaust fan pulls air out, but without a corresponding intake point, airflow across the room stays weak and uneven. Lasko’s high-velocity utility fan is a strong, affordable choice as the intake side of a two-fan setup — positioned at one end of the space pushing fresh air in while an exhaust fan pulls contaminated air out the other end, creating the cross-ventilation that clears fumes fastest.
Approx. price: $35–$55
- ✅ Strong airflow for the price, ideal as a secondary intake fan
- ✅ Lightweight and easy to reposition
- ✅ Doubles as a general workshop fan outside of painting sessions
- ❌ Not designed as a standalone exhaust solution
- ❌ No explosion-proof rating — position away from direct vapor path
Our verdict: Best used in combination with fan #1 or #2 above rather than alone — the two-fan setup consistently clears fumes faster than any single fan regardless of CFM rating.
Setting Up Airflow Correctly
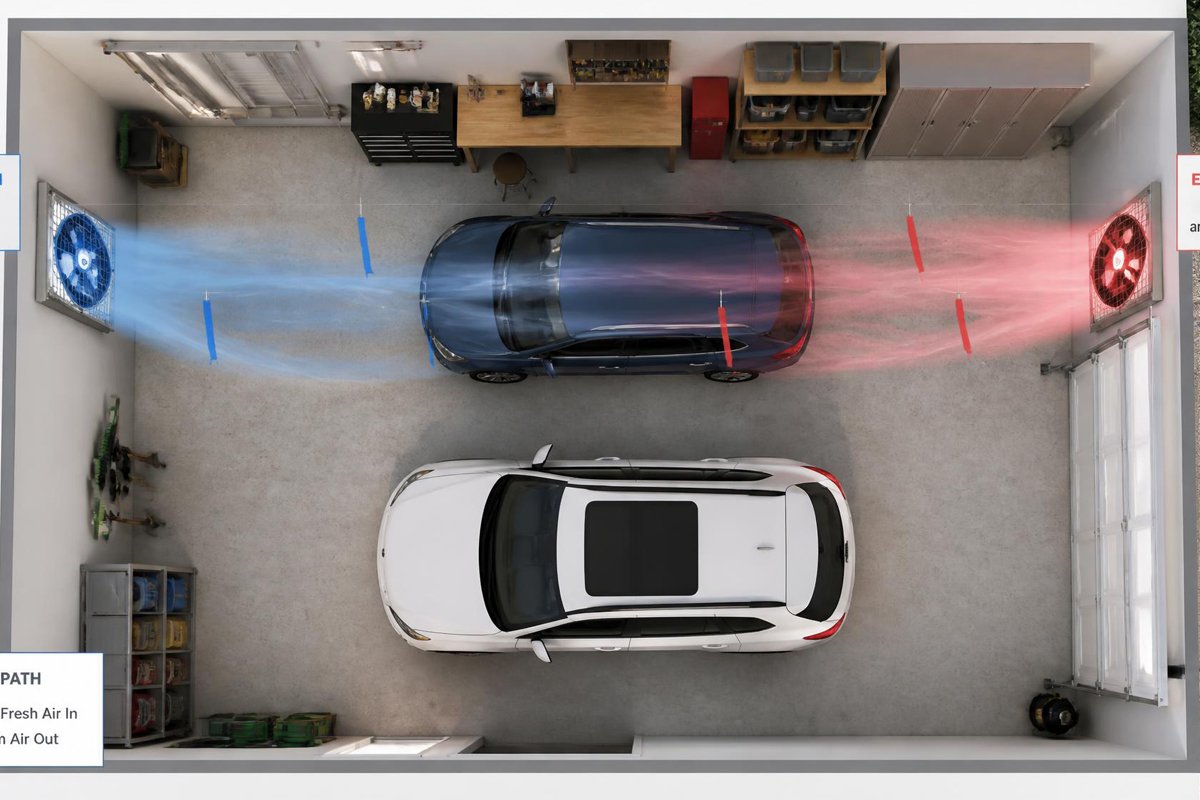
- Position the exhaust fan to pull air out, not push it in. Mount it facing outward in a window or wall opening so fumes and overspray exit the space rather than circulating.
- Create a cross-draft with a second fan. Place an intake fan at the opposite end of the room from your exhaust fan so air moves in one direction across your spray area, not just near the window.
- Keep the fan running after you finish spraying, not just during. Fumes continue off-gassing from wet paint for a period after application — running the fan for an additional 15–30 minutes clears the space faster for re-entry.
- Keep ignition sources out of the airflow path — pilot lights, space heaters, and anything that sparks should be outside the room or shut off during solvent-heavy sessions.
For full drying condition guidance alongside ventilation, see our best hygrometers for spray booths guide.
Common Ventilation Mistakes to Avoid
- Relying on an open garage door alone. Passive airflow from an open door is inconsistent and doesn’t reliably clear a room the way active exhaust does, especially in still weather.
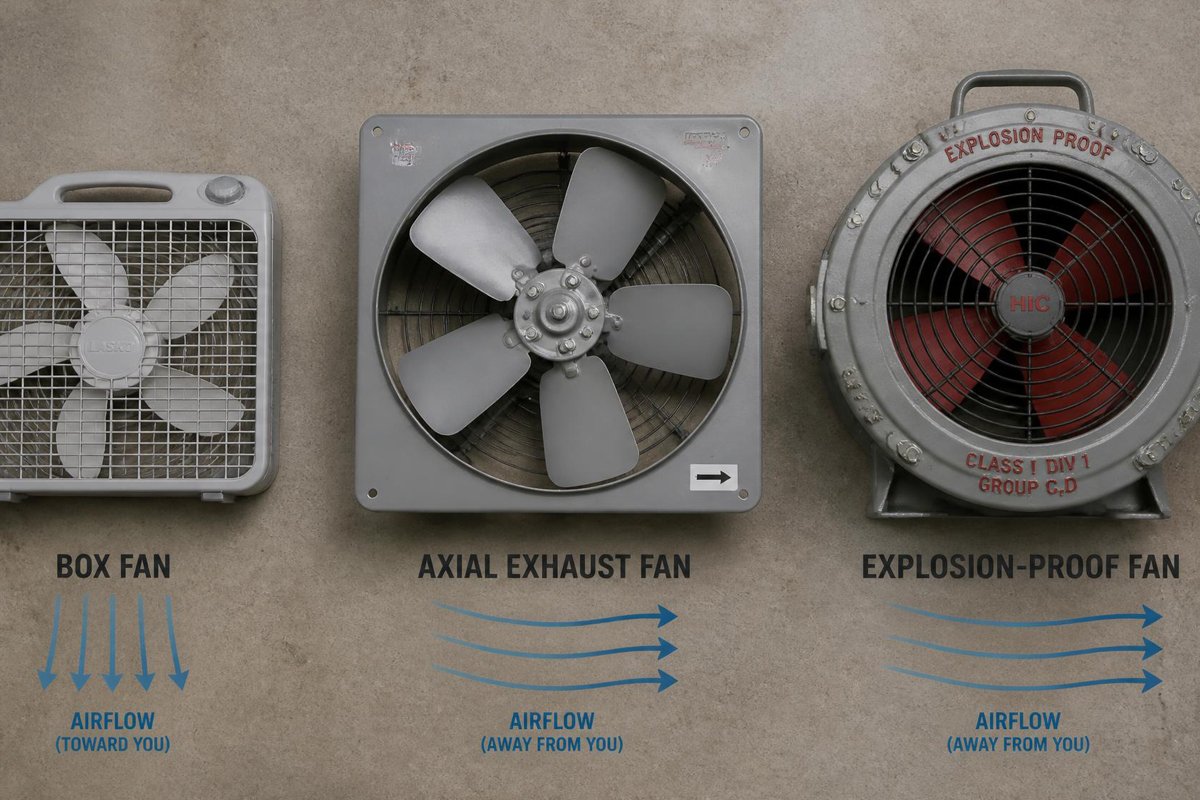
- Using a standard box fan for heavy solvent work. Non-rated motors carry ignition risk in vapor-heavy air — match the fan rating to your solvent load, not just to what’s already in the garage.
- Positioning the fan behind you, blowing overspray back toward your work. Airflow direction matters as much as fan strength — always exhaust away from the piece you’re painting, not across it.
- Stopping the fan the moment you finish spraying. Vapor concentration doesn’t disappear immediately after the last pass — continued ventilation for a period afterward matters as much as during application.
FAQ
Do I need a ventilation fan if I already wear a respirator? Yes — a respirator protects your breathing during application, but it doesn’t clear vapor buildup from the room, protect anyone else nearby, or reduce overspray resettling on your work. The two serve different purposes and work best together.
Is a regular box fan safe to use for spray painting? For light, occasional aerosol can use in a well-ventilated space, a standard fan positioned as intake airflow is generally fine. For regular HVLP work or stronger solvents like lacquer, an explosion-proof rated exhaust fan is the safer choice due to vapor ignition risk.
How long should I run the fan after finishing a spray session? 15–30 minutes minimum for light aerosol work, longer for HVLP or lacquer-heavy sessions, until any lingering odor has noticeably cleared.
Can I use one fan for both intake and exhaust? A single fan can help, but true cross-ventilation with a separate intake and exhaust fan at opposite ends of the room clears fumes significantly faster and more evenly than one fan working alone.
Pingback: Best Portable Spray Paint Booths for Home Garages: Top 5 Picks | Spray Painter Guide