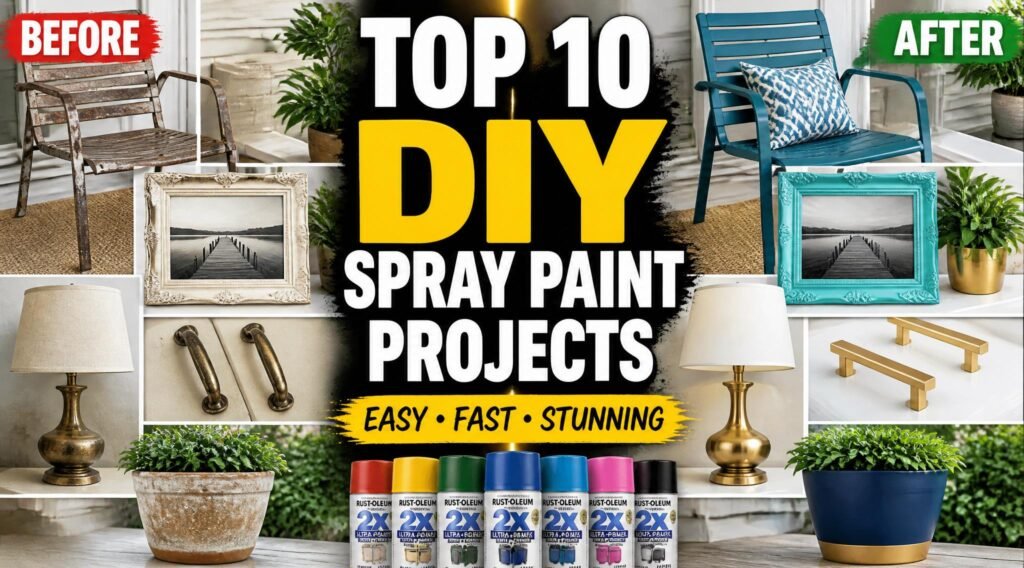
Spray paint is one of the most cost-effective home improvement tools available. With a few cans and a weekend afternoon, you can transform tired, outdated pieces into fresh, stylish ones. The results often look professional, cost a fraction of buying new, and are genuinely satisfying to make yourself.
Here are 10 of the best DIY spray paint projects for your home — ranked by impact versus effort — with step-by-step instructions for each.
Project 1: Refresh Outdoor Furniture
Nothing ages a backyard faster than faded, rusty, or tired-looking furniture. A set of chairs and a table can go from embarrassing to show-stopping in an afternoon with the right prep and spray paint.
What you’ll need: Exterior-rated metal or plastic spray paint, primer, wire brush or sanding sponge, drop cloth, painter’s tape.
Steps:
- Clean furniture thoroughly — scrub off dirt, mildew, and old flaky paint
- Sand rough spots and treat any rust with rust converter (for metal pieces)
- Apply exterior primer — 2 thin coats
- Apply 2–3 coats of exterior spray paint in your chosen color
- Finish with UV-protective clear coat for maximum durability
Pro tip: Remove cushions and hardware before painting. Paint legs, undersides, and frames in separate passes for complete coverage.
For streak-free results on furniture, read our guide on
Project 2: Update Cabinet Hardware
Replacing dated brass or silver cabinet hardware can cost hundreds of dollars. Spray painting existing hardware in matte black, brushed nickel, or gold costs a fraction of that and takes less than an hour.
Steps:
- Remove all hardware — handles, knobs, hinges
- Clean with degreaser and isopropyl alcohol
- Thread handles onto wire or lay flat on a drop cloth
- Apply thin coats of metal-specific spray paint in your chosen finish
- Allow 24 hours before reinstalling
This single project can completely modernize a kitchen or bathroom without any renovation.
Project 3: Paint a Rattan or Wicker Chair
Rattan and wicker furniture is having a major style moment — but vintage pieces found at thrift stores or garage sales are often stained or discolored. Spray paint is perfect for these intricate pieces because it gets into every crevice that a brush would miss.
Steps:
- Clean thoroughly and let dry completely
- Apply a flexible spray primer — 2 coats, working into all crevices
- Apply color coat — spray from multiple angles to ensure full coverage
- Finish with a clear matte or satin sealer
White, sage green, terracotta, and navy are popular color choices that look stunning on wicker.
Project 4: Create a Statement Vase or Planter
Plain terracotta pots, glass vases, or plastic planters become designer-looking pieces with the right spray paint finish. Metallic, marble-effect, and matte pastel finishes are all achievable at home.
Steps:
- Clean the pot or vase and let dry
- Apply a primer suitable for the material (terracotta, glass, or plastic)
- Apply your chosen spray paint — 2–3 thin coats
- Add a clear sealer for outdoor planters
For a marble effect: apply a base coat, then while still slightly wet, drag crumpled paper or a feather across the surface in diagonal lines, then seal.
For metallic effect: any metallic spray paint applied over a dark primer produces a dramatic, reflective finish.
Project 5: Spray Paint an Old Lamp
A dated lamp base is one of the easiest spray paint projects. Most lamp bases are ceramic, glass, resin, or metal — all of which respond well to spray paint with proper prep.
Steps:
- Remove the lampshade and unplug the lamp
- Tape off the cord and socket area
- Clean the base and apply primer
- Apply 2–3 coats of spray paint
- Allow to cure fully before replacing the shade
Matte black, antique gold, and chalk-style finishes are extremely popular for lamp bases right now.
Project 6: Refresh a Tired Bike Frame
A bicycle respray is one of the most satisfying and practical DIY spray paint projects. You can take a functional but ugly old bike and turn it into something you’re proud to ride.
Steps:
- Strip the bike down — remove wheels, pedals, handlebars, and components
- Sand the frame with 120-grit, then 220-grit
- Degrease thoroughly and apply a self-etching primer
- Apply 3–4 coats of color
- Finish with 2–3 coats of gloss clear coat for protection
- Reassemble the bike after 48–72 hours of curing
Use metal-specific, hard-wearing spray paint. Automotive paints give the most durable result.
Project 7: Create a Chalkboard Surface
Chalkboard spray paint creates a writable, erasable surface on almost any flat surface. Popular applications: kitchen walls, fridge panels, wooden boards for menus or family message boards.
Steps:
- Clean and prime the surface
- Apply 2–3 coats of chalkboard spray paint
- Allow to cure for 24 hours
- ‘Season’ the board by rubbing a piece of chalk flat across the entire surface, then erasing — this prevents ghosting of your first writing
Chalkboard paint works on wood, metal, glass, and painted walls (with proper priming).
Project 8: Spray Paint an Accent Wall Feature
Stencils and spray paint create beautiful accent wall features — geometric patterns, botanical motifs, or abstract designs — without hiring a muralist or buying expensive wallpaper.
Steps:
- Choose or create your stencil — reusable plastic stencils are available at craft stores
- Tape the stencil firmly to the wall
- Apply spray paint in short, light bursts — less is more to prevent bleeding under the stencil
- Carefully remove the stencil and reposition to continue the pattern
Metallic paints on a neutral wall create a dramatic, upscale effect with minimal effort.
Project 9: Upcycle Old Picture Frames
A collection of mismatched thrift store frames becomes a cohesive gallery wall when they’re all spray painted the same color. This is one of the quickest, highest-impact DIY projects for any room.
Steps:
- Collect frames in a range of shapes and sizes
- Remove glass and backing
- Lay frames flat on a drop cloth
- Apply a primer coat, then 2 coats of your chosen color
- For a gallery wall, arrange on the floor first to find the right composition before hanging
All-white, all-black, or all-gold frames look dramatically stylish and much more expensive than they are.
Project 10: Refresh Bathroom Fixtures
Spray painting bathroom fixtures — towel bars, toilet paper holders, faucets — in a fresh finish can update a dated bathroom for under $20. This requires careful prep and the right products.
Steps:
- Clean and degrease thoroughly — chrome needs a light sanding to give paint a grip
- Apply 2 coats of metal-specific primer
- Apply 3–4 coats of enamel or metal spray paint in your chosen finish
- Seal with a hard-wearing clear coat
- Allow 72 hours of cure time before exposing to water
Be realistic about durability — high-traffic fixtures like faucets will eventually show wear. Lower-traffic items like towel bars and toilet paper holders hold up very well.
General Tips for All Home DIY Spray Paint Projects
- Always work in a well-ventilated area or outdoors — see our
- Thin coats and patience always win over rushing
- Test colors on cardboard or a hidden area before committing
- Allow full cure time before the project goes back into regular use
- Keep a can of the same paint for touch-ups — colors can be discontinued
For guidance on troubleshooting any problems that come up, see our complete library of
Final Thoughts
Spray painting is one of the most accessible and rewarding DIY skills you can develop. These 10 projects cover the range from beginner-friendly (hardware, frames) to more ambitious (bikes, furniture sets), so there’s something here for every skill level and every home.
For more project ideas, tutorials, and expert spray painting guides, browse the full content library at