You prep your piece, shake the can, spray a coat… and a day later the paint is peeling, flaking, or lifting right off. Frustrating doesn’t begin to cover it.
Here’s the good news: spray paint adhesion problems are almost never a mystery. There are specific, identifiable reasons this happens — and specific fixes for each one. In most cases, you don’t have to strip everything and start over.
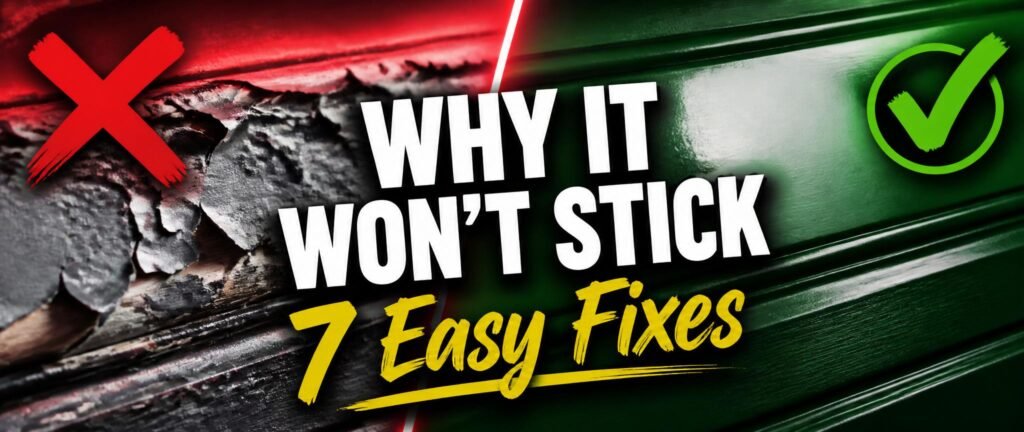
In this guide, we’ll walk through the 7 most common reasons spray paint won’t stick and give you a clear, practical fix for each one. By the end, you’ll know exactly what went wrong and how to prevent it from happening again.
Why Spray Paint Fails to Stick: The Root Causes
Before jumping into the fixes, it helps to understand what’s actually happening when paint won’t adhere. Spray paint needs three things to bond properly: a clean surface, a compatible foundation (usually primer), and the right environmental conditions during application and drying.
When any of these three elements is missing or compromised, adhesion fails. Here are the seven most common culprits:
- Dirty or greasy surface — oil, wax, dust, or polish creates an invisible barrier between the paint and the material
- Missing or wrong primer — paint can’t form a strong mechanical bond without a proper base
- Painting over old paint without prep — existing paint that’s glossy, flaking, or incompatible blocks adhesion
- Moisture or high humidity — water vapor trapped under or within the paint layer causes lifting
- Temperature extremes — too cold or too hot affects how paint cures and bonds
- Cheap or incompatible paint — low-quality formulas or mismatched products simply don’t bond reliably
- Skipping sanding — smooth or glossy surfaces give paint nothing to grip
Now let’s fix each one.
Fix 1: Clean the Surface — Completely and Thoroughly
This is the single most common cause of spray paint adhesion failure, and also the most preventable. Even surfaces that look clean often have invisible oil from handling, residue from old polish or wax, or fine dust that creates a barrier.
How to do it right:
- Wipe the surface with a clean, lint-free cloth dampened with water
- For oily or greasy surfaces (metal, previously polished wood, plastic), use a dedicated degreaser or rubbing alcohol — not soap, which can leave residue
- Rinse if needed and let the surface dry completely — even slight moisture causes adhesion problems
- Handle the surface only with clean gloves after this step — your hands transfer oil instantly
✅ A properly cleaned surface is the foundation everything else builds on. Don’t rush it.
Fix 2: Sand the Surface Before Painting
Paint needs something to grip. Smooth, glossy, or slick surfaces — finished wood, previously painted metal, plastic — offer almost no mechanical grip for spray paint to bond to. Sanding creates microscopic texture that dramatically improves adhesion.
How to sand for better adhesion:
- Use 220–400 grit sandpaper — you’re creating texture, not removing material
- Sand lightly in consistent strokes, following the grain on wood
- On previously painted surfaces, scuff the entire area until the gloss is gone
- Wipe away all sanding dust with a tack cloth (not a regular rag — it leaves fibers)
If your spray paint is wrinkling rather than simply not sticking, the issue may be related — our complete guide to fixing spray paint wrinkling walks through the specific causes and solutions.
Fix 3: Use the Right Primer — and Actually Use It
Skipping primer is the fastest way to guarantee a failed paint job. Primer does two critical things: it creates a bonding layer the paint can adhere to, and it seals the surface so the paint color goes on evenly and lasts.
Primer rules by surface type:
| Surface | Primer Type |
|---|---|
| Bare wood | Wood primer or shellac-based primer |
| Metal | Rust-inhibiting metal primer |
| Plastic | Plastic-specific adhesion primer |
| Previously painted | Bonding primer (especially if surface is glossy) |
Application tips:
- Shake the primer can for 60–90 seconds before spraying
- Apply a thin, even coat — don’t try to fully cover in one pass
- Let it dry completely per the manufacturer’s instructions (usually 30–60 min)
- Lightly sand with 320–400 grit after drying and wipe clean before painting
For a refresher on how priming fits into a complete spray paint project, see our beginner’s complete guide to spray painting.
Fix 4: Check the Weather and Your Environment
Environmental conditions during application have a massive impact on how well spray paint bonds and cures. Most people ignore this entirely — and it costs them their finish.
Ideal spray painting conditions:
- Temperature: 60–80°F (15–27°C) — both the air and the surface itself
- Humidity: Below 50–60% relative humidity
- Surface condition: Completely dry — no morning dew, no recent rain
- Sun exposure: Avoid direct, intense sunlight which can cause the paint surface to cure too fast while the underneath stays wet
What goes wrong in bad conditions:
- High humidity → moisture gets trapped in the paint film, causing bubbling and lifting
- Cold surfaces → paint can’t flow and level properly, leading to poor adhesion and texture problems
- Too hot → paint dries on the way to the surface and lands as dry particles instead of bonding
If you’ve had bubbling issues specifically, check out our article on why spray paint bubbles and how to fix it for a deeper breakdown.
Fix 5: Apply Thin, Even Coats — Multiple Times
Heavy application is one of the most common spray paint mistakes — and one of the most damaging. A thick coat of paint traps solvents underneath, leading to poor adhesion, drips, runs, and a surface that never cures properly.
The correct approach:
- Hold the can 10–12 inches from the surface — no closer
- Move your entire arm in smooth, consistent passes — don’t pivot your wrist
- Overlap each pass by about 30–50% for even coverage
- Apply a light first coat (almost a dusting) to tack the surface
- Wait the recommended recoat time (usually 10–20 minutes), then apply a second coat
- 2–3 thin coats always outperforms 1 thick coat
- Start and stop each pass off the surface to avoid buildup at edges
Dealing with drips from a previous coat? See our guide on how to fix spray paint drips and runs before recoating.
Fix 6: Use Quality, Surface-Compatible Paint
Not all spray paints are created equal, and the wrong can for the job is a near-guarantee of adhesion problems. Cheap, off-brand spray paints often have inconsistent pigment suspension, poor solvent balance, and inadequate adhesion promoters.
What to look for on the label:
- Labels that specifically mention your surface type: “for metal,” “for plastic,” “for wood”
- Terms like “bonding,” “adhesion promoter,” or “multi-surface” for challenging materials
- Name-brand formulas from Rust-Oleum, Krylon, or Montana — these have consistent quality and broad surface compatibility
Surface-specific paint picks:
- Wood furniture: Chalk-finish or acrylic spray paint
- Metal: Enamel-based or rust-inhibiting spray paint
- Plastic: Adhesion-promoting plastic spray paint (regular paint almost always fails on plastic without this)
- Previously powder-coated surfaces: Require special consideration — see our guide on spray painting over powder coat
Fix 7: Allow Full Drying and Curing Time
Spray paint has two stages: dry (touch-dry, surface feels solid) and cured (fully hardened through). Many people treat dry as done — and immediately handle, stack, or use the painted piece. This is a mistake.
Drying vs. curing — what’s the difference:
| Stage | Typical Time | What It Means |
|---|---|---|
| Dry to touch | 10–30 minutes | Surface won’t smear, but still soft underneath |
| Dry to handle | 1–2 hours | Can be carefully moved |
| Fully cured | 24–72 hours | Hard, durable, ready for use |
Best practices:
- Don’t apply the next coat before the previous one is dry to touch per the label
- Don’t use or stress the finished piece for at least 24–48 hours
- For pieces in cold environments, allow extra time — low temperatures significantly slow curing
- If the paint still feels soft or tacky after 48 hours, check whether temperature or humidity was the issue
When Paint Still Won’t Stick: The Nuclear Option
If you’ve tried all of the above and the paint still won’t bond, it’s time to fully strip and restart. This sounds discouraging, but it’s faster and better-looking than trying to patch a surface that fundamentally failed.
Full restart process:
- Strip the existing paint with chemical stripper, sandpaper, or a heat gun depending on the material
- Clean the bare surface with degreaser and let dry fully
- Sand to 220 grit for texture
- Apply the correct primer for your surface type
- Reapply paint in thin, even coats under proper conditions
You can also paint over existing spray paint in many cases without stripping — but only if the existing layer is fully bonded, not peeling or flaking. Learn more in our guide on whether you can paint over spray paint.
Quick Reference: Spray Paint Adhesion Checklist
Before you start your next project, run through this:
- [ ] Surface cleaned with degreaser — completely dry
- [ ] Sanded lightly with 220–400 grit sandpaper
- [ ] Dust wiped off with tack cloth
- [ ] Correct primer applied and fully dried
- [ ] Temperature between 60–80°F, humidity below 60%
- [ ] Quality paint selected for the specific surface type
- [ ] Holding can 10–12 inches away
- [ ] Applying multiple thin coats, not one heavy coat
- [ ] Allowing full cure time before use
Check every box and adhesion problems become extremely rare.
FAQs
Why is my spray paint peeling after it dries? The most common causes are surface contamination (oil or grease), missing or wrong primer, or coats that were applied too thick. Sand back the affected area, clean thoroughly, prime correctly, and reapply in thin coats.
Can I fix peeling spray paint without starting over? Often, yes. If the peeling is localized, sand the area back to a stable layer, clean it, spot-prime, and blend new coats into the surrounding area. If peeling is widespread, a full strip and restart will give you better results.
How long should I wait before using a spray-painted item? At least 24–48 hours for most spray paints to fully cure. High-traffic items like chairs or tabletops benefit from waiting the full 72 hours before regular use.
Does spray paint stick better to rough or smooth surfaces? Rough (lightly sanded) surfaces always outperform smooth ones for adhesion. The microscopic texture gives the paint something to mechanically grip. Never paint glossy surfaces without sanding first.
Can I spray paint in cold weather? Technically yes, but below 50°F adhesion suffers significantly and drying times increase dramatically. If you must paint in cold conditions, bring the piece inside to cure after application.
Final Thoughts
Spray paint adhesion problems are frustrating — but they’re almost never mysterious. In 90% of cases, the issue comes down to surface prep, the wrong primer, bad environmental conditions, or applying paint too heavily.
Follow the 7 fixes in this guide, run through the checklist before every project, and you’ll get that smooth, professional, locked-in finish that actually lasts.
Clean, sand, prime, paint thin, and be patient. That’s the formula.