How to Use a Wagner Paint Sprayer: A Complete Guide
If you’re looking to transform your home with a fresh coat of paint, a Wagner paint sprayer can be a game-changer. These easygoing tools are designed to make painting projects quicker and more efficient.
In this guide, we’ll walk you through the steps about How to Use a Wagner Paint Sprayer for your next painting project.
Know More Your Wagner Paint Sprayer
Before you dive into your painting project, it’s essential to become familiar with your Wagner paint sprayer.
Here’s what you should know:
Types of Wagner Paint Sprayers
Wagner offers a range of paint sprayers, each designed for specific applications. Know the type you have and its capabilities. When selecting a Wagner paint sprayer, it’s important to consider the specific model that suits your project. Wagner offers a diverse range of paint sprayers, including handheld models for smaller tasks and more robust systems for extensive projects. Being aware of the capabilities of your particular model will help you maximize its potential.
Assembling Your Paint Sprayer
Learn how to assemble the components of your Wagner paint sprayer correctly, including the spray gun, hose, and motor unit. The assembly process can vary depending on the model. It’s essential to follow the manufacturer’s instructions carefully to ensure proper setup. Take your time during assembly, and don’t hesitate to consult the user manual if you encounter any challenges. A well-assembled paint sprayer is the first step to a successful project.
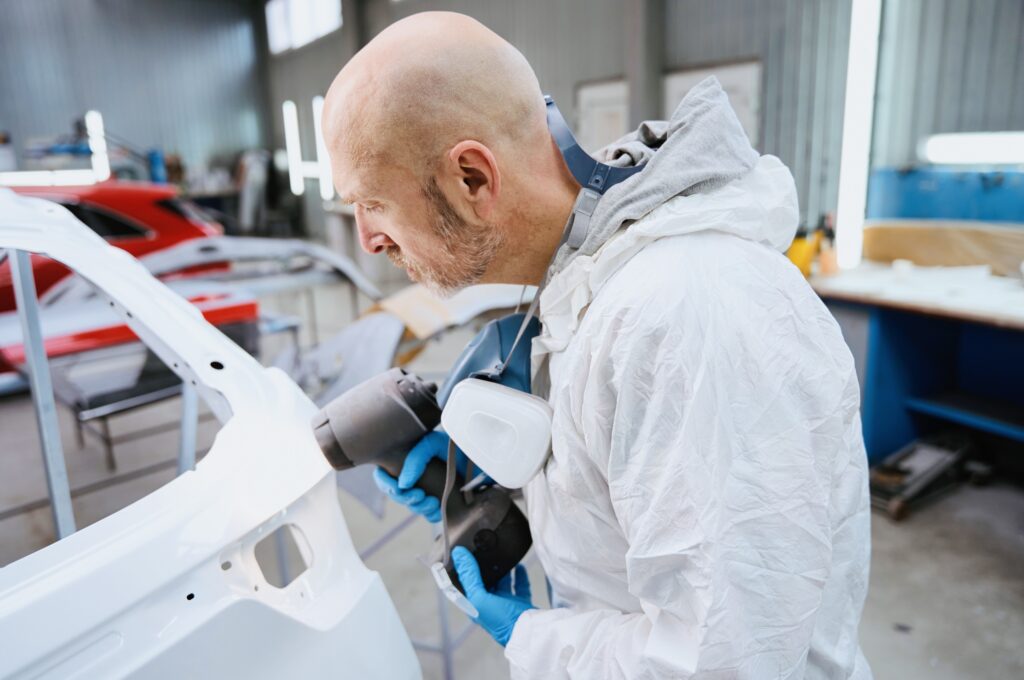
Safety Precautions
Prioritize safety by using protective gear, ensuring proper ventilation, and handling paint materials carefully.
Safety should be your top priority when using any paint sprayer:
- Protective gear
- Safety goggles
- A respirator mask
- Gloves
These are basic and must-have tools to shield yourself from potential health hazards. Enough ventilation in your workspace is essential to disperse fumes and ensure your safety. Furthermore, always handle paint materials with care, following recommended guidelines for handling and disposal.
Preparing Your Work Area
A well-prepared work area sets the stage for a successful painting project.
Follow these steps:
Clear the Space: Remove furniture, fixtures, and any items that you don’t want to paint. Cover remaining items with drop cloths or plastic sheeting. Preparing your work area is a critical step that directly impacts the quality of your project. Remove obstacles, furniture, and any items that could be splattered with paint. Cover the remaining items with drop cloths or plastic sheeting to protect them from accidental paint splatters.
Surface Preparation: Clean and prepare the surfaces you plan to paint. Make sure about cleaning, sanding, and filling of any imperfections. Proper surface preparation ensures the best possible paint adhesion and a smoother finish. Depending on the condition of your surfaces, you might need to clean, sand, or even fill cracks and holes. Taking the time to prep your surfaces is well worth the effort for a professional-looking result.
Ventilation: Ensure proper ventilation by opening windows and doors to minimize fumes and aid in drying. Ventilation is crucial to ensure a safe and comfortable work environment. When using paint sprayers, fumes can accumulate quickly, making proper ventilation essential. Allow fresh air to circulate, reducing the concentration of fumes. Additionally, it helps in the drying process, which is crucial for achieving a smooth finish.
Selecting the Right Paint
Choosing the right paint is crucial for a successful paint sprayer project.
Consider the following:
Paint Type
Different paint types have specific properties that suit particular surfaces and applications. Please select the appropriate paint type for your project, whether it’s latex, oil-based, or specialized coatings. The choice of paint type significantly influences the outcome of your project. Latex paint is a popular choice for interior walls and ceilings due to its easy clean-up and low odor. On the other hand, oil-based paints offer durability and are suitable for high-traffic areas. For specialized coatings, such as enamel or epoxy, it’s crucial to match the right type with the intended surface.
Dilution
Some paints may need to be thinned before using them in the paint sprayer. Some paints may need to be thinned with water or a specific thinner to flow smoothly through the sprayer. Follow the manufacturer’s guidelines. Incorrect dilution can lead to clogs and uneven application.
Strain the Paint
Strain your paint to remove any impurities or lumps that might clog the sprayer. Use a paint strainer or a fine-mesh sieve to filter out any debris or lumps from the paint. This extra effort in preparation will save you time and frustration by preventing interruptions during your painting project.
Adjusting the Wagner Paint Sprayer
Properly setting up your Wagner paint sprayer ensures smooth and even application.
Follow these steps:
Nozzle Selection
Choose the correct nozzle size for your project, which will affect the spray pattern and coverage. Different projects require different nozzle sizes to achieve the desired spray pattern and coverage. Make sure to select the appropriate nozzle size based on the specifics of your project, and consult the user manual or manufacturer’s guidelines for guidance.
Pressure Adjustment
Adjust the pressure settings on the sprayer to control the flow of paint. Controlling the pressure settings on your Wagner paint sprayer allows you to regulate the paint flow and achieve the desired coverage. Lower pressure is suitable for fine details and more delicate surfaces, while higher pressure is ideal for broader coverage.
Test Spray
Go for a test spray on a scrap surface to ensure the settings are adjusted correctly. This step allows you to fine-tune the settings, ensuring that the spray pattern, coverage, and paint flow are all adjusted to your liking. A test spray minimizes the risk of uneven application and helps you achieve professional results.
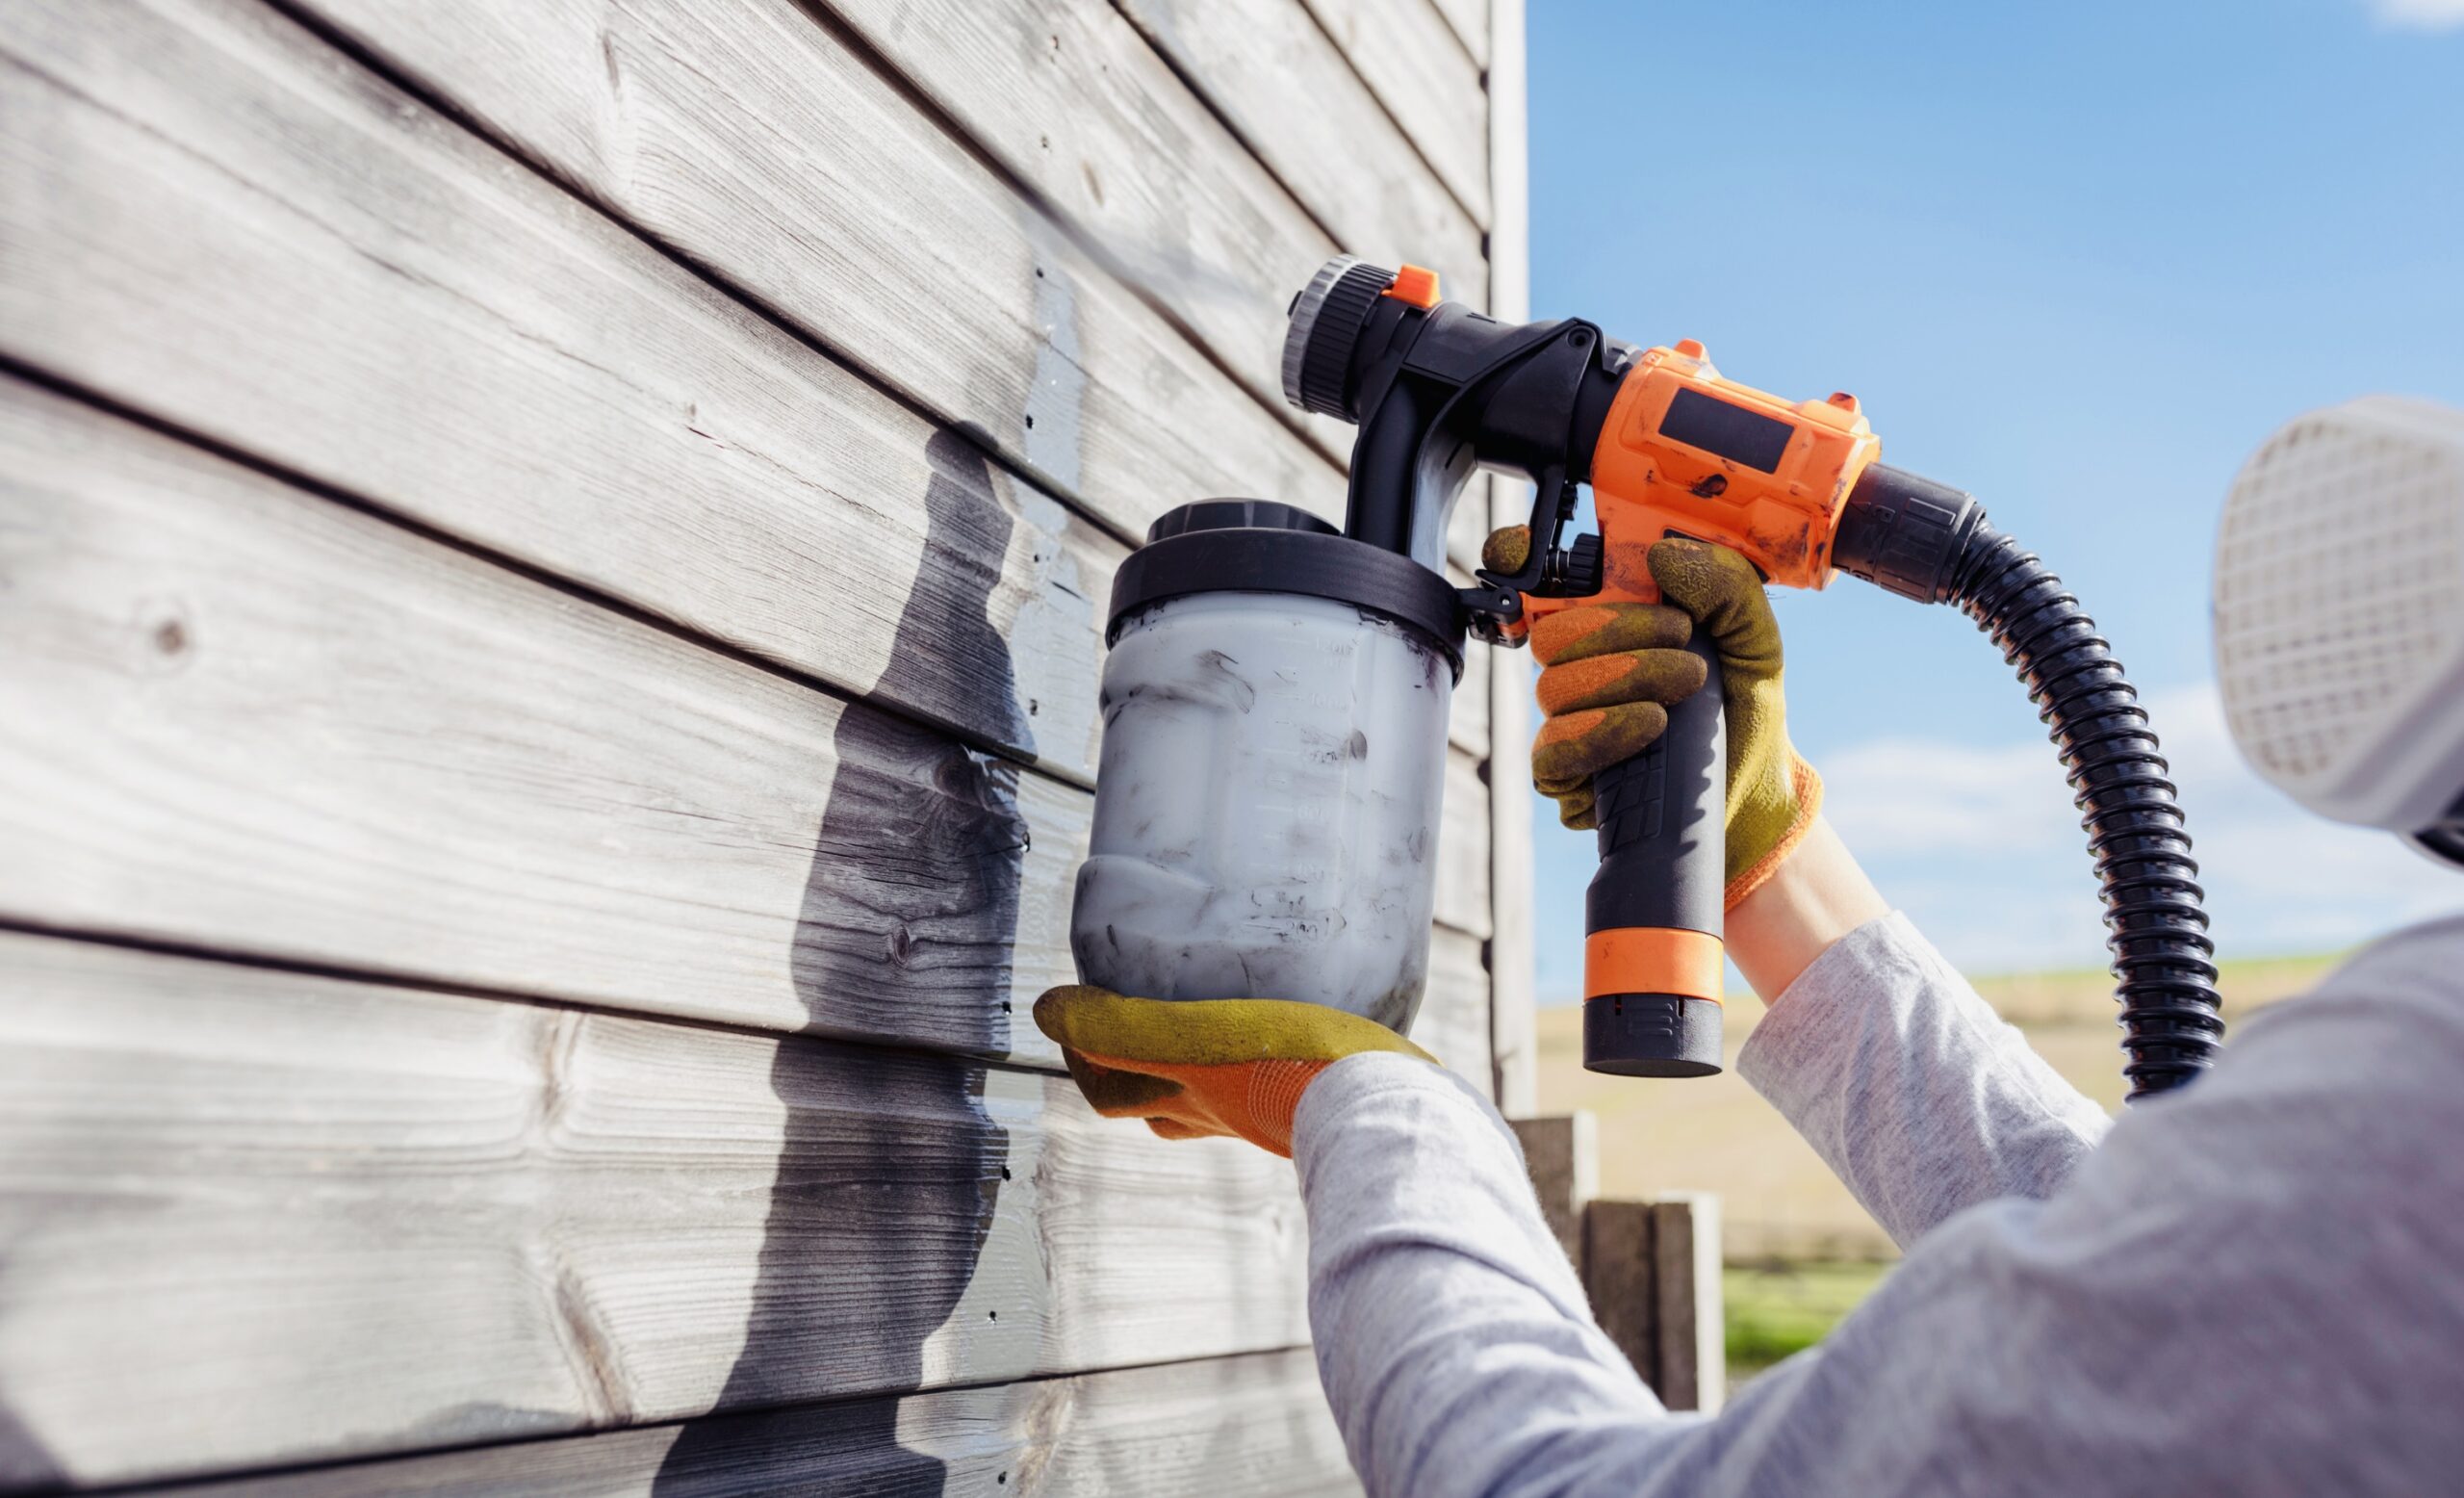
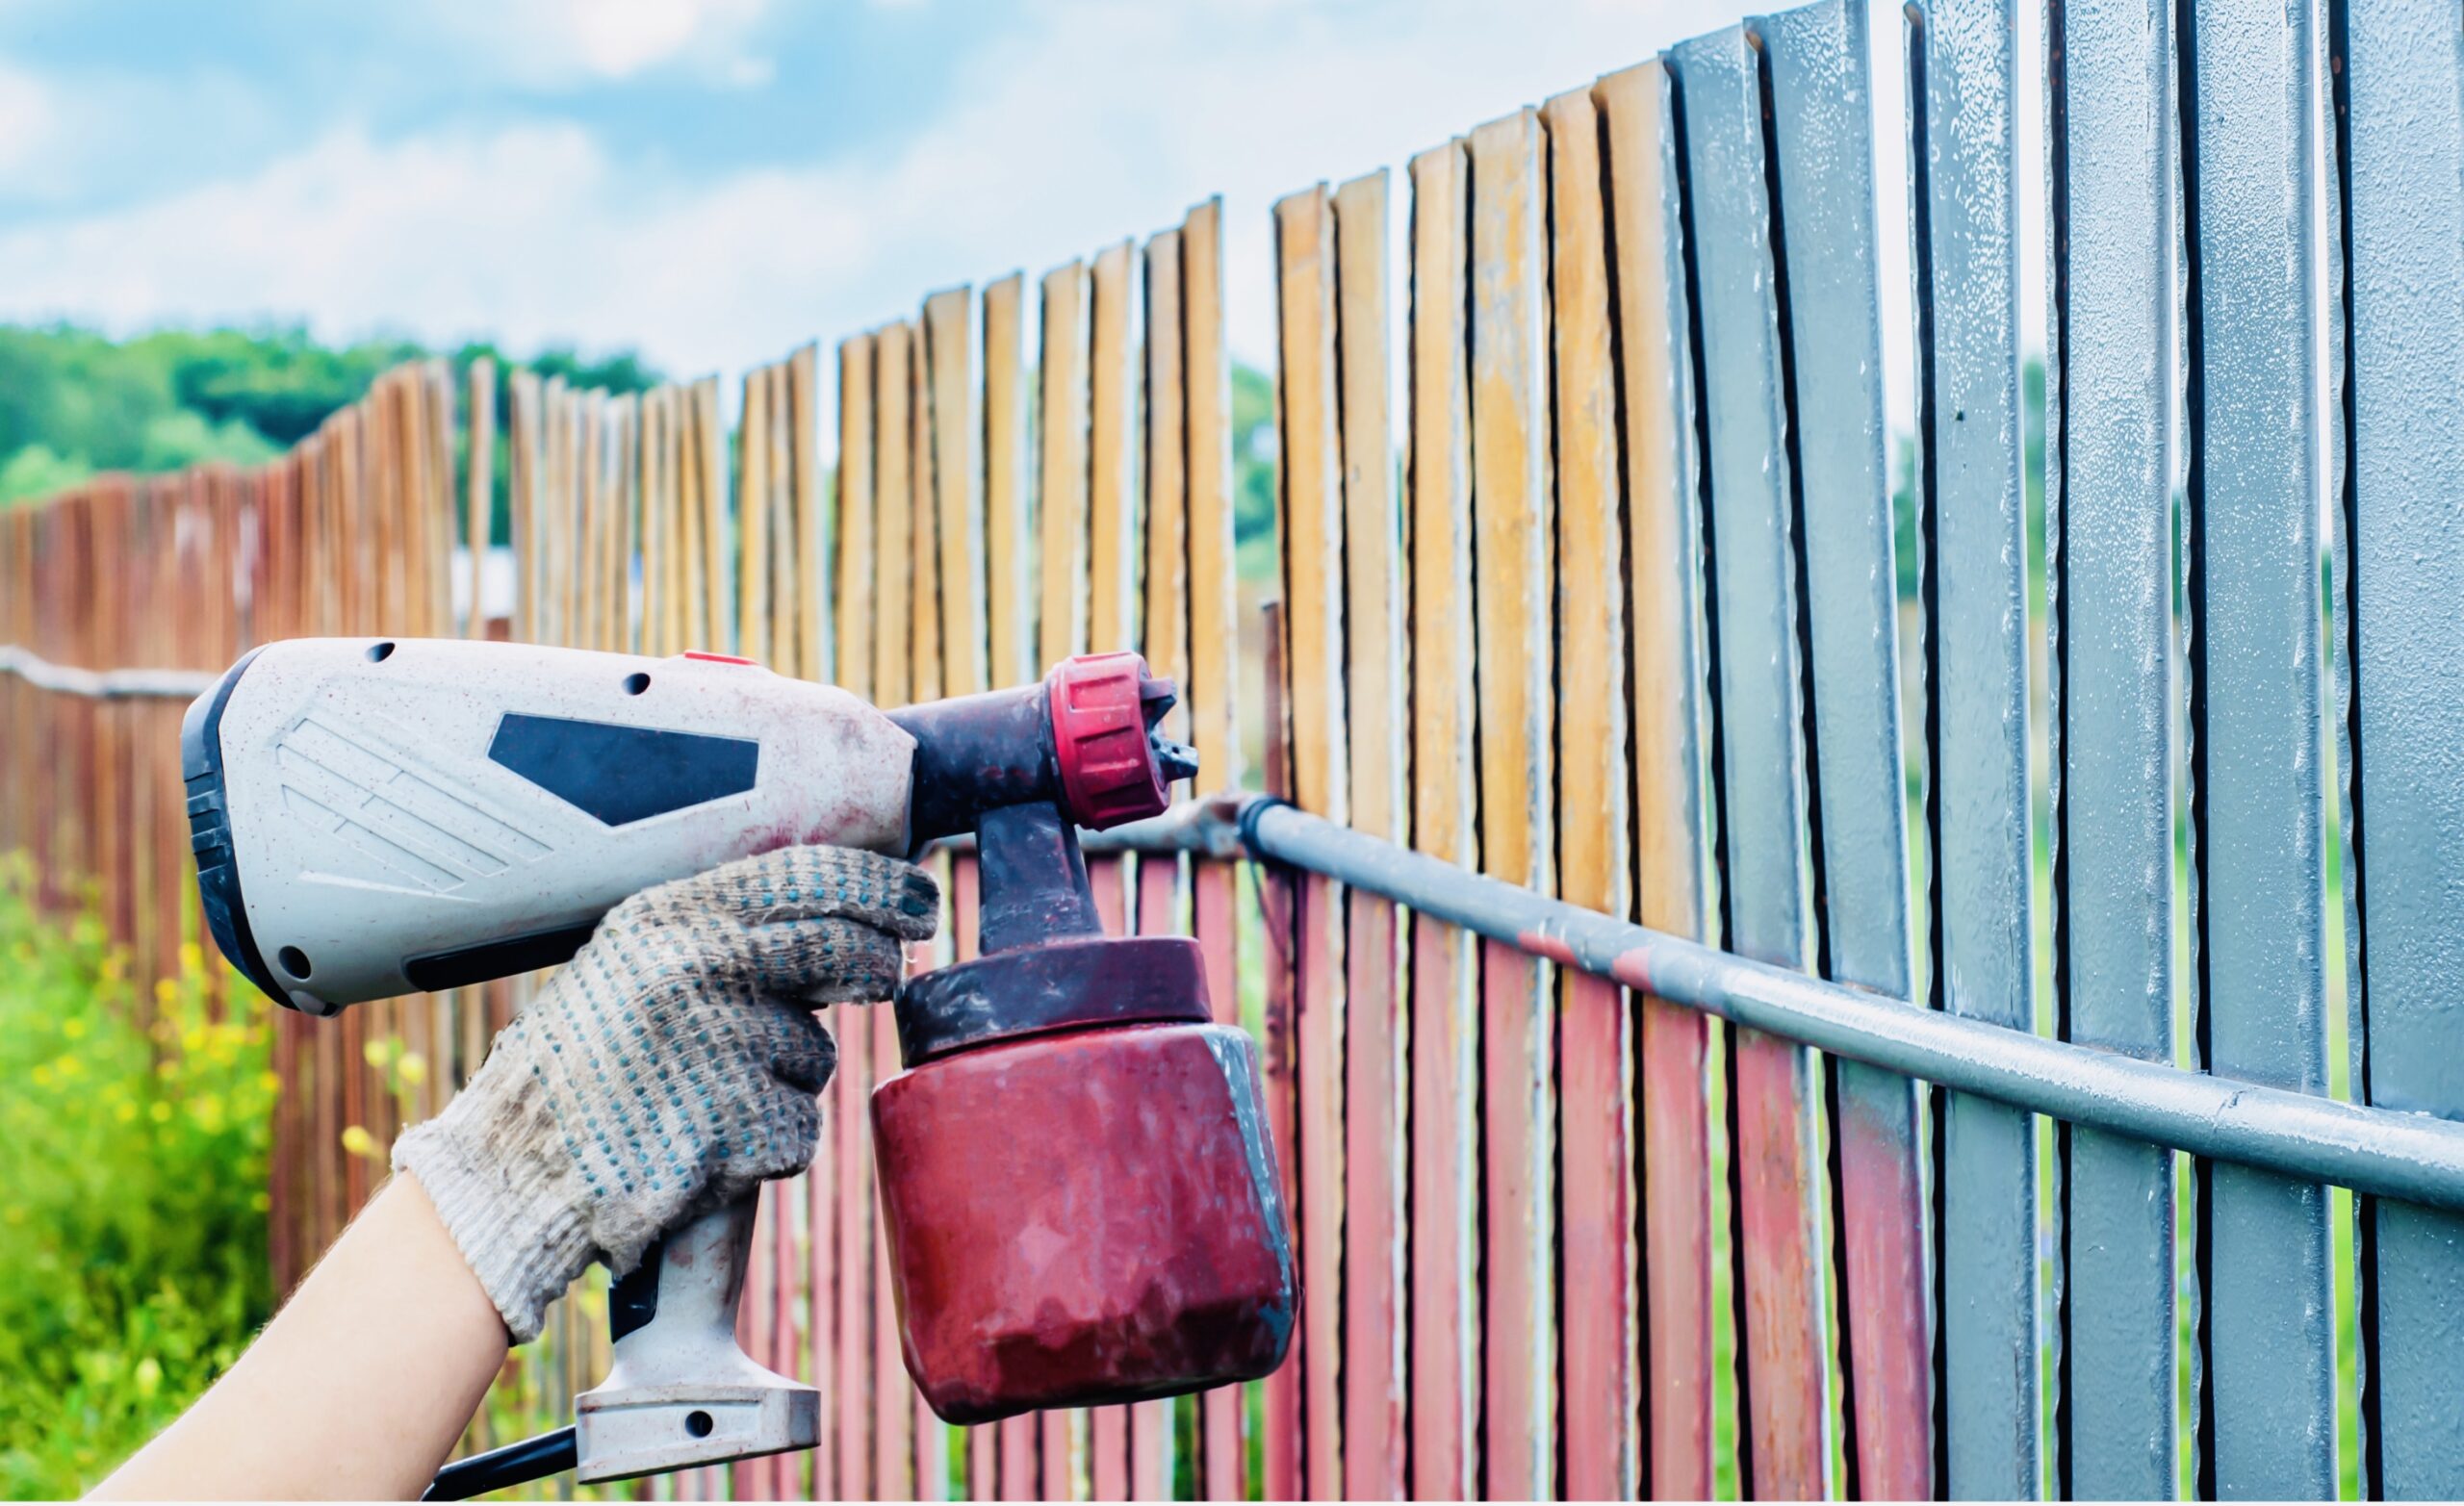
Painting Your Surfaces
With your Wagner paint sprayer prepped and your work area ready, it’s time to start painting.
Here’s how:
Maintain Consistent Distance: Hold the paint sprayer at a consistent distance from the surface, typically around 6-12 inches, and keep the sprayer moving smoothly. It ensures a professional finish.
Overlap Strokes: Apply the paint in overlapping strokes to achieve an even and consistent coat. Overlapping your spray strokes is a standard technique to avoid gaps and ensure even coverage. Each stroke should blend seamlessly into the next, creating a uniform layer of paint.
Cleaning the Paint Sprayer: After completing your painting project, it’s a must to clean the Wagner paint sprayer thoroughly. Proper cleaning ensures the longevity of your equipment and maintains its efficiency for future use.
Follow these steps:
Empty the Paint Container: If there is any remaining paint in the container, pour it back into the paint can. Be careful not to spill paint on the ground or into the environment. Proper disposal of paint is essential for environmental responsibility.
Flush the System:
- Fill the paint container with an appropriate cleaning solution.
- Ensure you have a separate container to catch the cleaning solution as it flushes through the system.
- Continue this process until the cleaning solution runs clear, indicating that all paint has been flushed out.
Clean the Nozzle: Remove the nozzle and clean it thoroughly. Paint residue can accumulate in the nozzle, affecting future spray patterns. Cleaning the nozzle ensures optimal performance during your next project.
Disassemble and Clean: Disassemble the paint sprayer and clean all parts according to the manufacturer’s instructions. Please pay close attention to seals, gaskets, and filters, as they are critical components of the paint sprayer’s functionality.
Store Properly: Once cleaned, store your Wagner paint sprayer according to the manufacturer’s guidelines. Proper storage ensures that your equipment remains in excellent condition for future projects.
Common Issues To Face
Using a Wagner paint sprayer is easy, but you may face some common issues during your painting project.
Here’s how to resolve them:
- If the nozzle gets clogged during your painting session, pause your work and clean it as per the manufacturer’s instructions. Clogs can occur due to dried paint or debris in the paint. Keeping the nozzle clean ensures consistent performance.
- If you notice an uneven spray pattern, double-check your settings. Adjust the pressure and nozzle size as needed to achieve the desired pattern. Remember that maintaining a consistent distance and overlapping strokes are crucial for an even coat.
- To reduce over-spray, ensure that the spray gun is not set to too high of a pressure. If overspray is still an issue, use drop cloths and masking tape to protect adjacent surfaces and areas you don’t want to paint.
- If you find that the paint isn’t covering as expected, you may need to adjust the paint’s dilution or the nozzle size. Experiment with these settings until you achieve the desired coverage.
Additional Tips and Techniques
Enhance your paint sprayer skills with some advanced tips and techniques:
Fine Detail Work: For intricate or detailed work, reduce the pressure and choose a smaller nozzle size. This allows for precise control when painting edges, corners, or fine details.
Vertical Surfaces: When painting vertical surfaces like walls, hold the sprayer at a slight upward angle to prevent drips and achieve uniform coverage.
Professional Finishes: To achieve professional finishes, practice on scrap surfaces and experiment with different techniques. Learning how to vary your spray gun’s distance, speed, and angle will help you achieve the desired texture and effect.
Clean as You Go: Don’t wait until the end of your project to clean the sprayer. If you’re taking a break or switching paint colours, clean the equipment promptly to avoid paint drying and clogging.
Final Verdict
Using a Wagner paint sprayer can simplify your painting projects, providing professional results with ease and efficiency. Understanding your paint sprayer, selecting the right paint, adjusting the settings, and using proper techniques will lead to a successful painting experience. Additionally, proper maintenance ensures the longevity of your equipment, allowing you to enjoy the benefits of your Wagner paint sprayer for many projects to come.
This writing on How to Use a Wagner Paint Sprayer will help you achieve excellent results with your Wagner paint sprayer. Remember that practice and patience are key to mastering the art of paint spraying, so don’t be discouraged if your first project doesn’t turn out perfectly. With time and experience, you’ll become a skilled paint sprayer, transforming your home and projects with precision and style.
Happy painting!