
Mastering the Art of How To Thin Paint For Hvlp Sprayer: A Comprehensive Guide
Achieving artistic results with an HVLP (High Volume, Low Pressure) sprayer depends on the precise thinning of your paint.
In this detailed guide, we’ll walk through the step-by-step process of how to thin paint for a sprayer, covering everything from choosing the right color to understanding viscosity and providing expert tips for a flawless finish.
Know HVLP Sprayers:
HVLP sprayers are renowned for their efficiency in delivering a fine, controlled spray pattern with minimal overspray. Thinning paint appropriately ensures the paint can flow smoothly through the HVLP system, resulting in an even application and a professional finish.
How To Thin Paint For Hvlp Sprayer: Necessary Tools and Equipment:
High-Quality Paint: Choose a paint suitable for your project and label it compatible with HVLP systems. Water-based paints are commonly used due to their low viscosity.
Paint Thinner or Reducer: Use a high-quality paint thinner or reducer recommended by the paint manufacturer. Go for a product designed for use with HVLP sprayers.
Viscosity Cup: Essential for measuring the paint’s viscosity, a viscosity cup helps ensure the paint flows through the HVLP system effortlessly.
Stir Stick or Paddle: Promote thorough mixing of the paint and thinner to achieve a consistent and smooth consistency.
Measuring Tools: Precision is critical. Use a graduated mixing cup or a digital scale to measure the thinning ratios accurately.
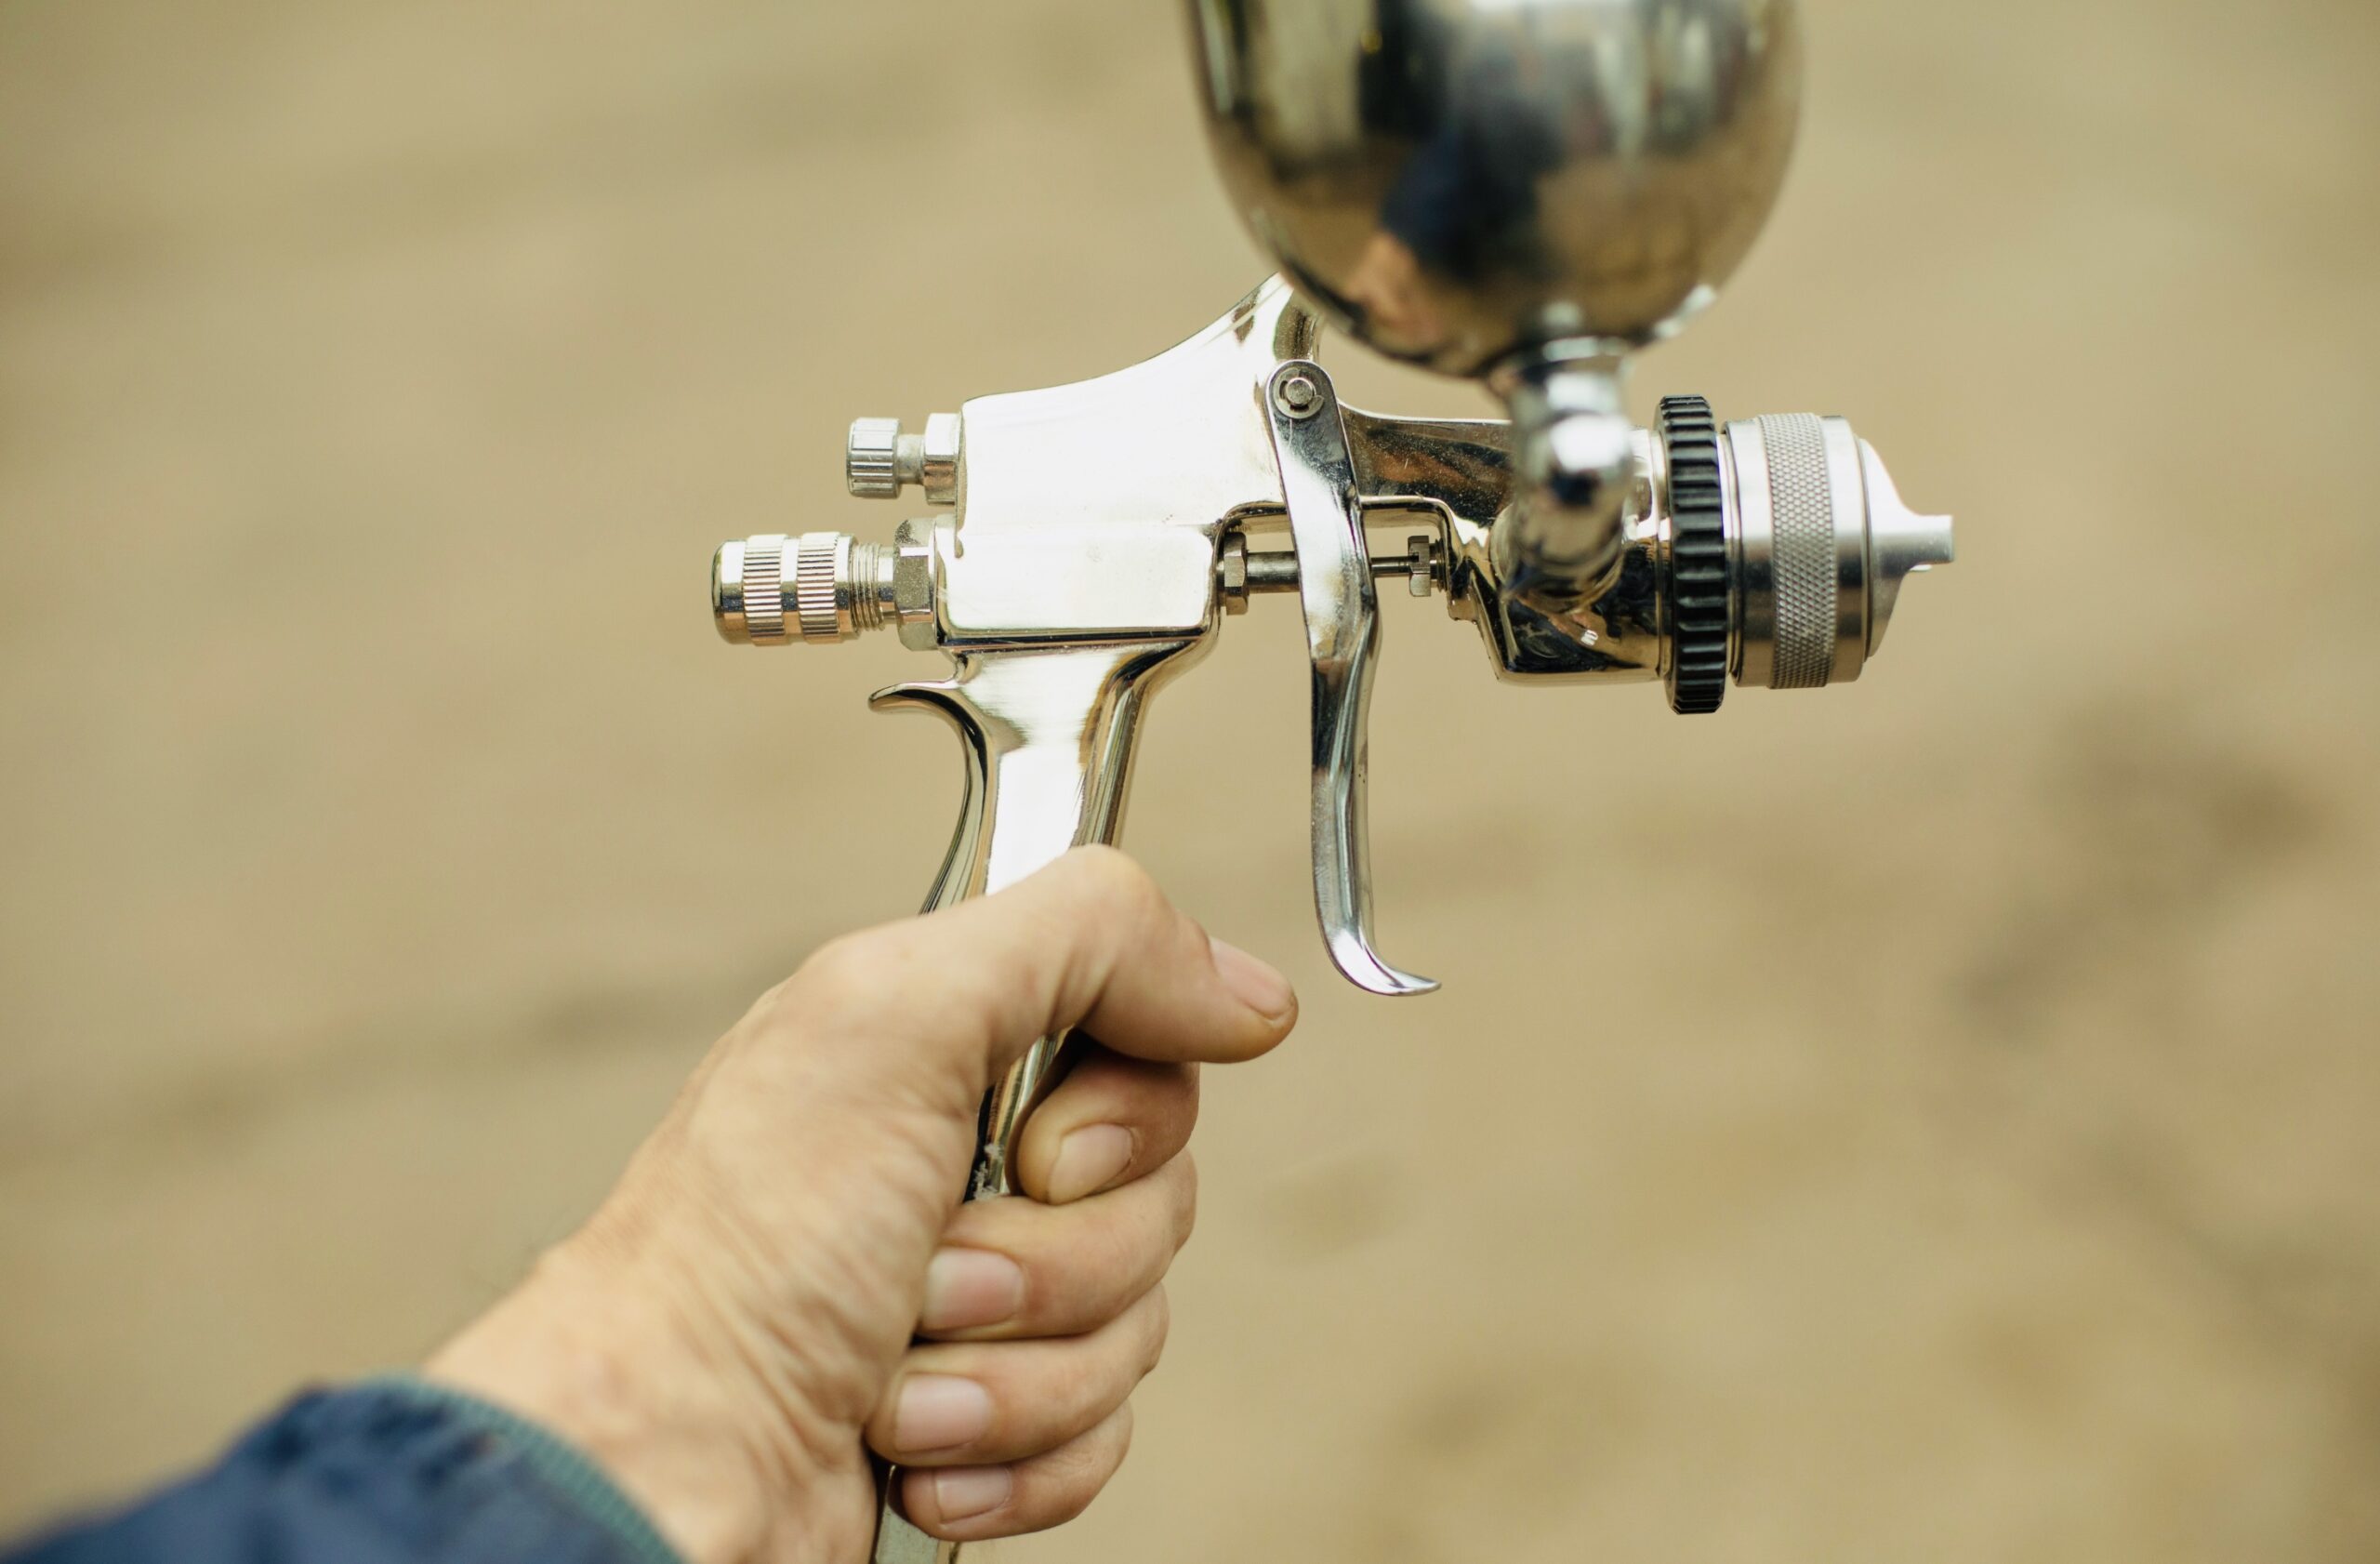
HVLP Spray Gun: Select an HVLP spray gun appropriate for your project. Check the manufacturer’s guidelines for the recommended nozzle size and pressure settings.
Step-by-Step Guide to Thinning Paint for HVLP Sprayers:
Choose the Right Paint: Select a paint labeled for HVLP use. Water-based paints are often preferred for their lower viscosity, facilitating easier thinning.
Read the Manufacturer’s Guidelines: Always refer to the paint manufacturer’s guidelines for thinning ratios and recommended thinners. Deviating from these recommendations may compromise the finish.
Prepare Your Workspace: Ensure proper ventilation in your workspace. If working indoors, consider using a respirator to protect against fumes. Safety goggles and gloves are also advisable.
Measure the Paint: Measure the amount of paint you’ll need for your project. This ensures you’ll have an accurate understanding of the overall thinning ratio.
Mix Small Batches: It’s advisable to mix smaller batches initially. This allows you to make adjustments without over-thinning your entire paint supply.
Stir the Paint: Thoroughly stir the paint using a stick or paddle. Ensure all settled pigments are fully incorporated for an even consistency.
Measure the Viscosity: Use a cup to measure the paint’s viscosity. Fill the cup with thinned paint, estimate how long it takes to empty it and compare it to the manufacturer’s recommendations. Adjust the thinning ratio as necessary.
Test Spray: Conduct a test spray on a scrap surface before committing to your project. Evaluate the spray pattern, coverage, and finish. This allows for final adjustments to your thinning ratio.
Adjust as Needed: Fine-tune your thinning ratios based on the test spray results. Factors such as temperature and humidity can influence the paint’s behavior, so be prepared to adjust accordingly.
Strain the Mixture: To prevent clogs in your HVLP system, strain the thinned paint before pouring it into the gun’s reservoir. A fine mesh strainer or paint filter helps remove any impurities.
Fill the HVLP Spray Gun: Carefully pour the thinned paint into the HVLP spray gun’s reservoir. Avoid overfilling to prevent spills and ensure consistent spray.
Spray Technique: Mastering the correct spray technique is vital. Maintain a consistent distance from the surface, move in even, overlapping strokes, and control the gun’s speed for uniform coverage.
Expert Tips for Perfecting HVLP Paint Thinning:
Consistency is Key: Aim for a consistent thinning ratio throughout your project. This consistency ensures uniformity in the finish.
Understanding Viscosity: Regularly measure the paint’s viscosity throughout your project. Adjust thinning ratios to maintain an optimal flow for the HVLP system.
Room Temperature Matters: Thinning ratios may vary based on the ambient temperature. Consider slightly increasing the thinning ratio in cooler temperatures to counteract thicker paint.
Quality Thinners Make a Difference: Invest in high-quality paint thinners or reducers designed with HVLP systems. Inferior thinners may compromise the finish and performance.
Thinning by Volume, Not Just Percentage: Sometimes, thinning by a percentage might not be enough. Consider thinning by volume, especially when dealing with larger quantities of paint.
Advanced Techniques for HVLP Paint Application:
Sequential Layering: Experiment with applying multiple layers of paint, allowing each layer to dry before adding the next. This technique is excellent for achieving deep, rich colors or creating intricate patterns.
Wet-on-Wet Technique: For a seamless finish, try the wet-on-wet technique. Apply a new coat of paint before thoroughly drying the previous one, allowing the layers to blend. This is ideal for achieving a smooth, gradient effect.
Dual Colors and Blending: Explore the world of dual-color applications. Use masking techniques to create distinct sections of color, then blend them seamlessly for a sophisticated and visually appealing result.
Textured Finishes: Add texture to your surfaces by incorporating additives like sand or texture mediums into your paint. Experiment with various textures to achieve unique and tactile finishes.
Stencil Artistry: Elevate your projects with stenciled designs. Create custom stencils or use per-made ones to add intricate patterns or artwork to your surfaces. This technique is perfect for personalized touches in home décor or furniture.
High-Gloss Highlights: Introduce high-gloss accents to your projects for a touch of luxury. Select specific areas to highlight, such as edges or details, by applying a glossy finish over a matte or satin base coat.
Metallic Effects: Explore the world of metallic paints for a modern and chic aesthetic. Metallic finishes add depth and luminosity, creating a stunning visual impact on furniture, accent walls, or decorative items.
Weathered and Distressed Finishes: Achieve the timeless look of weathered or distressed surfaces by layering and selectively removing paint. Sanding techniques and the application of dark glazes contribute to an authentically aged appearance.
UV-Responsive Paint: For a truly innovative touch, consider UV-responsive paint. This type of paint reacts to ultraviolet light, creating a dynamic and mesmerizing effect in environments with UV illumination.
Pearle scent Elegance: Pearle scent finishes offer a subtle, shimmering effect. Experiment with different base coat colors to create captivating preadolescent nuances, adding sophistication to your projects.
Candy Coat Brilliance: Candy coat application involves layering translucent colors to achieve a deep, vibrant finish. This technique is prevalent in automotive finishes but can be adapted for various projects.
Apply Graphics: Push the boundaries by incorporating intricate graphics into your projects. This technique allows for personalized and visually striking results, whether freehand artwork or stenciled designs.
Resin Coating for Depth: Elevate the appearance of your painted surfaces by applying a clear resin coat. This enhances the depth of color and provides a glossy, durable finish.
Achieving Artistic Mastery with HVLP Paint Application:
Dynamic Drips and Splatters: Embrace controlled chaos by incorporating intentional drips and splatters into your artwork. This unconventional technique adds an element of spontaneity and energy to your projects.
Geometric Precision: Explore the world of geometric patterns for a modern and structured aesthetic. Tape off sections to create clean lines and shapes, creating a harmonious balance between form and color.
Final Swatch
Thinning paint for HVLP sprayers is a skill that, once mastered, can significantly enhance your painting projects. Now you know How To Thin Paint For Hvlp Sprayer. By selecting the right paint, adhering to manufacturer guidelines, and fine-tuning your thinning ratios, you’ll unlock the full potential of your HVLP system.
Remember, patience and precision are crucial to achieving professional-looking results and transforming your painting endeavors into works of art. Happy spraying!