Mastering the Art of How to Thin Oil-Based Paint for Spraying Tips and Techniques
Imagine this scenario: You have a woodworking project in your garage, and you’re excited to give it a professional finish with oil-based paint. However, you realize that the paint, as it comes straight from the can, is too thick for your spray gun. Your creative endeavor hits a roadblock, but there’s no need to worry you can master the art of thinning oil-based paint for spraying. The challenge at hand is to ensure that the paint is the right consistency for your spray gun, allowing you to achieve a smooth, even finish. It’s a task that demands knowledge and precision. With the right techniques, you can turn this challenge into an opportunity for a flawless finish.
Join us on this journey as we explore the art of How to Thin Oil-Based Paint for Spraying. It’s a journey of transforming your projects, achieving professional results, and ensuring your creativity flows without constraints.
The Beauty of Oil-Based Paint: Why Oil-Based Paint?
Before we dive into the methods of thinning oil-based paint for spraying, let’s appreciate the unique characteristics of oil-based paint:
Durability: Oil-based paint is known for its resilience and ability to withstand harsh conditions. It’s a top choice for outdoor projects and surfaces that experience heavy wear and tear.
Smooth Finish: Oil-based paint offers a smooth, glossy finish perfect for surfaces that demand a polished appearance.
Versatility: You can use oil-based paint on various surfaces, from wood and metal to concrete and masonry.
Color Retention: Oil-based paint has excellent color retention properties, ensuring your project looks vibrant for years.
How to Thin Oil-Based Paint for Spraying: Oil-Based Paint: The Key to Success
When spraying oil-based paint, achieving the right viscosity is crucial. If the paint is too thick, it can clog your spray gun and result in an uneven, textured finish.
Here are the essential steps to thinning oil-based paint effectively:
Choosing the Right Solvent: Select a compatible solvent for thinning oil-based paint. Common options include mineral spirits, paint thinner, or naphtha. The choice of solvent may depend on the specific type and brand of paint you’re using.
Gather Your Materials: Before you start, gather the necessary materials, including a mixing container, a stirring stick, the oil-based paint, and the chosen solvent.
Read the Label: Refer to the label on the paint can for manufacturer-recommended thinning ratios. These guidelines provide a starting point for achieving the right consistency.
Start with a Small Batch: It’s best to begin with a small batch for testing. This approach allows you to make adjustments without wasting much paint.
How to Thin Oil-Based Paint for Spraying: Thinning Techniques
The technique you use for thinning oil-based paint depends on your specific project and the type of sprayer you have.
Here are the two primary methods:
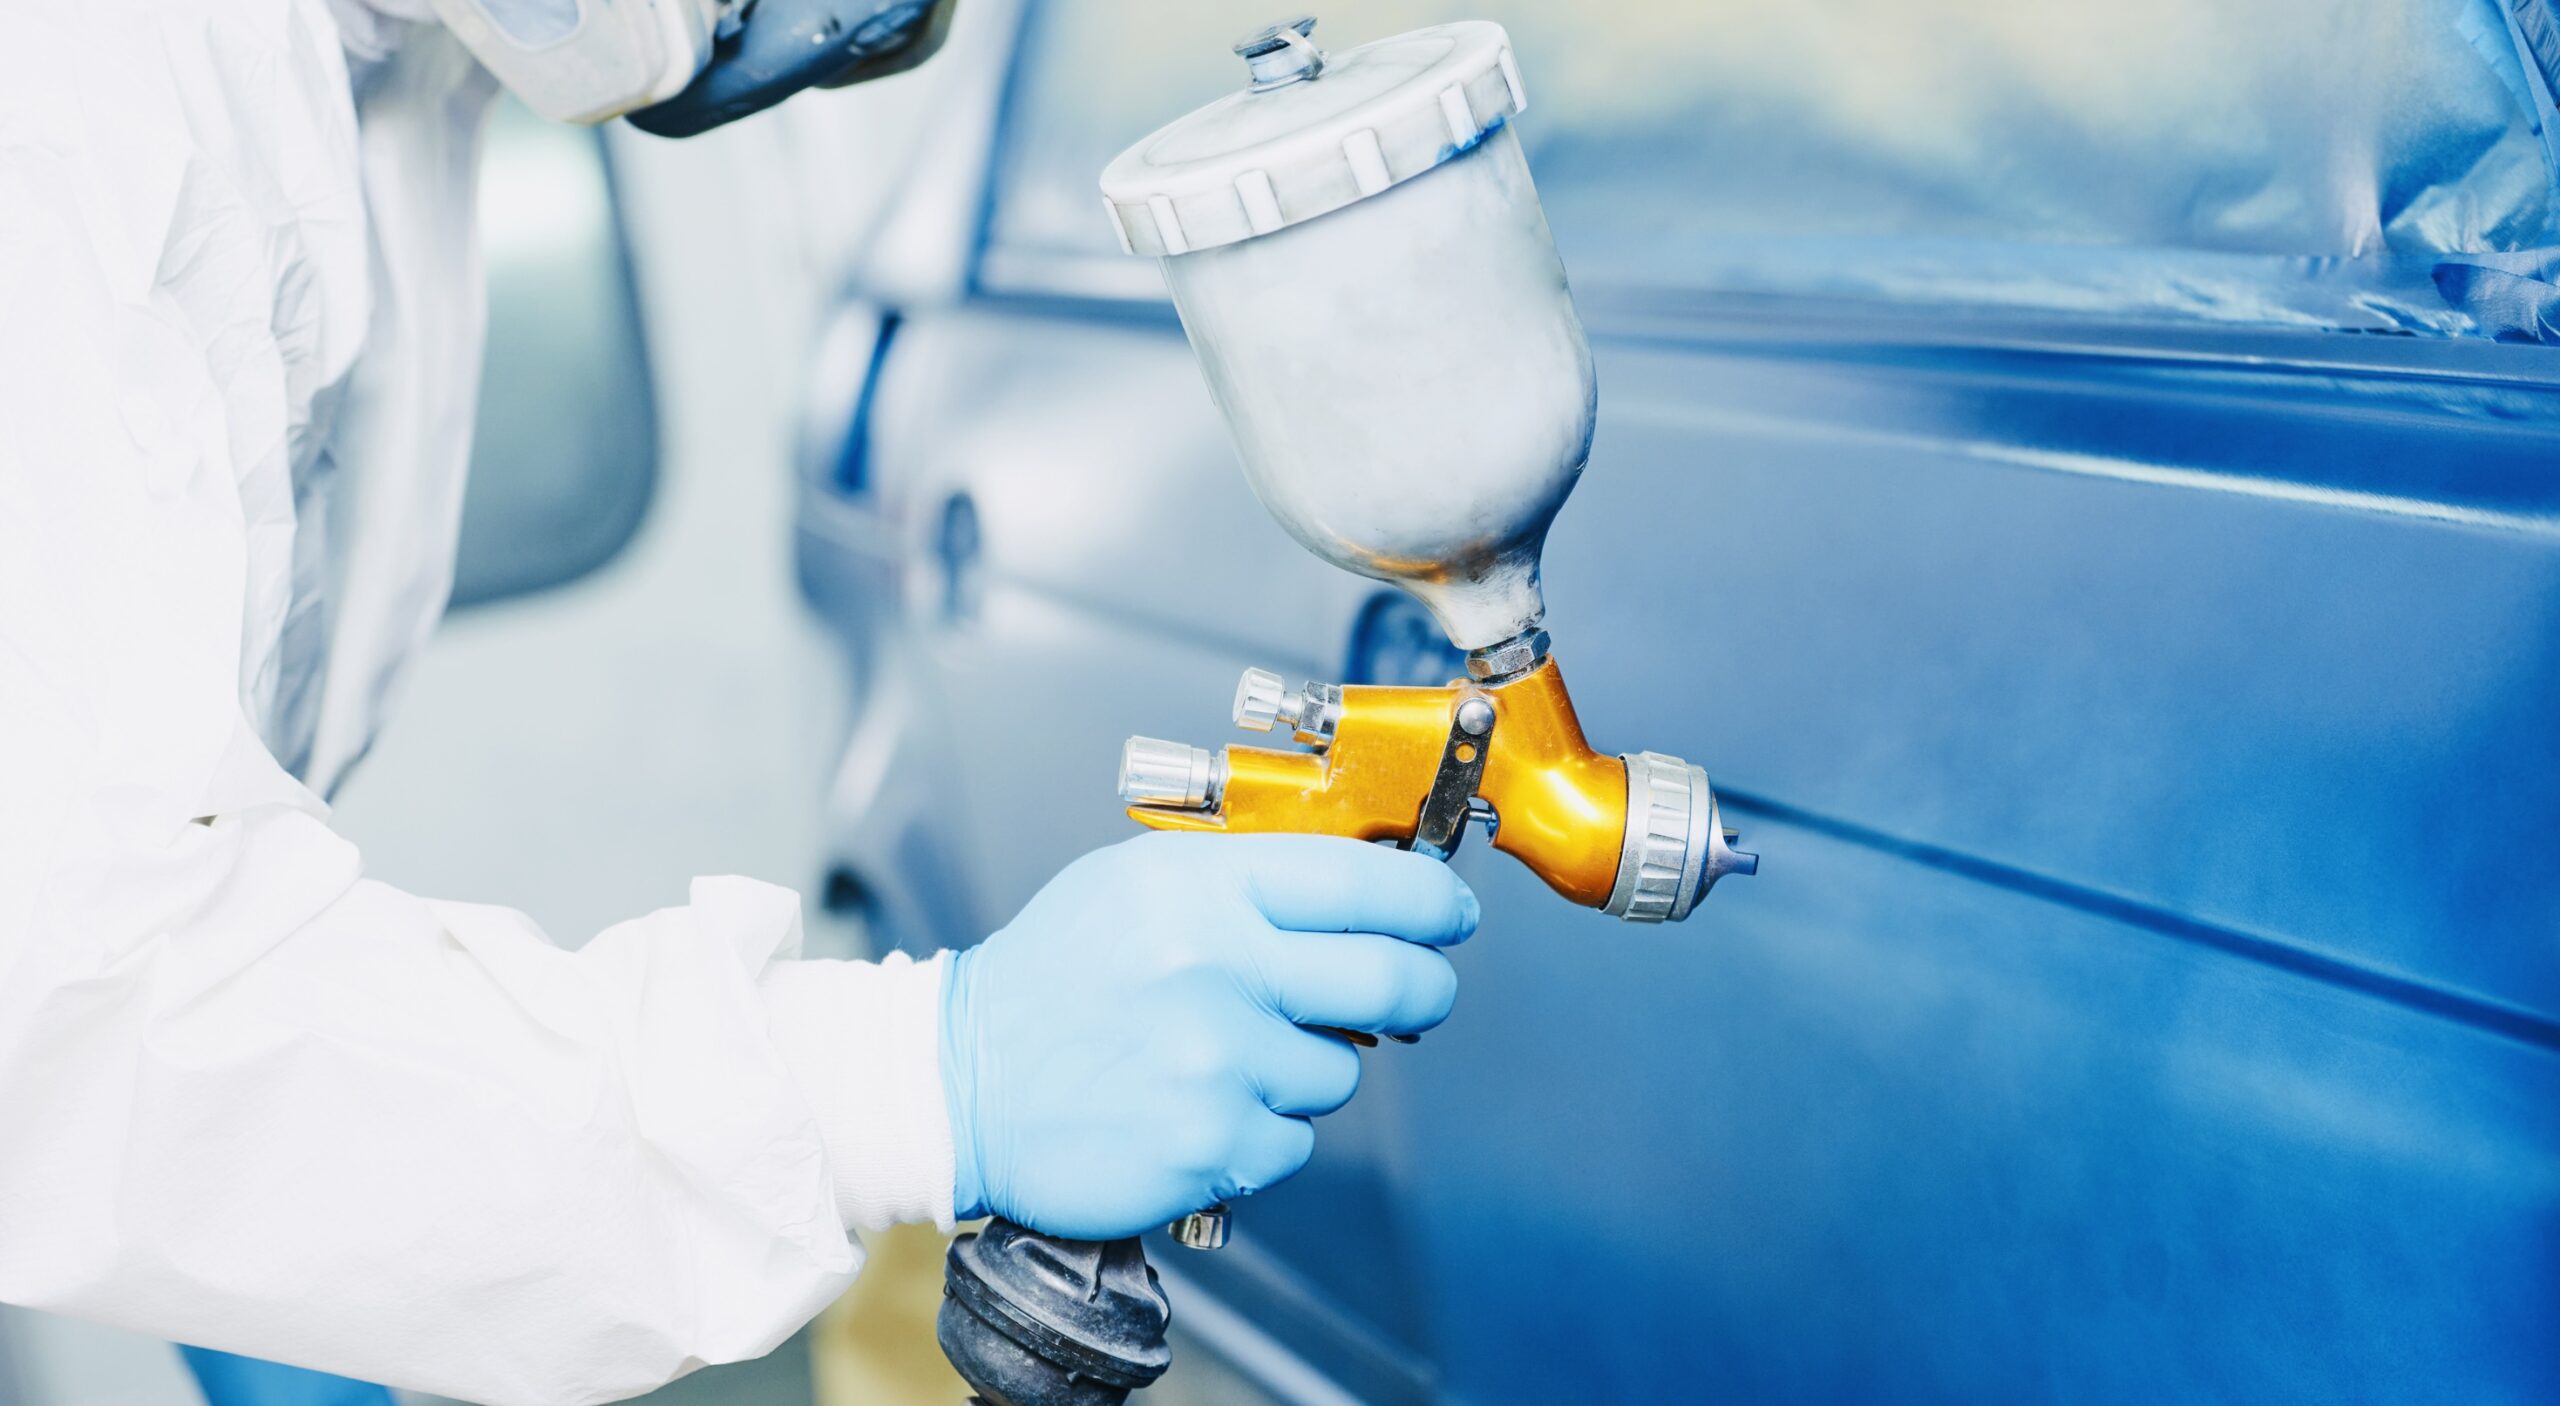
Gradual Addition: Pour a small amount of solvent into your mixing container. Then, slowly add the oil-based paint while stirring continuously. This gradual addition helps you achieve the desired consistency without over-thinning the paint.
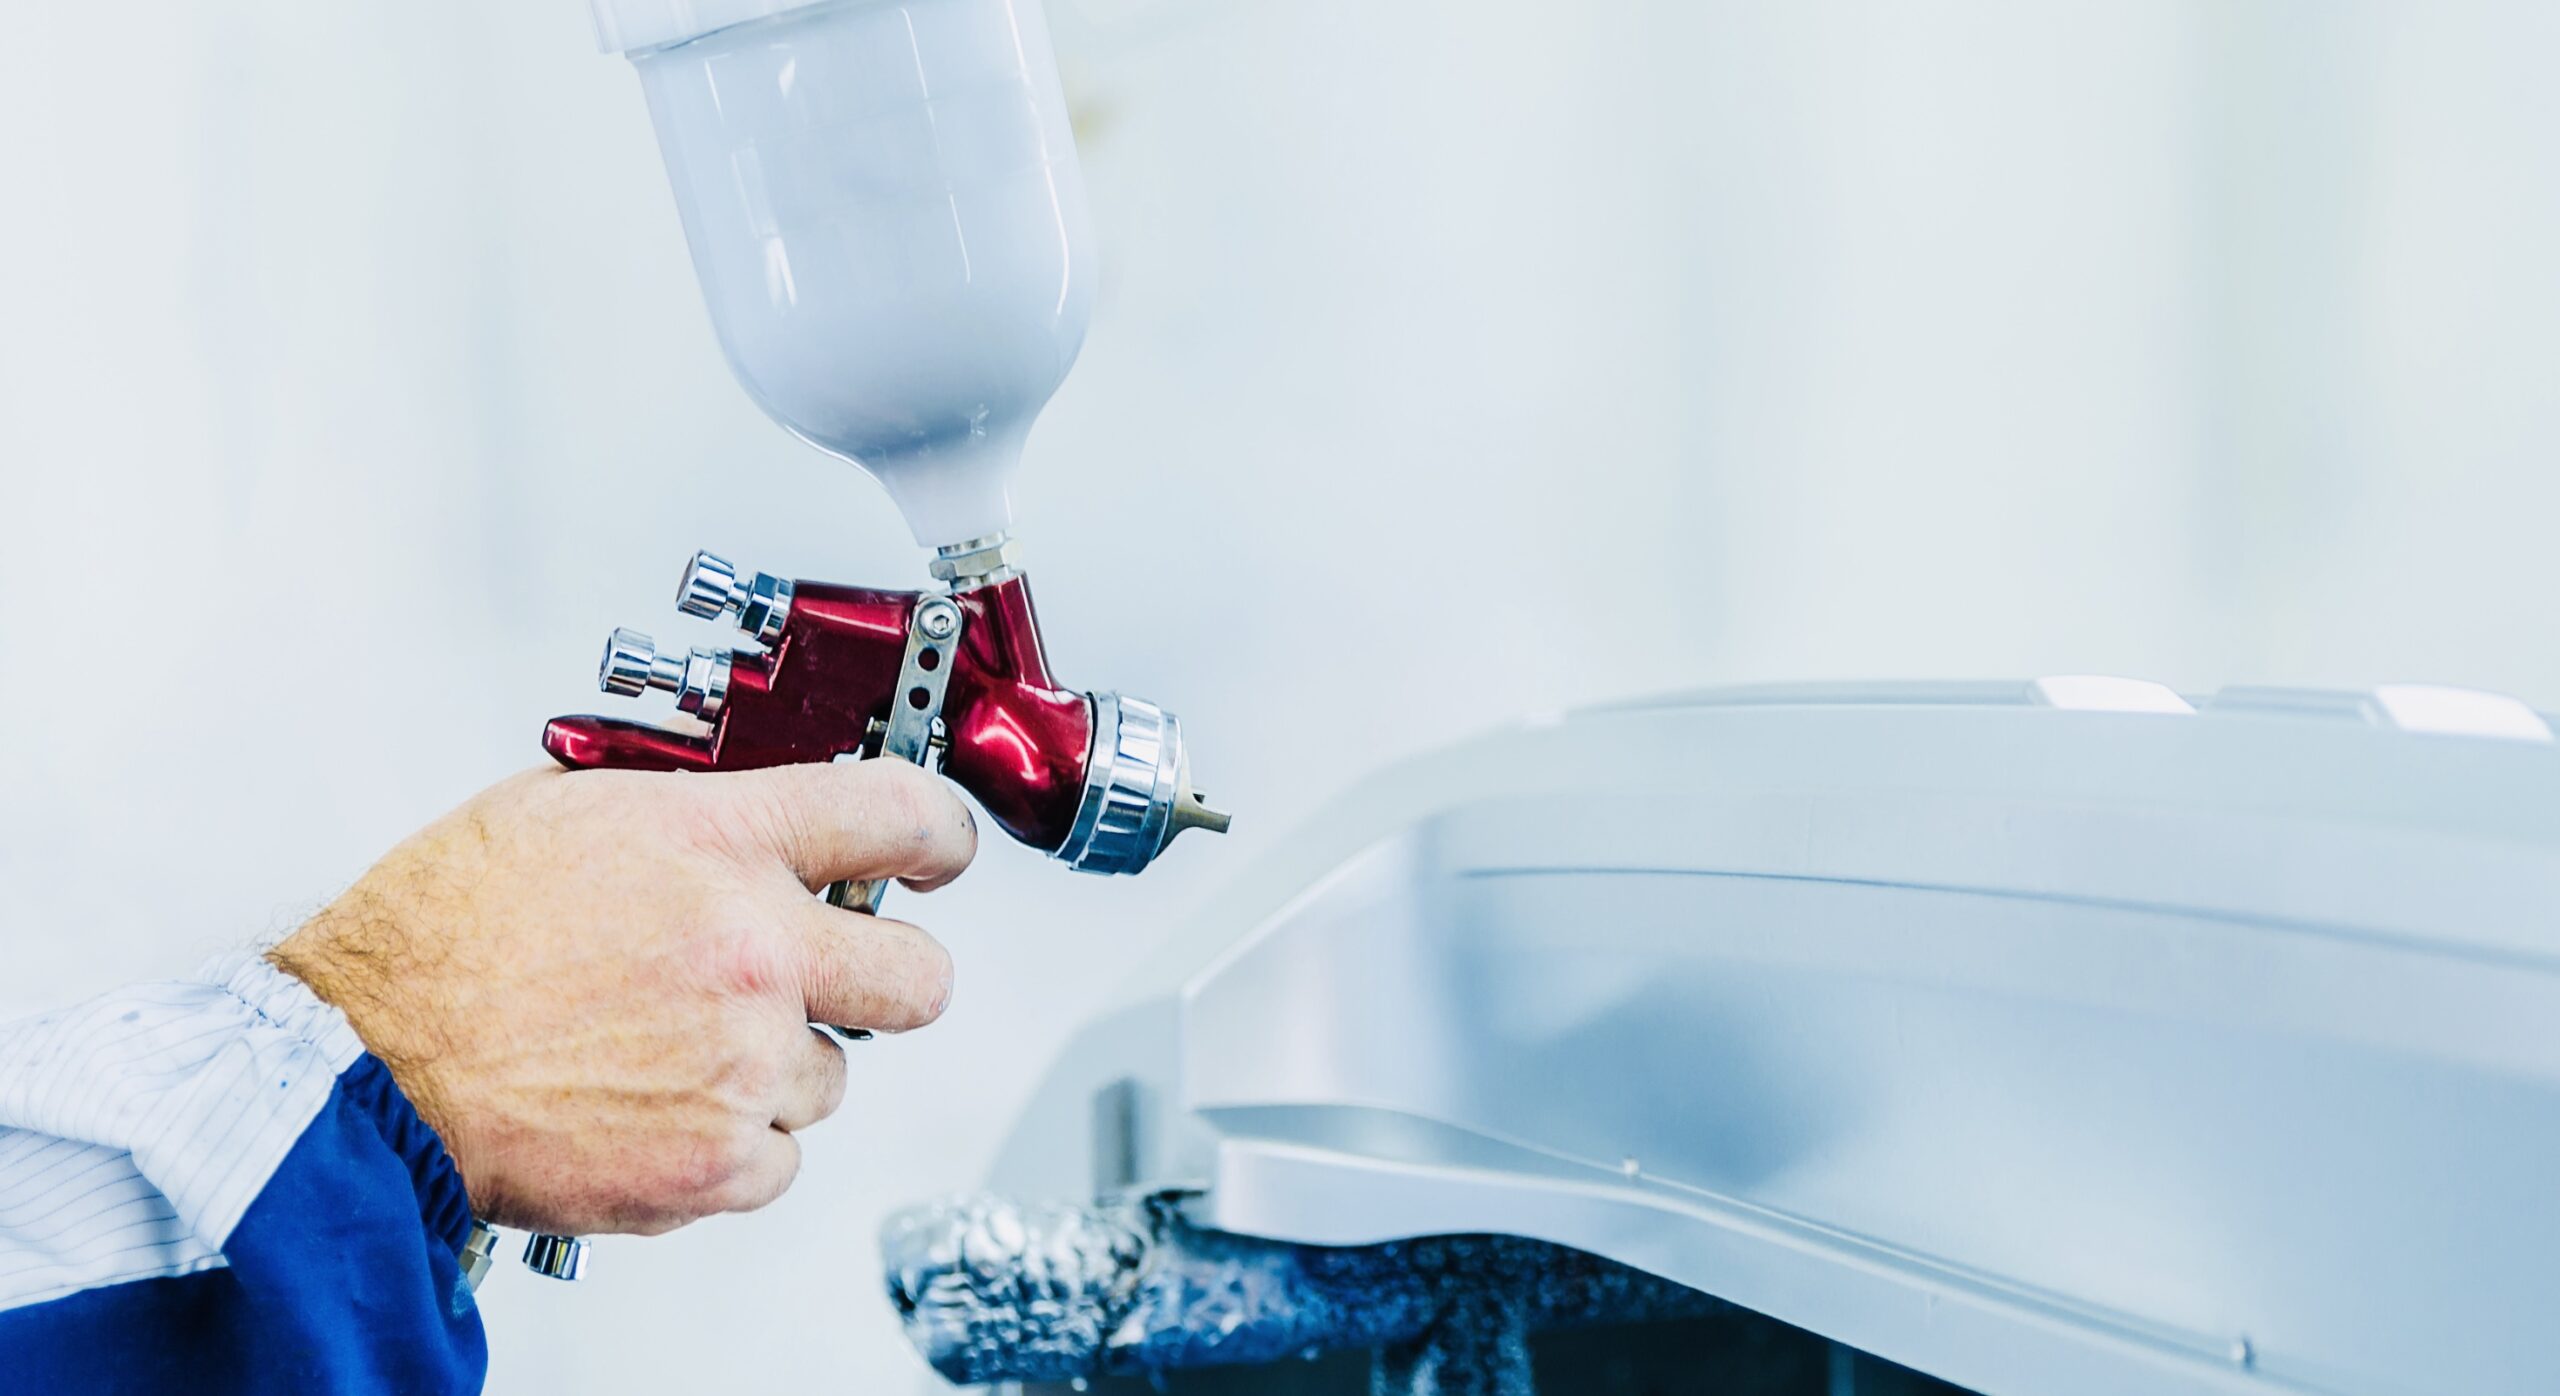
Use a Viscosity Cup: For precise thinning, consider using a viscosity cup. This can measure the flow time of the thinned paint. Based on the manufacturer’s recommendations, you can determine if more solvent is needed.
How to Thin Oil-Based Paint for Spraying: Testing Your Thinned Paint
After you’ve mixed your paint and solvent, it’s important to perform a test spray to ensure the consistency is right for your project.
Here’s how to do it:
- Fill your spray gun with the thinned paint mixture.
- Spray a small, inconspicuous area or a test surface to assess the paint’s flow and coverage.
- Observe the results: If the paint sprays smoothly and provides even coverage, you’ve achieved the right viscosity. If it’s too thin, it may run or drip, while paint that’s too thick can result in an uneven finish.
How to Thin Oil-Based Paint for Spraying: Adjusting Your Mixture
If your test spray indicates that the paint consistency needs adjustment, don’t worry.
Here’s how to make corrections:
- Too Thin:If the paint is too thin, add more oil-based paint to the mixture and stir thoroughly. Test again to ensure the desired viscosity is reached.
- Too Thick:To address too thick paint, add a small amount of the chosen solvent, mix, and retest. Repeat this process until you achieve the right consistency.
How to Thin Oil-Based Paint for Spraying: Types of Oil-Based Paint
Different types of oil-based paint may have varying characteristics, which can affect the thinning process.
Here are some common oil-based paints and their considerations:
Enamel Paint: Enamel paint is known for its high gloss finish and durability. It typically requires moderate thinning for optimal spraying.
Alkyd Paint: Alkyd paints are often used for woodwork and trim. They may need slight thinning for spray application.
Oil-Based Primer: When spraying oil-based primer, consult the manufacturer’s guidelines for thinning recommendations. Primers can vary significantly.
Rust-Ole-um Oil-Based Paint: Rust-Ole-um offers various oil-based paints and primers for specific applications. Always follow the product’s specific thinning instructions.
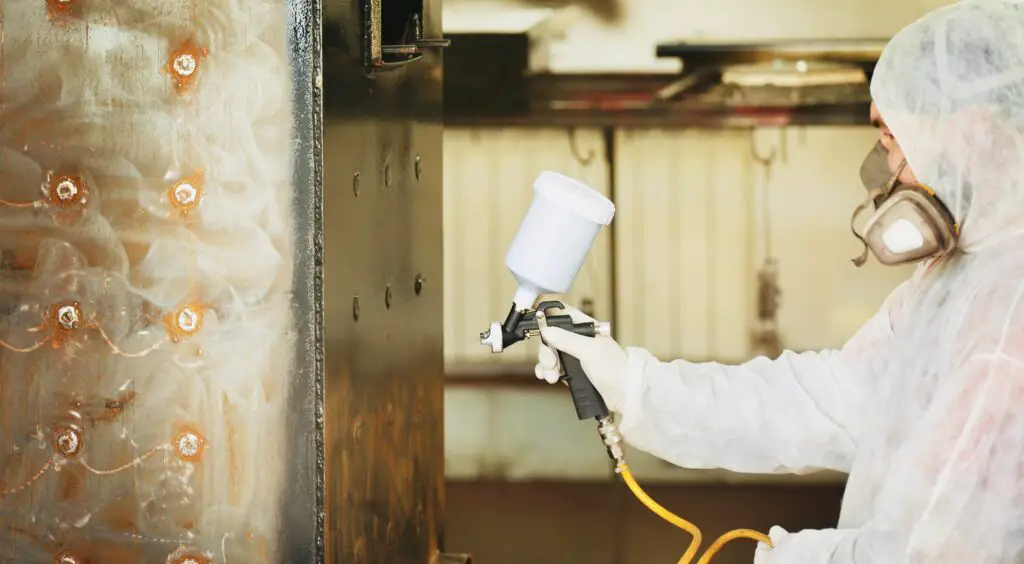
How to Thin Oil-Based Paint for Spraying: Safety Precautions and Proper Ventilation
Before you start thinning oil-based paint, it’s essential to take the necessary safety precautions:
Protective Gear: Wear safety glasses, gloves, and a mask to shield yourself from fumes and potential splatters.
Well-Ventilated Area: Work in a well-ventilated space, preferably outdoors or in a room with open windows and good air circulation. Adequate ventilation is vital to dissipate fumes and ensure your safety.
No Smoking or Open Flames: Oil-based paints and solvents are flammable. Ensure there are no open flames or smoking in the vicinity to prevent accidents.
Keep Solvents Away from Sparks: Store your solvents away from any sources of sparks or flame, and use them carefully to avoid accidents.
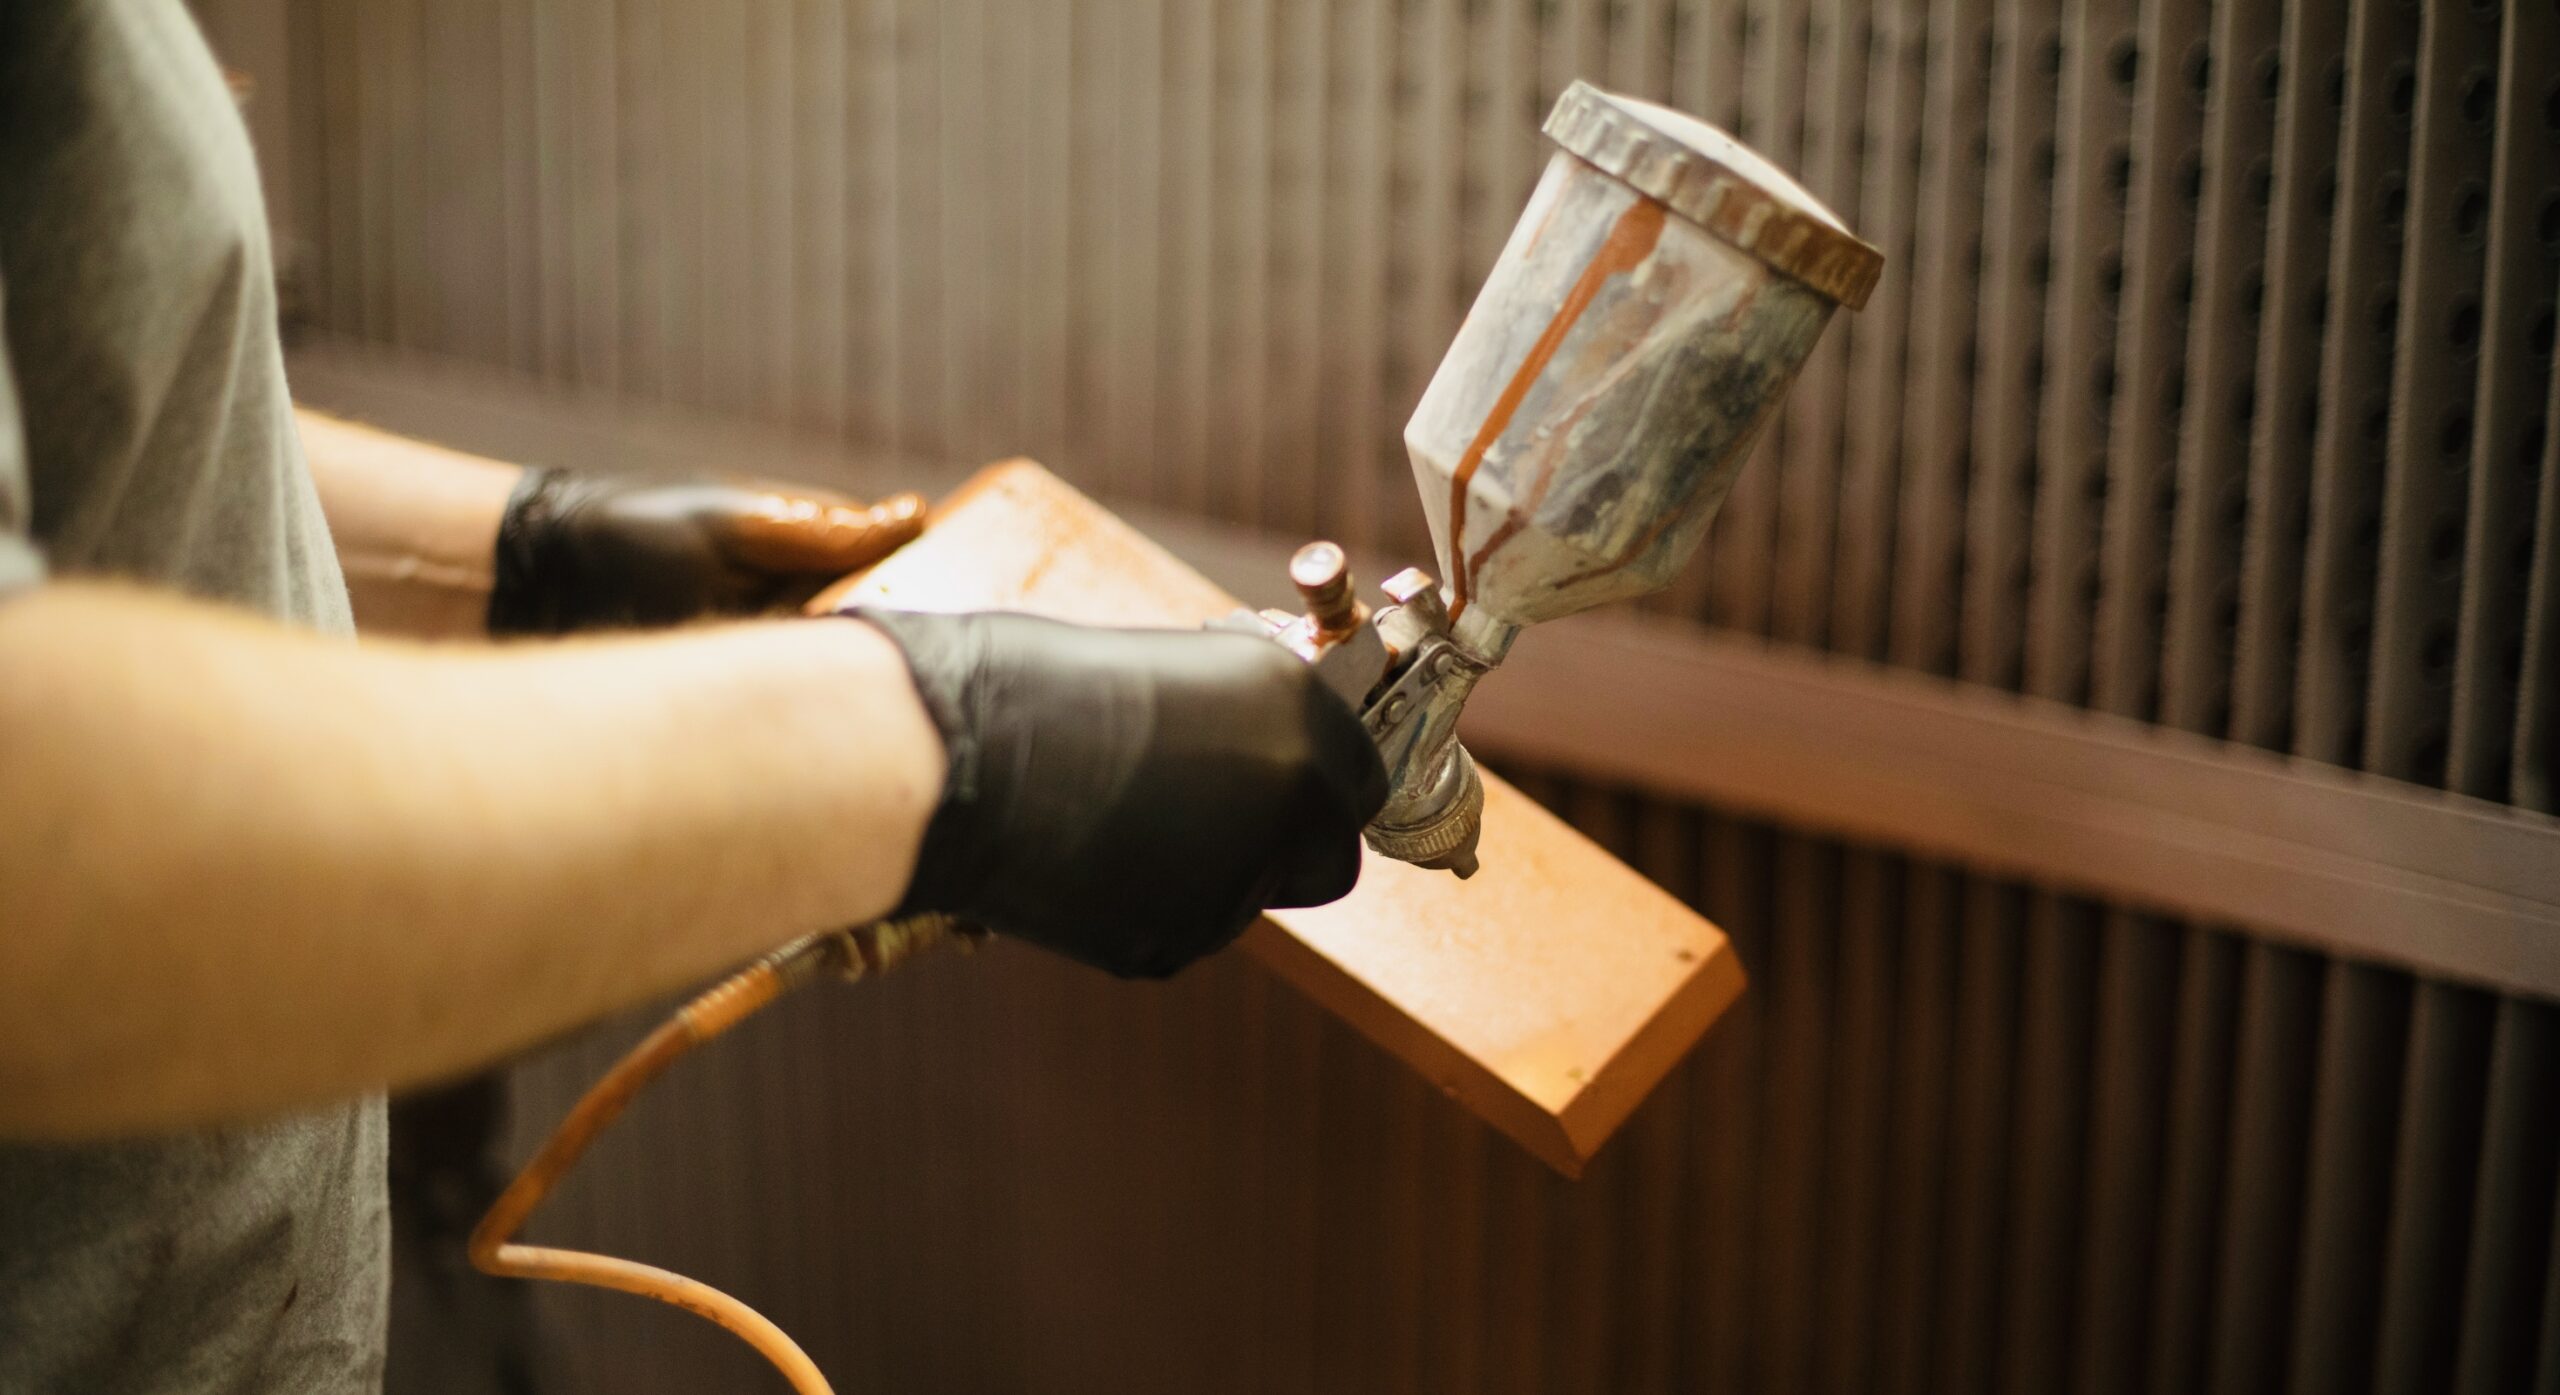
How to Thin Oil-Based Paint for Spraying: Mixing and Thinning Techniques
Now, let’s explore the techniques for properly mixing and thinning your oil-based paint:
Stirring: Begin by stirring the paint in the can thoroughly. Use a paint stirrer or a wooden stick to ensure an even consistency. It’s essential to remix any settled pigments for a uniform mixture.
Add Solvent Gradually: When thinning the paint, add your chosen solvent gradually. It’s easier to add more if needed than to correct over-thinning. A general rule of thumb is to add solvent at a rate of 10% initially and then adjust as necessary.
Mix Thoroughly: After adding solvent, stir the paint again. Make sure the solvent is evenly incorporated into the paint.
Check Viscosity: To check the viscosity of the paint, dip a viscosity cup or a paint stirrer into the mixture and lift it out. Observe how quickly the paint flows off the stirrer or cup. The ideal flow rate depends on your specific spray gun and project, so adjust accordingly.
How to Thin Oil-Based Paint for Spraying: Practical Tips for Successful Thinning
A few practical tips can make the process of thinning oil-based paint more efficient and successful:
Use a Viscosity Cup: A viscosity cup can help you measure the thickness of the paint accurately. If you’re frequently working with oil-based paint, investing in a viscosity cup is a good idea.
Maintain Consistency: Consistency is key to achieving a smooth finish. Regularly check the paint’s viscosity and adjust it to maintain consistency.
Record Your Ratios: Record the ratios of paint to solvent that work best for your projects. This can save you time and effort in the future.
Practice: If you’re new to thinning paint for spraying, practice on a scrap surface or cardboard to understand how different ratios affect the spray pattern and finish.
Final Thought
Mastering thinning oil-based spray paint is a valuable skill for DIY enthusiasts and professionals. It ensures that your projects receive a smooth, professional finish, enhancing the overall quality of your work. By understanding the right solvents, safety precautions, and mixing techniques, you can take your painting endeavors to a new level of excellence. Remember, practice makes perfect, and with each project, you’ll refine your thinning skills and achieve outstanding results. So, embrace the art of thinning and watch your creative visions come to life with finesse and precision. As you embark on your next project, may your creativity flow freely, and your spray gun produces professional, stunning results. Thinning oil-based paint is not just a practical task; it’s an artistic journey that leads to remarkable transformations.