
How to thin exterior paint for sprayer: The Art of Thinning Exterior Paint for Sprayer
When it comes to refurnish the exterior of your home, using a paint sprayer can be a game-changer. However, achieving that flawless finish requires mastering the delicate art of thinning your exterior paint.
In this comprehensive guide, we' ll guide you on How to thin exterior paint for the sprayer. It will ensure your painting project becomes a seamless success.
Why Thin Your Paint
Thinning exterior paint is not just an optional step; it's a beneficial component in the recipe for a professional-looking finish. By altering the consistency of the paint, you' re essentially facilitating its ability to atomize, resulting in a more even application. Think of it as the secret sauce that transforms your paint into a smooth, flowing medium.
Choosing the Right Paint
Before you even think about thinning, the foundation lies in selecting the right paint. Use high-quality exterior paints explicitly formulated for sprayers. These paints are designed to meet the demands of the spraying process, offering durability, coverage, and a polished appearance.
The Thinners
Now that you've got the right paint, it's time to choose the appropriate thinner. The market offers a variety, including water, mineral spirits, and acetone. For water-based paints, water is usually the go-to thinner, while mineral spirits and acetone are favored for oil-based counterparts. Each thinner plays a specific role in achieving the desired consistency.
The Perfect Ratio
Achieving the perfect paint-to-thinner ratio is an art form. While a 10% thinning ratio is a commonly recommended starting point, it's imperative to consult the guidelines provided by the paint manufacturer. Different brands may have specific recommendations based on their unique formulations.
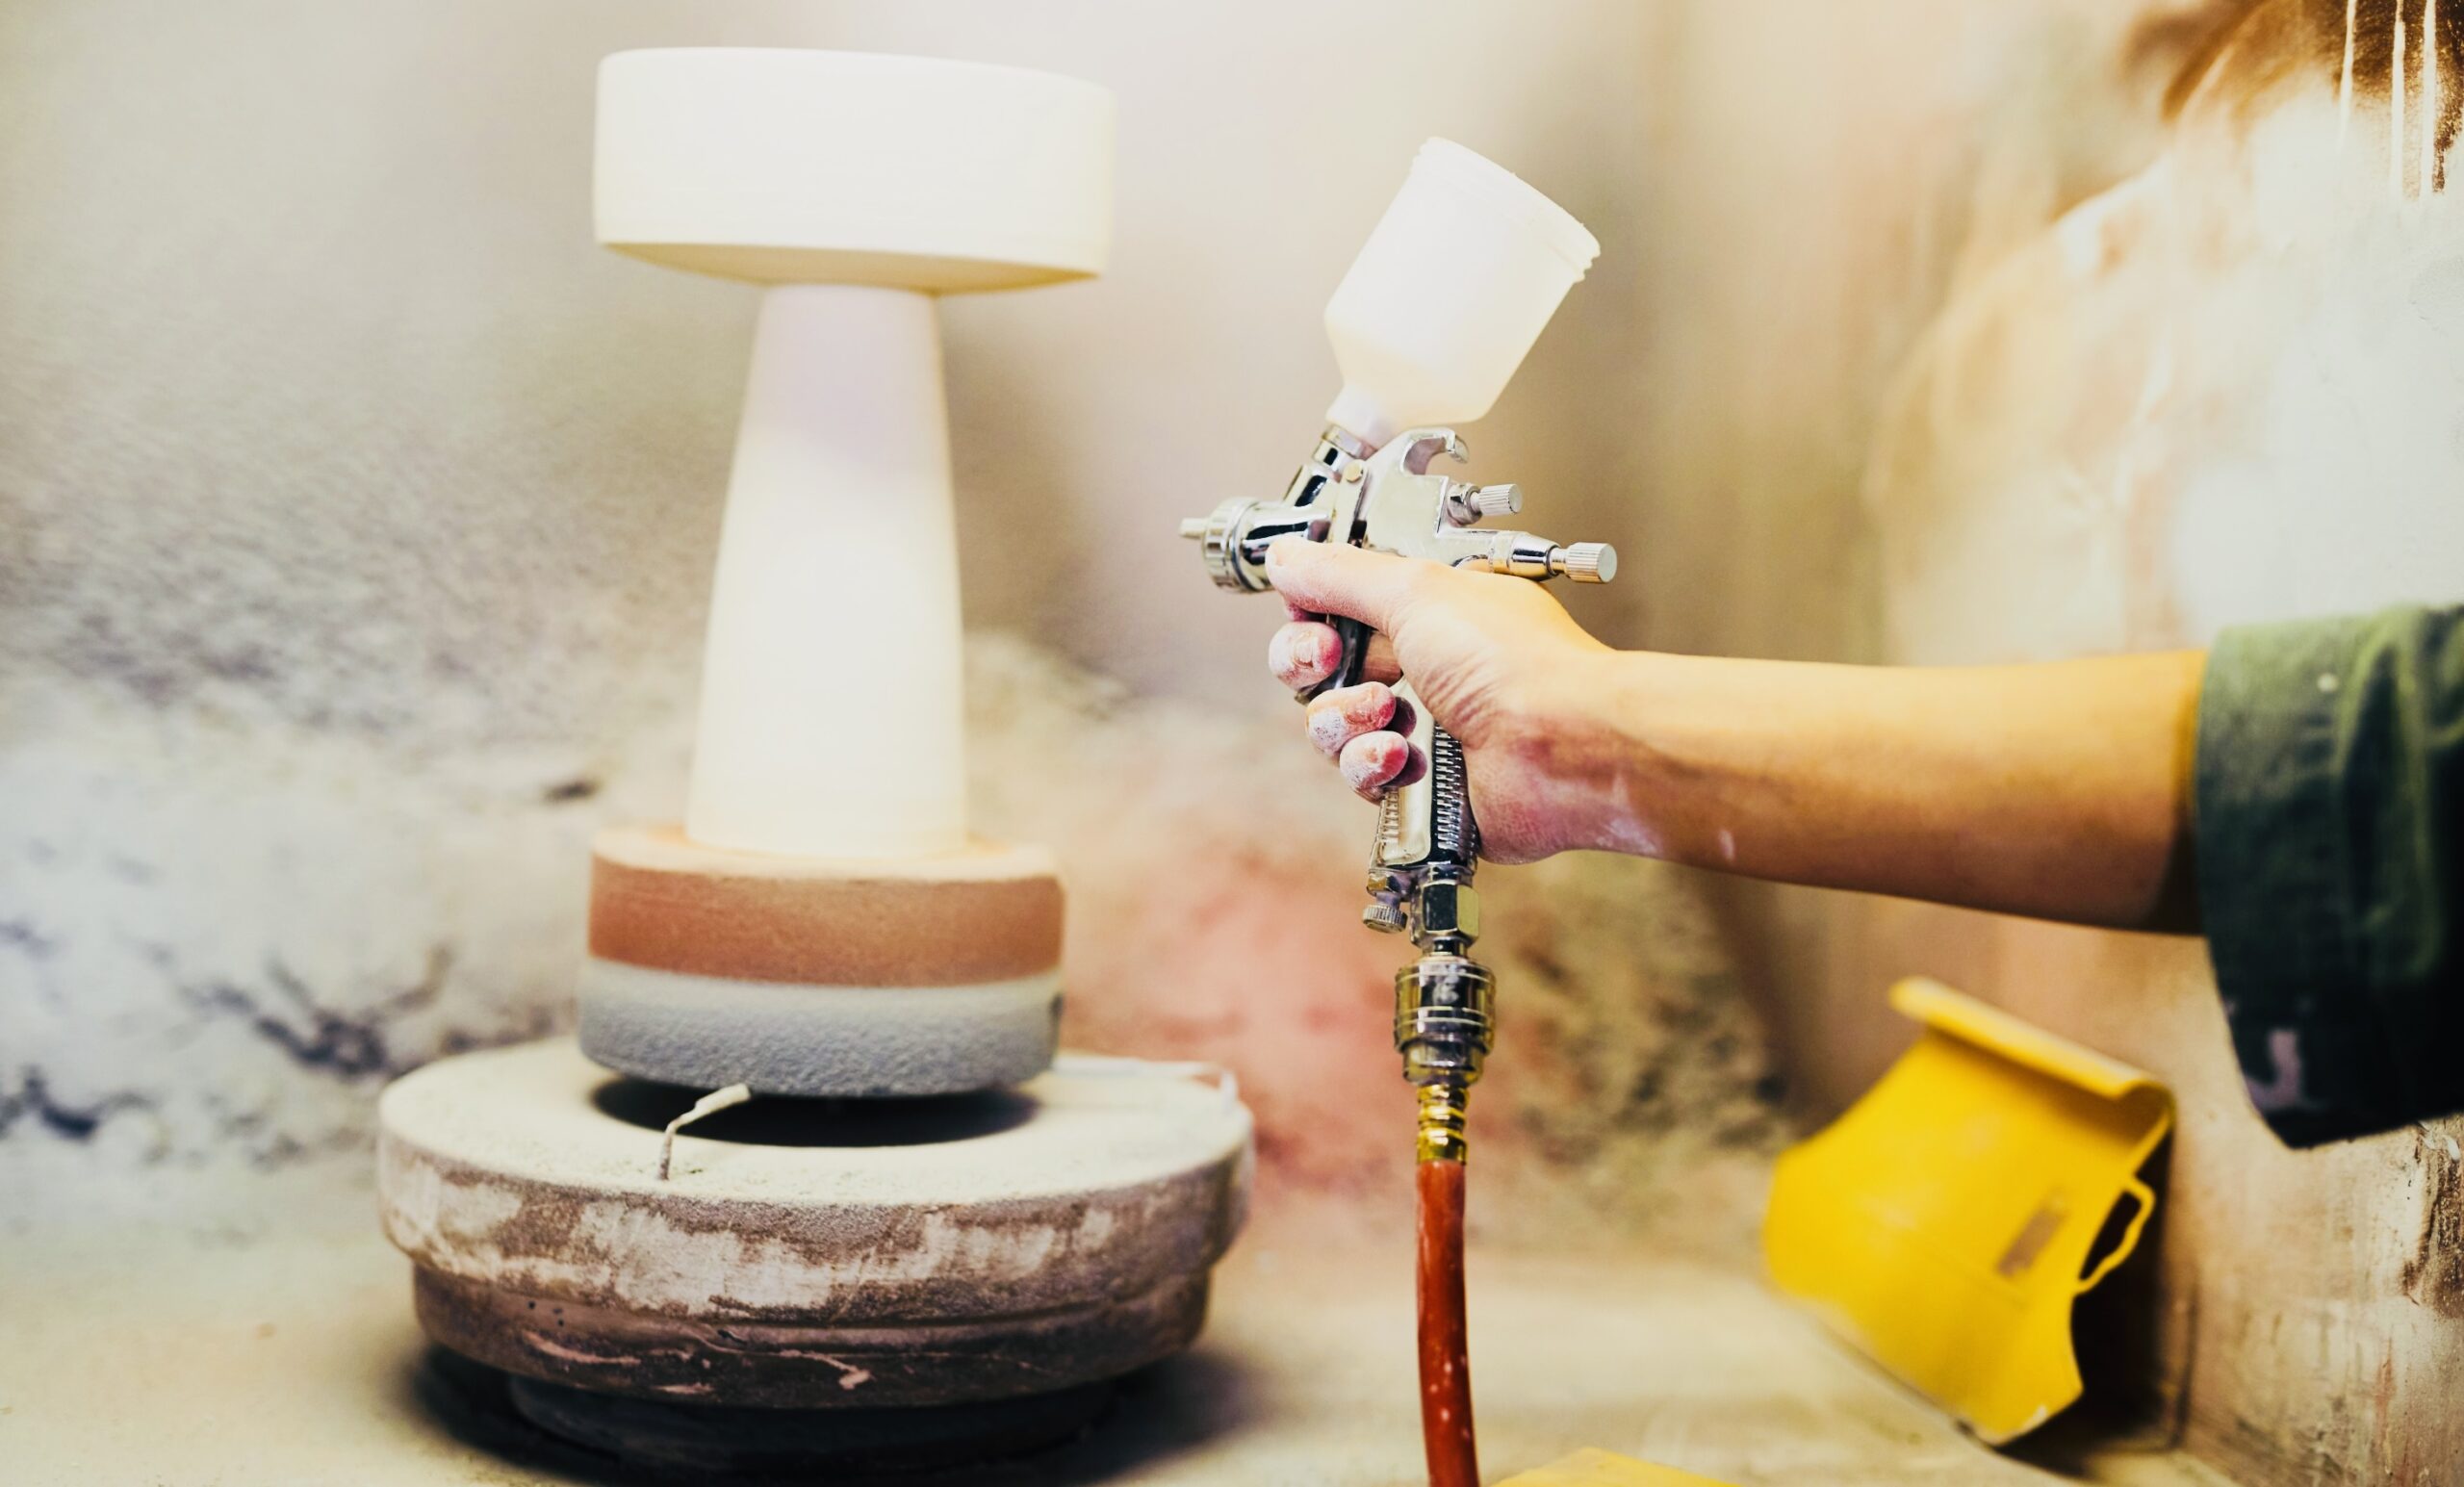
The Step-by-Step Guide on Thinning Exterior Paint for Sprayers
To ensure a flawless finish, mastering the art of thinning your paint is critical. This step-by-step guide will walk you through the intricacies of thinning exterior paint, making your painting journey smooth and successful.
Step 1: Gather Your Materials
Before you begin, ensure you have the suitable materials on hand:
- High-quality exterior paint designed for sprayers
- The recommended thinner (water, mineral spirits, or acetone)
- A mixing container
- Stir stick
- A Measuring tool
Step 2: Choose the Right Paint
Select a premium exterior paint formulated explicitly for sprayers. This ensures optimal performance and a professional-looking result. Check the color can for any specific instructions regarding thinning.
Step 3: Understand Your Paint Type
Identify whether your paint is water-based or oil-based, as this determines the type of thinner you'll use. Water is suitable for water-based paints, while mineral spirits or acetone are ideal for oil-based paints.
Step 4: Measure Your Paint and Thinner
While a 10% thinning ratio is a common starting point, it's necessary to follow the specific recommendations for your chosen paint.
Step 5: Pour the Paint
Pour the desired amount of paint into a clean mixing container. Be precise in your measurements to achieve the correct ratio.
Step 6: Add the Thinner
Carefully add the recommended thinner to the paint. Use a stir stick to blend the two components thoroughly. Ensure a consistent mixture for optimal spraying.
Step 7: Mix Thoroughly
Take the time to mix the paint and thinner thoroughly. This step is critical to achieving uniform consistency and preventing issues such as clogs or uneven application during spraying.
Step 8: Test Spray
Before tackling your entire project, perform a test spray on a scrap surface. This allows you to assess the consistency of the thinned paint and make any necessary adjustments before applying it to your exterior surfaces.
Step 9: Adjust as Needed
If the test spray reveals issues like uneven application or clogging, make adjustments to the thinning ratio. It might take some trial and error to find the perfect balance.
Step 10: Begin Painting
Once satisfied with your test spray, you' re ready to start painting! Use smooth, even strokes to achieve a professional finish on your exterior surfaces.
Step 11: Monitor Environmental Conditions
Take into account the weather conditions when planning your painting project. Ideally, choose a day with mild temperatures and low humidity. Extreme conditions can affect the drying time and application of thinned paint. Aim for a climate that promotes optimal paint adherence and a smooth finish.
Step 11: Wear Protective Gear
Ensure your safety during the painting process by wearing appropriate protective gear.
This includes:
- Safety goggles
- A respirator
- Suitable clothing
Thinned paint particles can become airborne, and protection is vital for your eyes, respiratory system, and skin.
Step 12: Practice Proper Spraying Technique
Achieving a professional finish goes beyond thinning the paint. Practice proper spraying techniques, such as maintaining a consistent distance from the surface, overlapping strokes, and adjusting the spray pattern as needed. These techniques contribute to an even and attractive coat.
Step 13: Consider Multiple Coats
Depending on the color and condition of the surface, you may need to apply multiple coats of thinned paint for optimal coverage. Allow each coat to dry thoroughly before applying the next. This step ensures a durable and long-lasting finish.
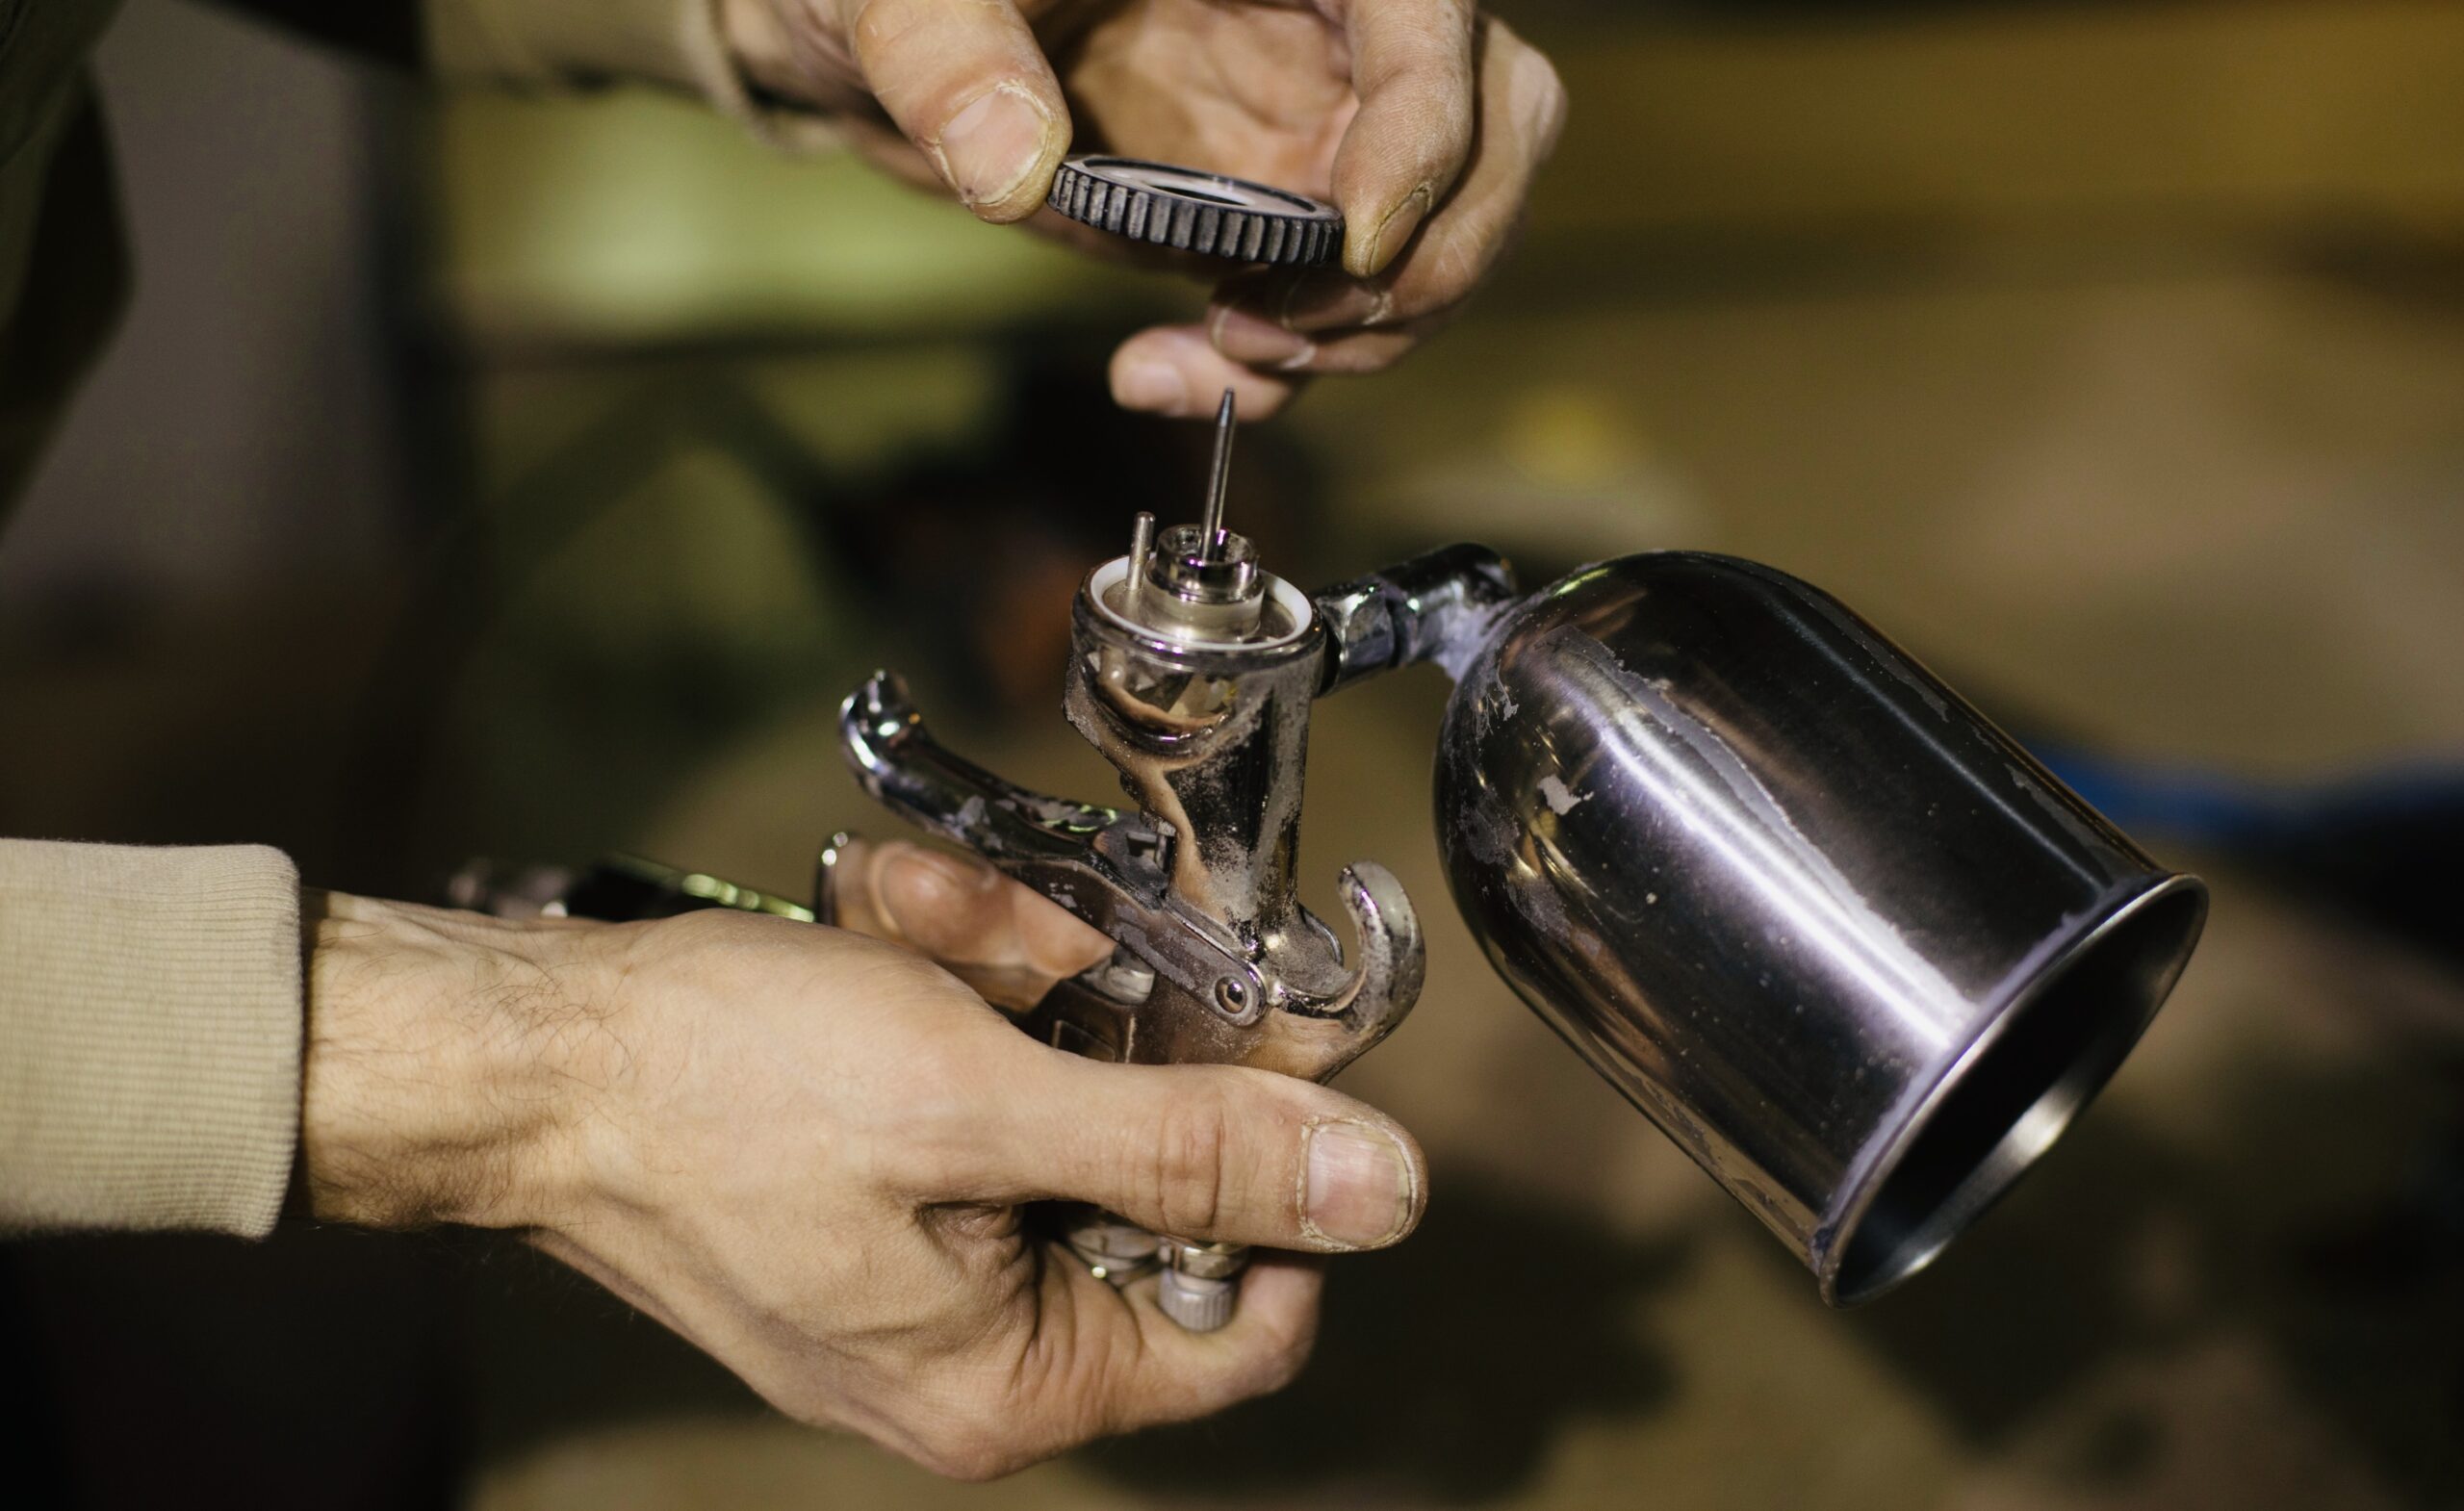
Step 14: Post-Painting Cleanup
After completing your painting project, clean your sprayer and other equipment thoroughly. Dispose of any leftover thinned paint according to local regulations. Proper cleanup not only prolongs the life of your equipment but also contributes to a more sustainable and environmentally friendly painting process.
Step 15: Evaluate the Finished Result
Take a step back and evaluate the finished result. Look for any uneven areas, drips, or missed spots. Touch up as necessary to achieve a polished and professional appearance. Your attention to detail during this stage ensures a visually appealing and lasting paint job.
Additional Tips for Success:
- Prep the Surface: Ensure the surface is clean and properly prepared before Starting. Remove any dirt, dust, or loose paint, and consider using a primer for enhanced adhesion.
- Use Quality Brushes and Rollers: If your project involves detailed areas or smaller surfaces, having high-quality brushes and rollers can contribute to a smoother finish.
- Stay Consistent with Color Mixing: If you need to mix multiple cans of paint to achieve the desired quantity, mix them in a larger container before thinning. This ensures color consistency throughout your project.
- Invest in a Quality Sprayer: A high-quality paint sprayer can make a significant difference in the outcome of your project. Consider renting or purchasing a professional-grade sprayer for large or intricate projects.
FAQs:
Q1: Can I use water to thin oil-based exterior paint for a sprayer?
No, water and oil-based paints don't mix well. For oil-based paints, it's essential to use the recommended thinner, such as mineral spirits or acetone.
Q2: Is it necessary to thin water-based paint for a sprayer?
Thinning water-based paint is often recommended to improve customization and achieve a smoother finish. Always follow the paint manufacturer's guidelines for the correct ratio.
Q3: What's the risk of over-thinning paint?
Over-thinning can lead to reduced coverage, adhesion issues, and a diluted color. It's better to follow the recommended thinning ratios to avoid these problems.
Q4: Can I use a generic thinner or stick to the brand's recommended product?
It's advisable to use the recommended thinner by the paint manufacturer to ensure compatibility and maintain the paint's quality.
Final Touch-Up:
Congratulations! By following these additional steps and tips into your painting routine, you' ve not only mastered the art of thinning exterior paint for sprayers but have also elevated the overall quality and longevity of your paint job. Whether you' re a seasoned DIY enthusiast or a first-time painter, these comprehensive guidelines ensure a successful and satisfying exterior painting experience.
Happy painting!