Mastering the Art of How To Thin Emulsion Paint For Spraying Application
Spray painting with emulsion paint is a skill that can give your home a bohemian look, providing a smooth, professional finish. However, achieving the perfect consistency of your emulsion paint for spray application can’t be denied for success.
This comprehensive guide will let you know the step-by-step process of How To Thin Emulsion Paint For Spraying. We will cover everything from choosing the right paint to the correct thinning ratios and expert tips for a flawless finish.
Know About Emulsion Paint
Before we go for the thinning process, let’s grasp the basics of emulsion paint. Emulsion paint consists of pigment particles dispersed in water, making it versatile, easy to clean, and suitable for various surfaces. However, achieving the correct viscosity is paramount when it comes to spray application.
Selecting the Right Emulsion Paint
Not all emulsion paints are created equal, and selecting the right one for spraying is essential. Go for paints labeled as suitable for airless spray systems or those explicitly designed for spray application. These paints contain a smoother consistency, ensuring better results when used with a spray gun.
How To Thin Emulsion Paint For Spraying: Necessary Tools and Equipment
High-Quality Emulsion Paint: Choose a premium emulsion paint suitable for your project.
Paint Thinner: Use a paint thinner compatible with water-based paints. Most manufacturers provide recommendations for compatible thinners.
Measuring Tools: Accurate measuring is vital. A graduated mixing cup or a digital scale will help you achieve precise ratios.
Stir Stick or Paddle: Ensure thorough mixing of the paint and thinner.
Spray Gun: Select a high-quality spray gun suitable for emulsion paint. Check the manufacturer’s recommendations for nozzle size and pressure settings.
Step-by-Step Guide to Thinning Emulsion Paint
Read the Manufacturer’s Guidelines: Before starting, carefully read the manufacturer’s guidelines on thinning ratios and recommendations for the specific emulsion paint you use.
Deviating from these guidelines may affect the paint’s performance:
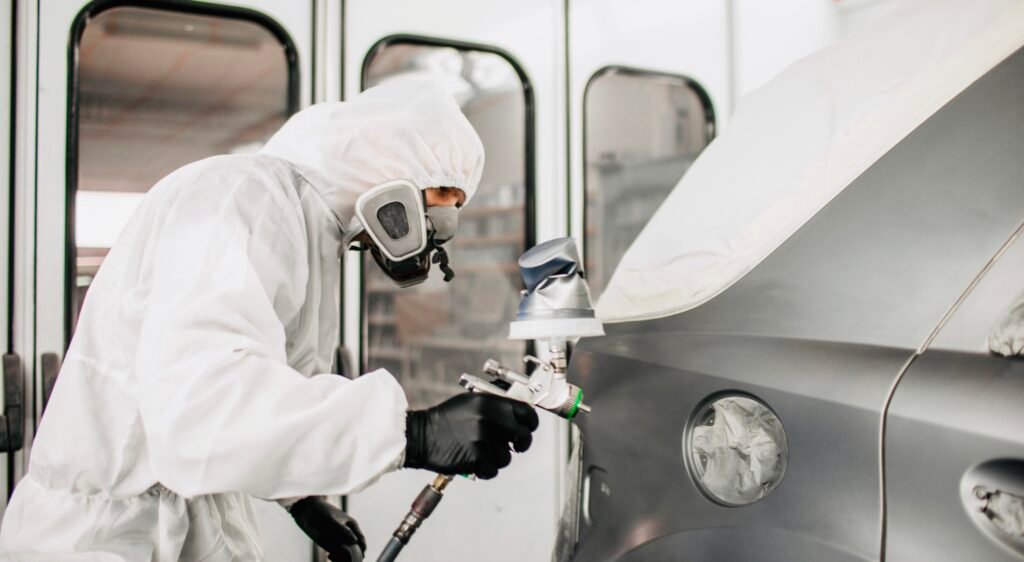
Prepare Your Workspace: Ensure proper ventilation in your workspace. Consider using a mask, gloves, and protective eye-wear, especially with paint thinners.
Choose the Right Thinner: Select a paint thinner recommended by the manufacturer. An incompatible thinner may result in uneven spraying or affect the paint’s adherence.
Mix Small Batches: Mix smaller batches initially to avoid over-thinning the entire paint supply. This allows for adjustments based on your types of spray gun’s performance and the desired finish.
Measure and Mix: Use measuring tools to achieve accurate thinning ratios. Typically, a starting point is a 10% thinner-to-paint ratio. Gradually add the thinner while stirring continuously to avoid lumps or inconsistencies.
Check Consistency: Periodically check the paint’s consistency by dipping a viscosity cup into the mixture. The goal is to achieve a viscosity that allows easy spraying without compromising coverage.
Test Spray: Conduct a test spray on a scrap surface before committing to your project. Adjust the thinning ratio if needed, paying attention to the spray pattern, coverage, and finish.
Adjust as Needed: Fine-tune your thinning ratios based on the test spray results. Ambient temperature and humidity can influence the paint’s drying time and viscosity.
Strain the Mixture: To prevent clogs in your spray gun, strain the thinned paint before pouring it into its reservoir. A fine mesh strainer or paint filter can remove impurities or undissolved particles.
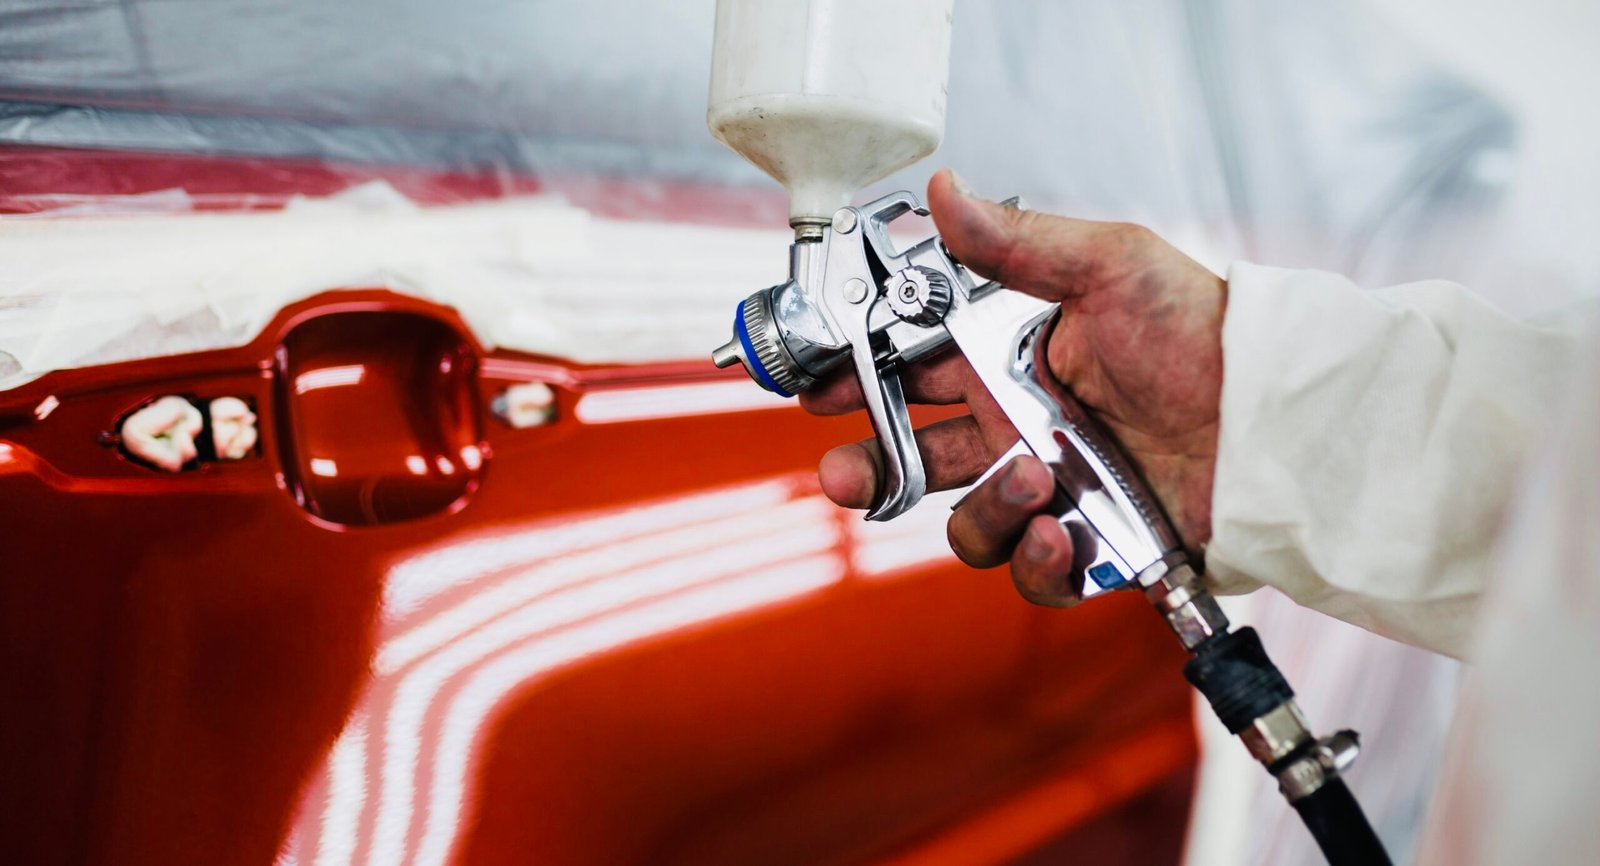
Spray Technique: Mastering the spray technique is crucial for achieving a professional finish. Maintain a consistent distance from the surface, move in smooth, overlapping strokes, and control the spray gun’s speed for even coverage.
Expert Tips for Perfecting Your Spray Technique
- Consistency is Key: Go for a consistent thinning ratio throughout the project to maintain uniformity in the finish.
- Temperature Matters: Ambient temperature can impact paint viscosity. Adjust your thinning ratio based on temperature conditions for optimal results.
- Practice Patience: Allow test sprays to dry entirely before assessing the finish. This ensures a more accurate representation of the final result.
- Clean Your Equipment: Properly clean your spray gun and equipment immediately after use to prevent dried paint buildup, ensuring optimal performance for future projects.
- Experiment with Nozzle Sizes: Depending on your project’s size and intricacy, experiment with different nozzle sizes to find the one that provides the best balance of coverage and detail.
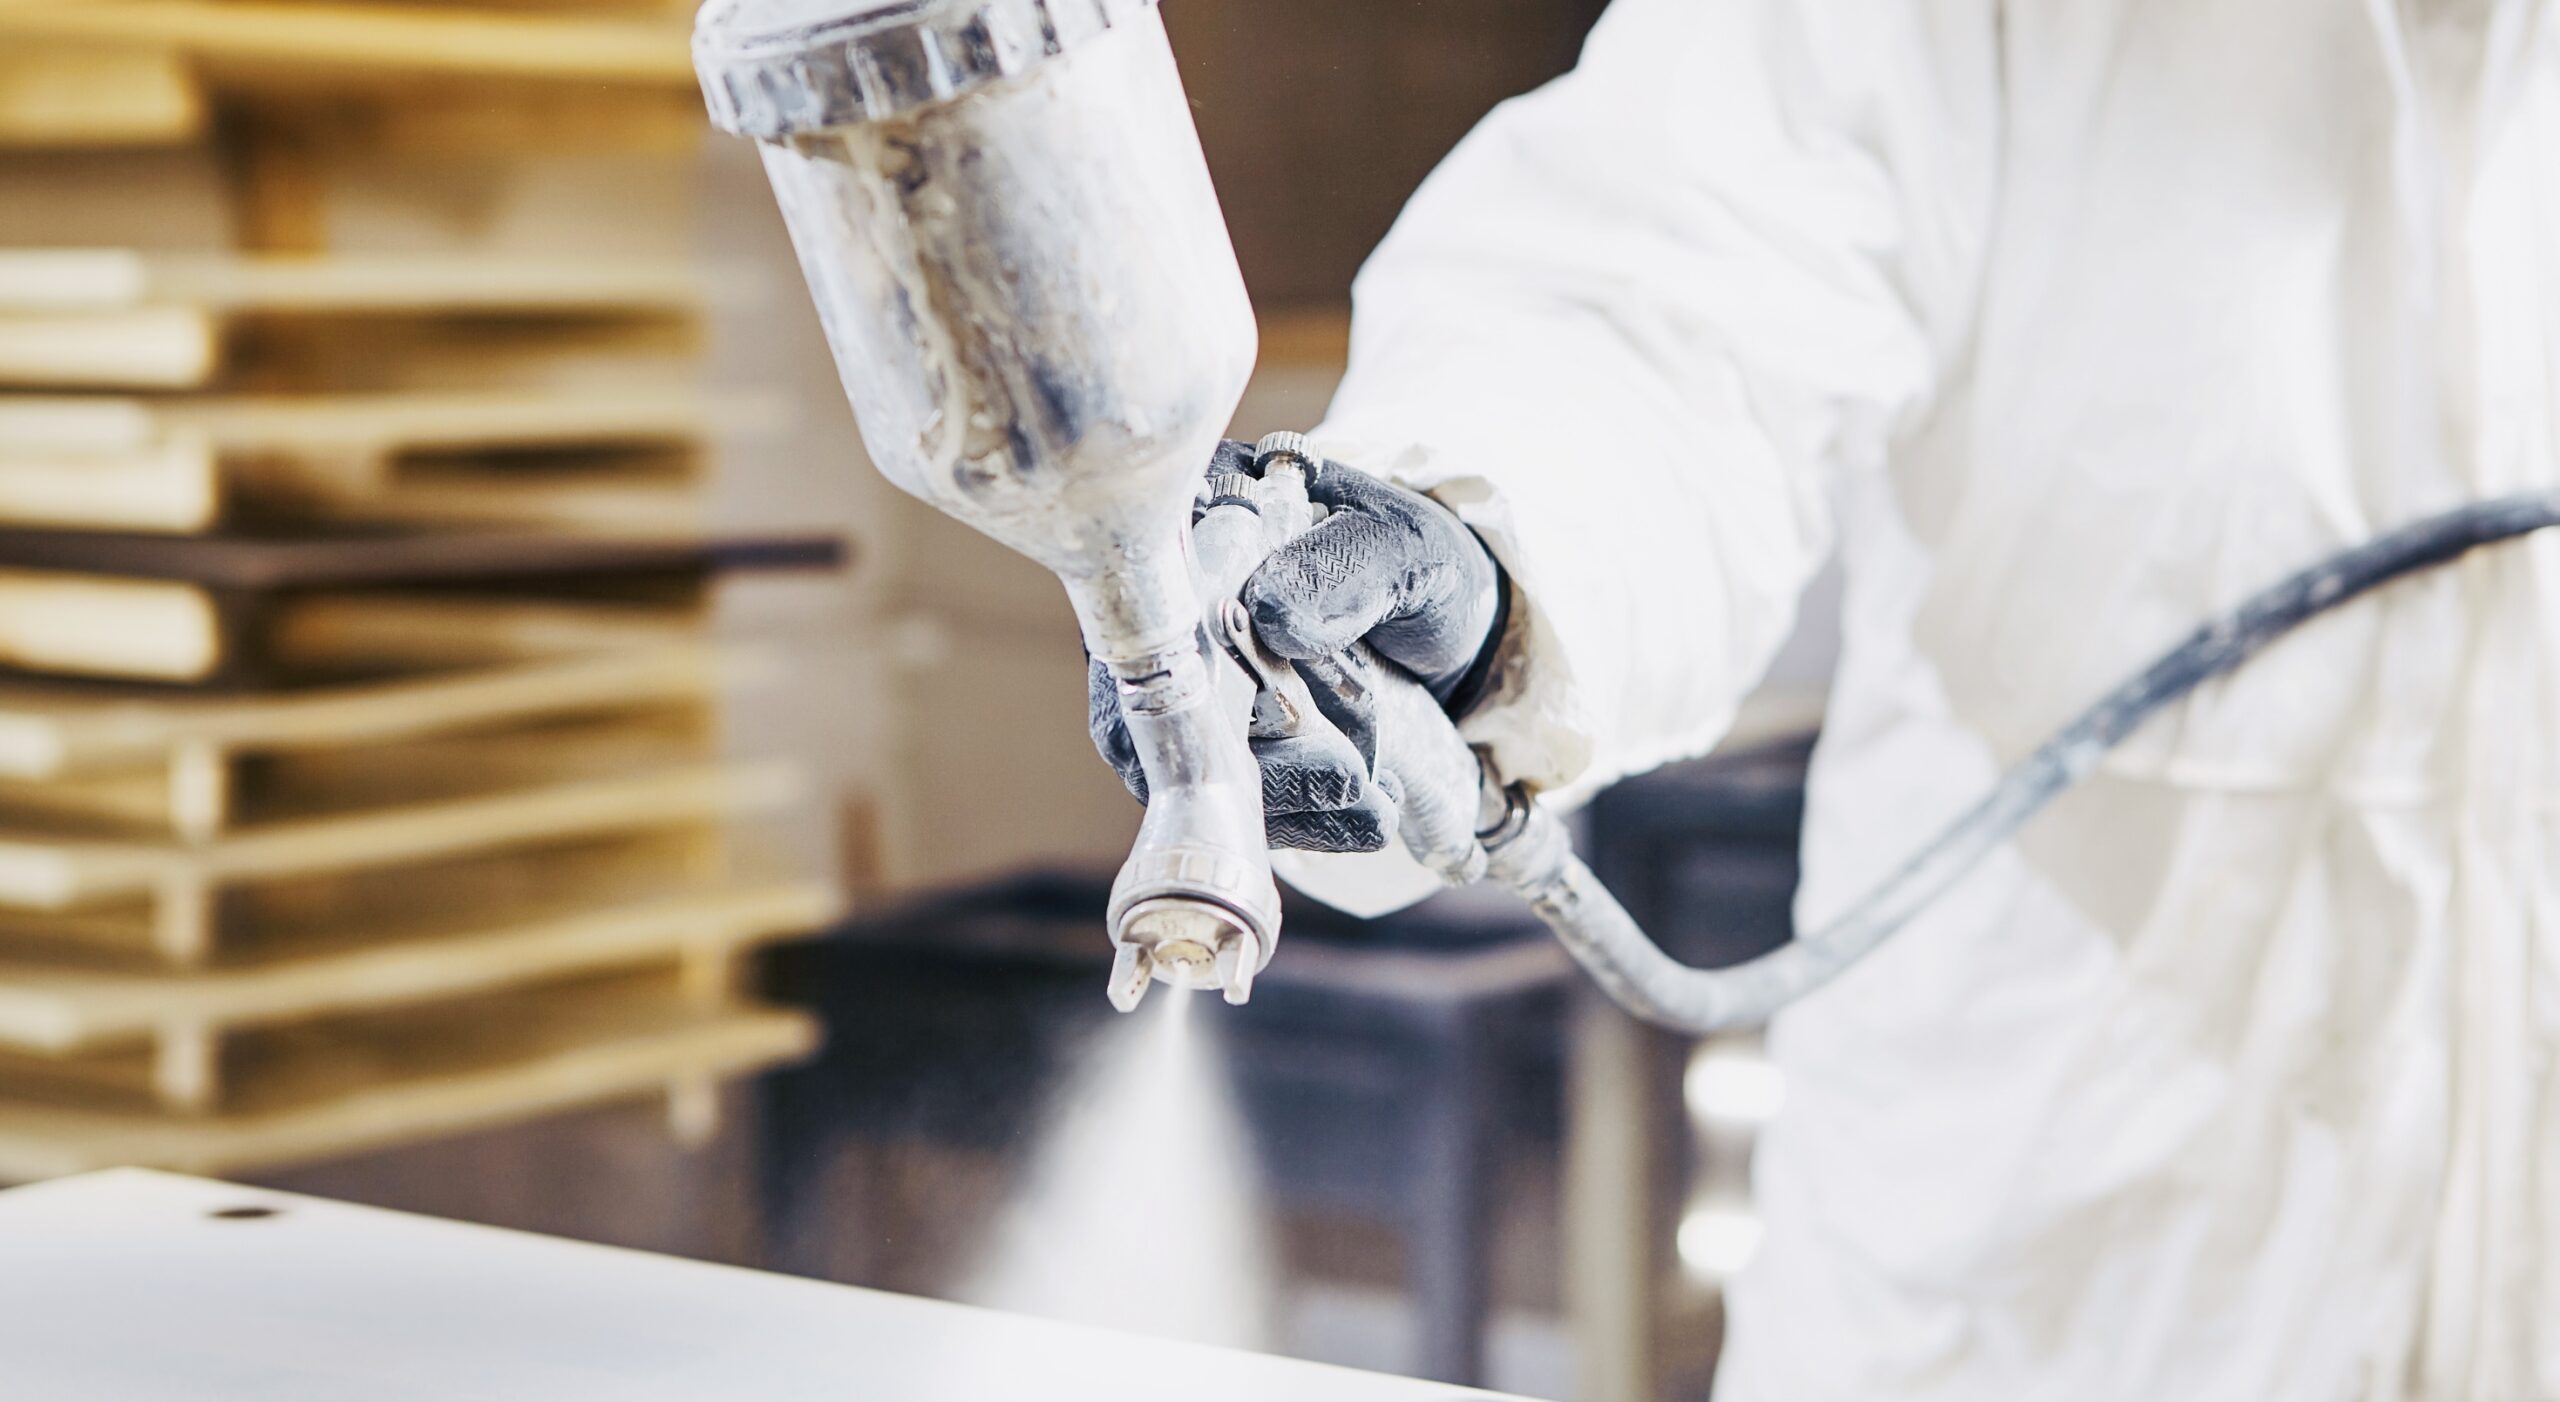
- Observe Spray Patterns: Pay attention to the spray pattern produced by your gun. Adjust pressure settings and thinning ratios accordingly to achieve the desired outcome.
Achieving Optimal Results: A Final Consideration
Before thinning your emulsion paint, ensure the surface is adequately prepared. Clean the surface thoroughly to remove any dust, dirt, or grease. Repair any imperfections, and if needed, apply a suitable primer. A well-prepared surface provides a smooth canvas for your paint, enhancing adhesion and contributing to a flawless finish. Remember, the success of your spray-painting project hinges on a combination of thoughtful preparation, meticulous thinning, and expert application. By following these tips in your process, you’ll achieve professional-looking results and build the skills needed for future successful endeavors.
Beyond the Basics: Advanced Techniques for Superior Finishes
As you dive deeper into the art of spray painting with emulsion, consider incorporating these advanced techniques to elevate your finish to new heights:
Layering for Depth: Experiment with layering different shades of the same or complementary colors to add depth and dimension to your surfaces. This technique is particularly effective in creating visually stunning accent walls or intricate details.
Creating Texture: Explore texture additives that can be mixed with your emulsion paint. From sand for a rustic feel to preadolescent additives for a subtle shimmer, these additions create interest and disguise imperfections on your surfaces.
Gradient Blending: Master blending colors seamlessly, creating smooth gradients. This technique is remarkably impactful on large surfaces, such as walls, where transitioning from one color to another can add a touch of artistic flair.
Stenciling and Masking: Use stencils or masking techniques to introduce patterns or intricate designs into your projects. This allows for a personalized touch, turning ordinary surfaces into bespoke works of art.
Faux Finishes: Experiment with faux finishes like marble, wood grain, or metallic effects. These techniques can be achieved through specialized paints, glazes, and expert brushwork, adding sophistication to your surfaces.
Custom Color Blending: Don’t limit yourself to per-mixed colors. Invest in a comprehensive set of pigments and experiment with customized color blending. This allows you to match specific shades or create unique colors tailored to your vision.
Temperature and Humidity Calibration: Fine-tune your thinning ratios based on ambient temperature and humidity. This level of precision ensures that your paint behaves consistently across various environmental conditions, resulting in a professional finish every time.
Post-Paint Treatment: Consider post-paint treatments such as clear coats or sealants to enhance durability and protect your painted surfaces. This is particularly crucial for high-traffic areas or surfaces exposed to the elements.
Final Touch
Thinning emulsion paint for spraying is a skill that improves with practice and attention to detail. By selecting the right paint, following the manufacturer’s guidelines, and mastering your spray technique, you can achieve professional-looking results on various surfaces. Remember, patience and precision are vital to transforming your home improvement projects into works of art. Follow this informative writing on How To Thin Emulsion Paint For Spraying and dive into the world of painting.
Happy painting!