How to thin chalk paint for sprayer: A Comprehensive Guide
Imagine You’ve just noticed a wooden treasure at a local market a rustic wooden bench with intricate carvings and character etched into every curve. It’s a piece that seems to have stories of its own, whispers of gatherings, laughter, and shared moments of the past. You’re captivated, and you can envision this bench as the heart of your garden, where new memories will be made.
However, you use chalk paint to bring this weathered bench back to life. Its unique matte finish and transformative abilities are perfect for preserving the bench’s rustic charm while giving it a fresh look. But there’s a challenge: applying chalk paint to every nook and cranny of the intricate carvings. It would help to thin the chalk paint for spraying to achieve the precise finish you envision. This will ensure the paint can flow smoothly into the intricate details, preserving the bench’s character and intricate beauty.

This is where the art of thinning chalk paint comes into play. You’re about to explore a transformation journey, turning an old, weathered bench into a captivating piece of art that will grace your garden. Thinning chalk paint is your gateway to bringing this vision to life. So, let’s dive into the world of chalk paint and explore the techniques of thinning it for spraying, ensuring that your project becomes a masterpiece, preserving the bench’s history while embracing the future. Chalk paint is known for its unique matte finish and versatility in revamping furniture and decor. When applying chalk paint with a sprayer, the key to success is learning to thin it correctly.
In this comprehensive guide, we’ll explore the art of How To Thin Chalk Paint For Sprayer, ensuring that your projects achieve that signature chalky charm and a professional finish.
What Is Chalk Paint?
Before we dive into the thinning process, let’s explore the essence of chalk paint:
A Distinctive Formula
Chalk paint, also known as chalk-style paint, is celebrated for its unique formula. Unlike traditional latex or Acrylic paints, it typically contains a mixture of paint pigments, water, calcium carbonate, and other ingredients that give it a distinct matte finish.
Matte Finish Magic
The standout feature of chalk paint is its charming matte finish. This finish imparts a velvety, ultra-matte texture to surfaces, making it perfect for a vintage or shabby-chic look.
Minimal Prep Work
Chalk paint is a favorite among DIY enthusiasts for its minimal prep requirements. It often adheres well to various surfaces, reducing the need for extensive sanding or priming.
Tin table and Customizable
One of the remarkable benefits of chalk paint is its customization. You can tint chalk paint to create a vast array of colors, allowing you to express your creativity without limitations.
Distressed and Timeless Appeal
Chalk paint is an ideal choice for achieving an aged or distressed look. Whether restoring furniture or crafting decor items, it can impart a timeless and artistic quality to your projects.
Benefits of Chalk Paint
Knowing the benefits, move on to thinning it for spraying:
Effortless Application
Chalk paint is known for its user-friendliness. Its forgiving nature makes it a perfect choice for those new to painting or DIY projects.
Reduced Prep Work
Chalk paint often eliminates the need for extensive prep work. While cleaning and light sanding may be required, you can skip the heavy sanding and priming steps.
Excellent Coverage
Chalk paint provides excellent coverage. It can often conceal imperfections on surfaces, allowing you to achieve a beautiful finish even on well-loved furniture pieces.
Artistic Freedom
Chalk paint’s tin table nature allows you to choose from a vast color palette, making it an ideal medium for expressing your artistic vision.
Distressed and Aged Effects
With chalk paint, achieving a distressed, vintage, or aged look is a breeze. Its matte finish is perfect for creating texture and character in your projects.
Low VOC Content
Many chalk paints are low in volatile organic compounds (VOCs), making them environmentally friendly and safe for indoor use. With these benefits in mind, we’re ready to explore the art of How To Thin Chalk Paint For Sprayer, ensuring that you preserve these distinctive characteristics while enhancing your application process.
How To Thin Chalk Paint For Sprayer: Important Supplies
Before we explore the thinning process, gather the necessary supplies:
Chalk Paint: Select the chalk paint you wish to use for your project.
Water: The primary thinning agent for chalk paint is water.
Stirring Sticks: Wooden sticks or plastic spoons are perfect for starting the paint and water mixture.
Measuring Tools: A measuring cup or graduated container allows for precise measurements.
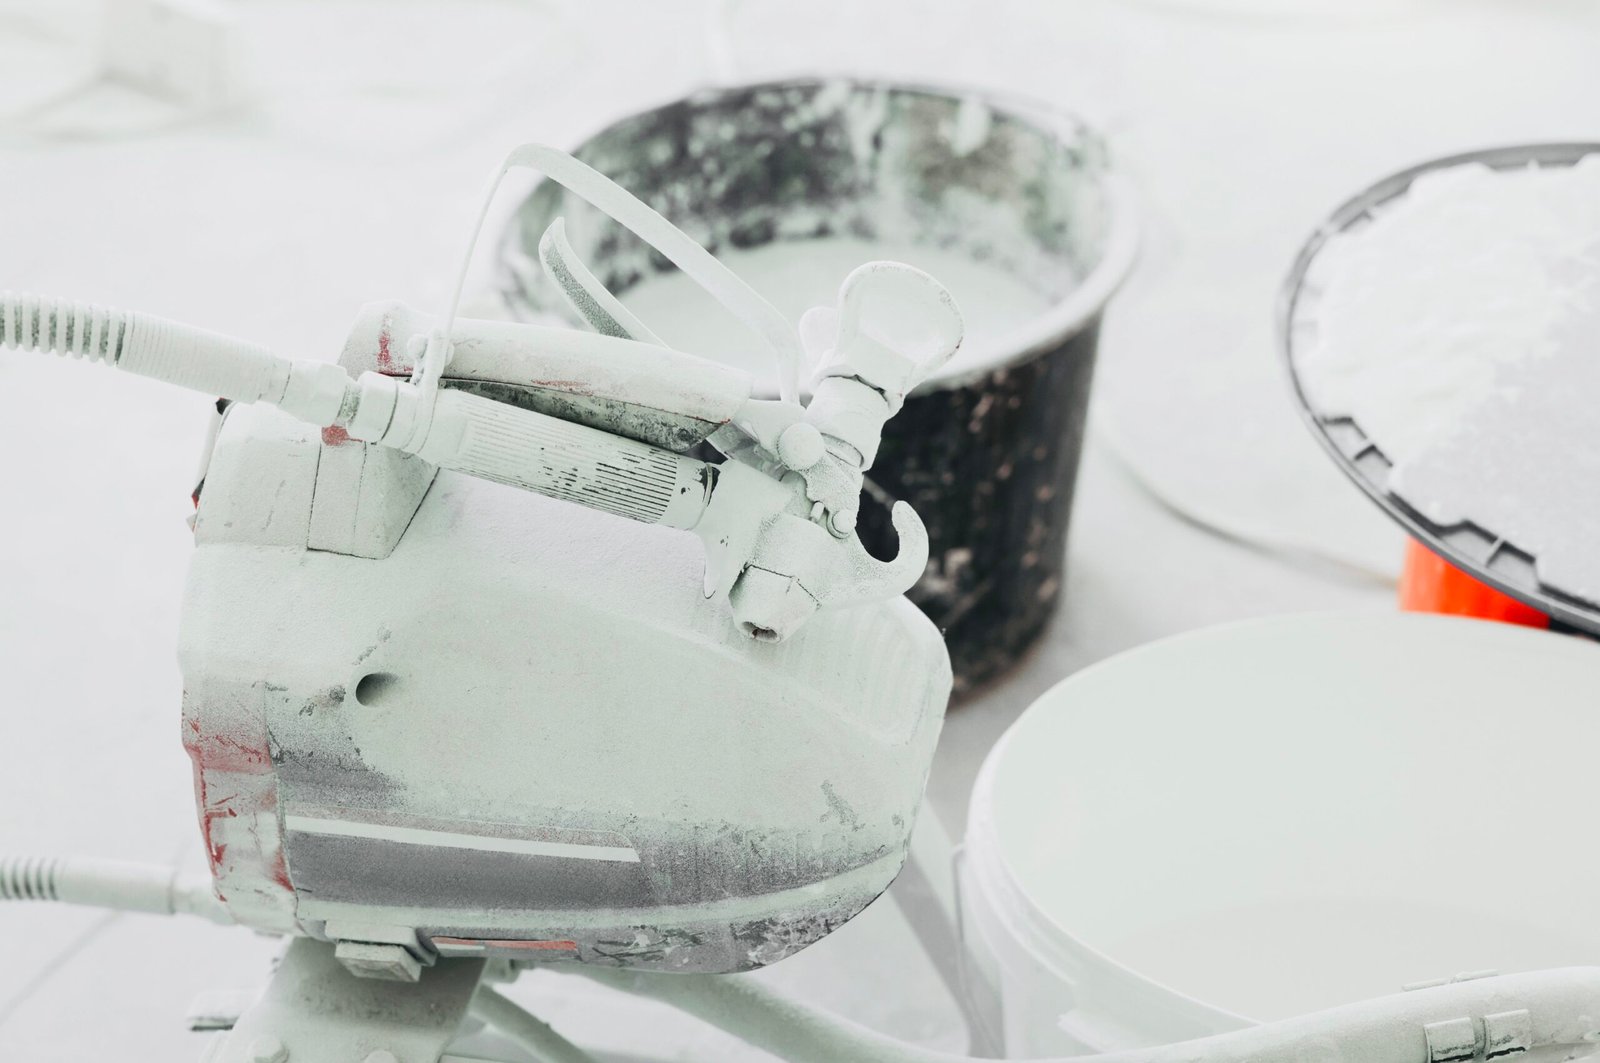
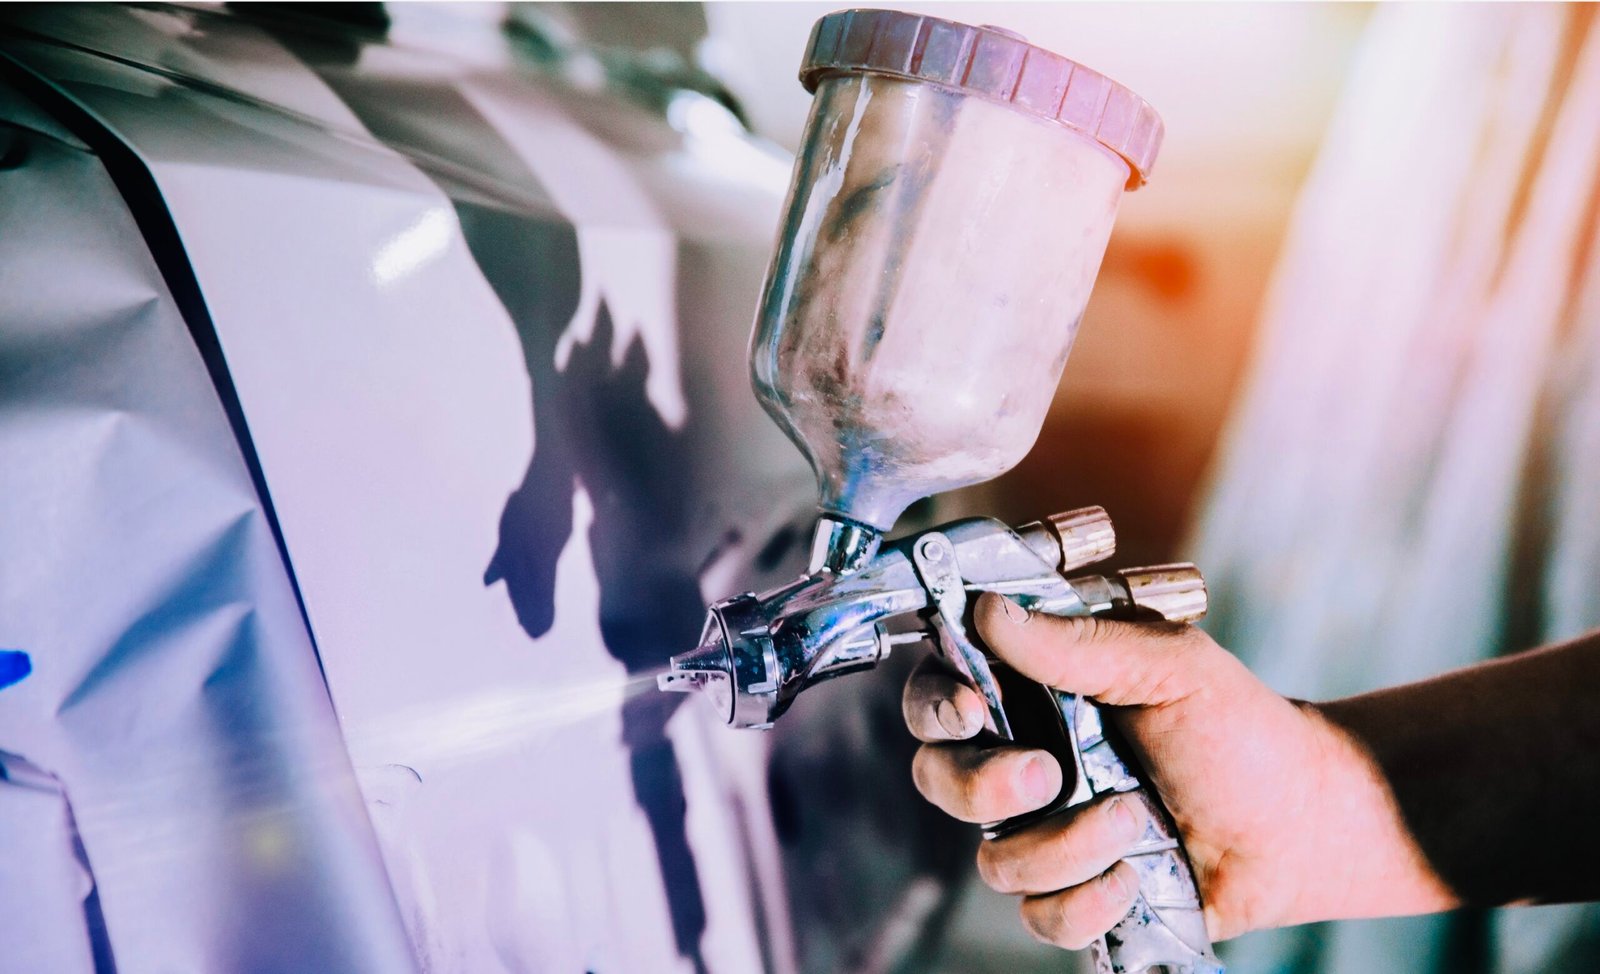
Spray Equipment: This includes your paint sprayer, which is essential for the application.
How To Thin Chalk Paint For Sprayer: Understand The Right Consistency
Achieving the correct consistency for chalk paint is the key to successful spraying. Here’s what you should aim for:
Milk-Like Consistency
For spraying chalk paint, aim for a consistency similar to milk’s. It should flow smoothly through the nozzle of your paint sprayer, ensuring even coverage without clogging.
Thin Gradual Changes
When thinning chalk paint, make adjustments gradually. Start with a conservative approach, adding water incrementally and frequently testing the consistency.
How To Thin Chalk Paint For Sprayer: The Thin-chalk-paint Process
Now, let’s dive into the step-by-step process of thinning chalk paint for spraying:
Prepare Your Workspace
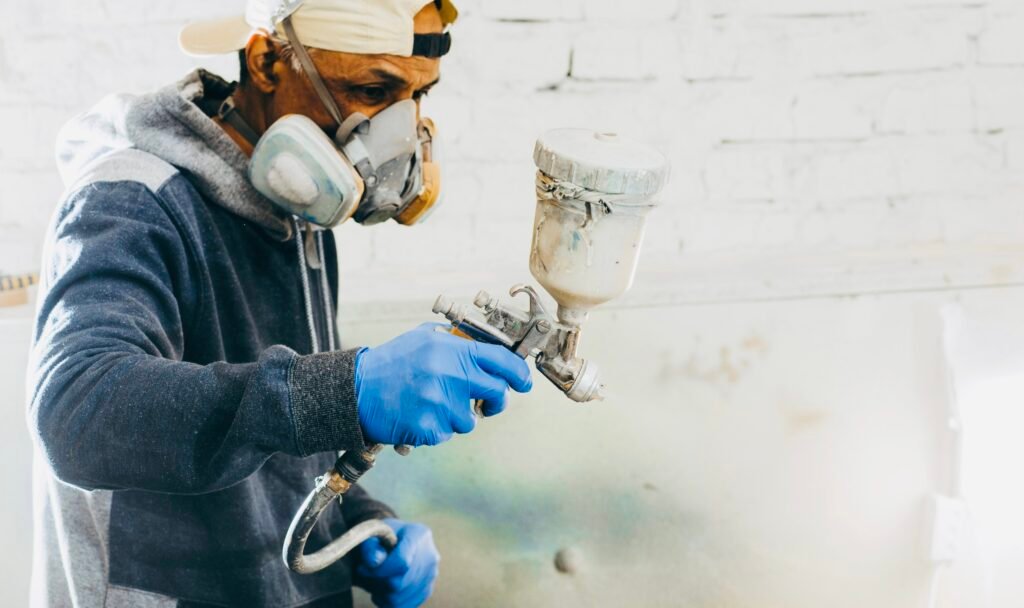
Start by setting up your workspace in a well-ventilated area. Wear the appropriate safety gear, such as gloves and a mask, to protect yourself from paint fumes and particles.
Mix the Chalk Paint
Begin by thoroughly stirring the chalk paint. Make sure the paint is well-mixed and free from any lumps.
Start with Water
Pour a small amount of water into your measuring cup or graduated container. The exact amount of water you’ll need depends on the paint brand and the thickness of the chalk paint. Start with about 10% water by volume and adjust from there.
Gradual Mixing
Slowly add the water to the chalk paint and stir well. Mixing the two components thoroughly is essential, ensuring the water is evenly distributed.
Test for Consistency
Before pouring the thinned paint into your sprayer, test the consistency by spraying a small amount onto a test surface. Adjust the mixture as necessary. If the paint is too thick, add more water; if it’s too thin, add more paint.

How to thin chalk paint for sprayer: Common Issues
Even with precise thinning, issues can arise when spraying chalk paint. Here are some common challenges and how to address them:
- Clogging: If your sprayer nozzle clogs, it’s often due to inadequate thinning. Thoroughly mix the chalk paint and water, and add more water to achieve a smoother consistency.
- Uneven Coverage: Uneven or blotchy coverage can result from inconsistent thinning. Mix the paint and water thoroughly and test the consistency before spraying. Adjust the mixture as needed.
- Dripping or Running Paint: If the paint drips or runs on your surface, it’s likely too thin. In this case, add more chalk paint and stir until you reach the desired consistency.
- Splatters and Spatters: Sometimes, you may experience splatters or spatters when spraying. To address this issue, mix the paint and water uniformly and test the spray pattern on a test surface.
- Over-Thinning: If you accidentally over-thin your chalk paint, don’t worry. Add more paint to the mixture until you reach the desired consistency.
How To Thin Chalk Paint For Sprayer: Finishing Touches
Once you’ve successfully thinned your chalk paint for spraying, you can apply it to your project. Ensure you follow the manufacturer’s recommendations for the paint sprayer you’re using, and maintain a consistent spraying distance and speed for even coverage.
How To Thin Chalk Paint For Sprayer: Advanced Issues
As you dive deeper into thinning chalk paint for spraying, you might encounter more complex challenges. Let’s explore these issues and how to address them:
Tinting and Color Matching
Advanced users often experiment with tinting chalk paint to create custom colors. When mixing tinted chalk paint, it’s essential to maintain a consistent dilution ratio. Make small test batches to ensure the color matches your vision before proceeding with your project.
Large-Scale Projects
If you’re tackling extensive projects like painting multiple pieces of furniture or large surfaces, consistency in dilution becomes even more critical. To ensure uniform results, maintain precise measurements and mix more significant quantities of thinned chalk paint to avoid color discrepancies.
Complex Surfaces
It’s essential to adapt your spraying technique when working on intricate or uneven surfaces, such as ornate furniture with crevices and details. Adjust the sprayer settings to accommodate these complexities, and take your time to ensure thorough coverage.
How To Thin Chalk Paint For Sprayer: Protective Steps
Spraying chalk paint can be a satisfying process, but it’s crucial to keep safety in mind:
- Ventilation: Always work in a well-ventilated area or wear a respirator if necessary, especially when using paint sprayers for extended periods.
- Protective Gear: Protect yourself by wearing appropriate safety gear, gloves, goggles, and a mask to shield against paint particles and fumes.
- Workspace Precautions: Cover and protect your workspace and surroundings from overspray. Use drop cloths or plastic sheeting to prevent unintended paint deposits.
How To Thin Chalk Paint For Sprayer: Cleaning and Maintenance
Proper care of your paint sprayer is vital to its longevity and performance:
Cleaning Immediately: After completing your project, clean your paint sprayer immediately to prevent any residual paint from drying and clogging the nozzle.
Thorough Cleaning: Disassemble your sprayer according to the manufacturer’s instructions and clean all parts thoroughly with appropriate cleaning solutions. Pay close attention to the nozzle and air cap.
Regular Maintenance: Inspect and maintain your paint sprayer to ensure it functions optimally. Lubricate moving parts as required and replace any worn components.
Final Thought
Thinning chalk paint for spraying is an art that balances technical know-how with creative expression. It allows you to unlock the full potential of this unique paint, transforming your furniture, home decor, and DIY projects into works of art. With an understanding of the ideal consistency, essential supplies, and the ability to troubleshoot common and advanced issues, you’re well-equipped to embark on your chalk paint spraying journey. Whether you’re a seasoned DIY enthusiast or just beginning your adventure with chalk paint, the knowledge you’ve gained through this writing on How To Thin Chalk Paint For Sprayer will empower you to create with confidence. Embrace the distinctive matte finish and versatile charm of chalk paint, and may your projects radiate beauty, character, and the timeless allure of this beloved medium. Happy spraying, and may your artistic journey flourish in every stroke and spray.

