How to Thin Acrylic Paint for Spraying:
A Simple Guide
Acrylic paint is a versatile and common medium for all ages, from kids to adults. Whether you’re working on a school project, a piece of art, or a DIY craft, it’s essential to know how to thin acrylic paint for spraying to achieve the best results.
In this article, we’ll explore the simple steps of How To Thin Acrylic Paint For Spraying to make your acrylic paint spray-friendly.
What Is Acrylic Paint?
Before we dive into the thinning process, let’s get to know acrylic paint a bit better. Acrylic paint is water-based and dries quickly. It’s a favorite among artists and crafters because of its vibrant colors and ease of use.
Why Thin Acrylic Paint?
Thinning acrylic paint serves a specific purpose when it comes to spraying.
Here’s why it’s important:
- Consistency: When you thin acrylic paint, it becomes more fluid, ensuring it flows smoothly through the nozzle of your spray gun.
- Coverage: Thinning the paint helps you achieve a more even and consistent coat, preventing clumps and streaks in your artwork.
- Transparency: Thinner paint allows for layering and achieving various levels of transparency, a handy technique for creating depth in your artwork.
How to thin acrylic paint for spraying: What You’ll Need?
To get started, gather these basic supplies:
- Acrylic Paint: Choose your favorite colors. They come in various shades and can be easily mixed.
- Water or Acrylic Medium: You can thin your paint with water or a specific acrylic medium, depending on your project.
- Mixing Containers: Small plastic or glass containers for blending your paint.
- Stirring Sticks: Wooden sticks or plastic spoons work well for stirring.
- Measuring Tools: A measuring cup or syringe to ensure precise ratios.
- Spray Gun or Airbrush: Depending on your project, you may use a spray gun or airbrush.
How to thin acrylic paint for spraying: The Thinning Process
Now, let’s explore the step-by-step process of thinning acrylic paint:
Start with the Right Paint Consistency
- Begin with the acrylic paint you want to thin.
- Ensure it’s well-mixed and free of any lumps.
Decide on the Thinning Agent:
You have two main options here:
- Water: For a cost-effective and straightforward approach.
- Acrylic Medium: Ideal if you want to retain the paint’s properties while thinning it.
Determine the Consistency:
- The consistency of the paint will depend on your project and the type of spray paint equipment you’re using.
- Generally, aim for a milk-like consistency for spraying.
Add Water or Medium
- Slowly add your chosen thinning agent to the paint.
- Start with a small amount and gradually increase until you reach the desired consistency.
Stir and Test
- Use your stirring stick to blend the paint and thinning agent thoroughly.
- Then, test the paint by spraying a small amount on a scrap surface.
Adjust as Needed
- If the paint is too thick, add more water or medium.
- If it’s too thin, add more paint. Keep adjusting until you achieve the perfect consistency.
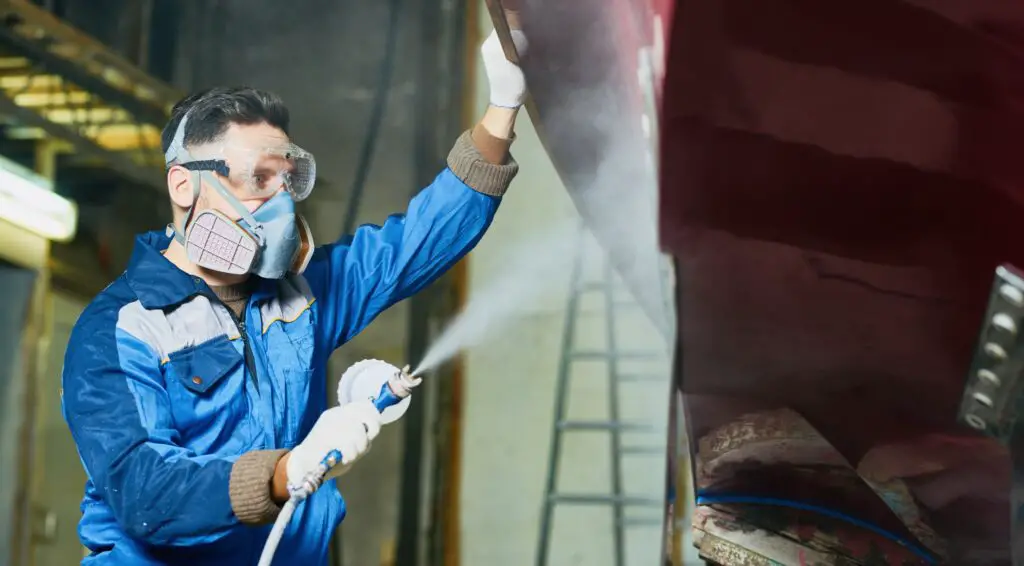
Safety Precautions
Remember, when working with acrylic paint and thinning agents:
- Ventilation: Ensure you’re in a well-ventilated area to prevent inhaling fumes.
- Safety Gear: Consider wearing gloves and a mask for added protection.
Pick Point
Thinning acrylic paint for spraying doesn’t have to be complicated. With the right supplies and a basic understanding of the process, you can achieve fantastic results in your arts and crafts projects.
So, grab your acrylic paint, get creative, and have fun experimenting with different levels of transparency and coverage. It’s a wonderful way for all ages to explore their artistic side.
Advanced Techniques for Thinning Acrylic Paint
In the world of acrylic painting, once you’ve mastered the basics of thinning acrylic paint for spraying, some advanced techniques can take your art to the next level.
Graduated Washes
Creating a graduated wash involves thinning your paint gradually from dark to light. This technique is often used in landscapes to depict the transition of colors in the sky or water. To achieve this, mix various shades of your acrylic paint with different levels of thinning. Start with the darkest at the top or bottom of your canvas and gradually blend the lighter shades as you move across the surface. This creates a beautiful and smooth gradient effect.
Impasto Effects
Impasto is a technique where you apply thick, thinned acrylic paint with palette knives or brushes, creating a textured and three-dimensional surface. To achieve impasto effects in your painting, use acrylic mediums that are specifically designed to thicken the paint without altering its color. This allows you to build up texture and create a sculptural quality in your artwork.
Glazing
Glazing is a method where you apply thin, translucent layers of acrylic paint over previously dried layers. By using acrylic glazing liquid or a mixture of acrylic medium and water, you can achieve a beautiful depth and luminosity in your painting. This technique is often used for portraits and still-life subjects where you want to create a realistic, layered effect.
Graffito
Graffito is a unique technique where you apply a thick layer of acrylic paint and, while it’s still wet, scratch into it to reveal the layer underneath. This creates interesting textures and patterns. You can use a palette knife, the back of a brush, or even everyday objects to scratch into the paint. By altering the thickness of the paint, you can control the ease with which you can scratch into it.
Watercolor Effects
Acrylics can mimic the translucent qualities of watercolors. To do this, use a lot of water to thin your paint and apply it in thin, translucent layers. This technique allows you to create delicate and subtle effects, similar to traditional watercolor painting, but with the advantage of acrylics’ quick drying time.
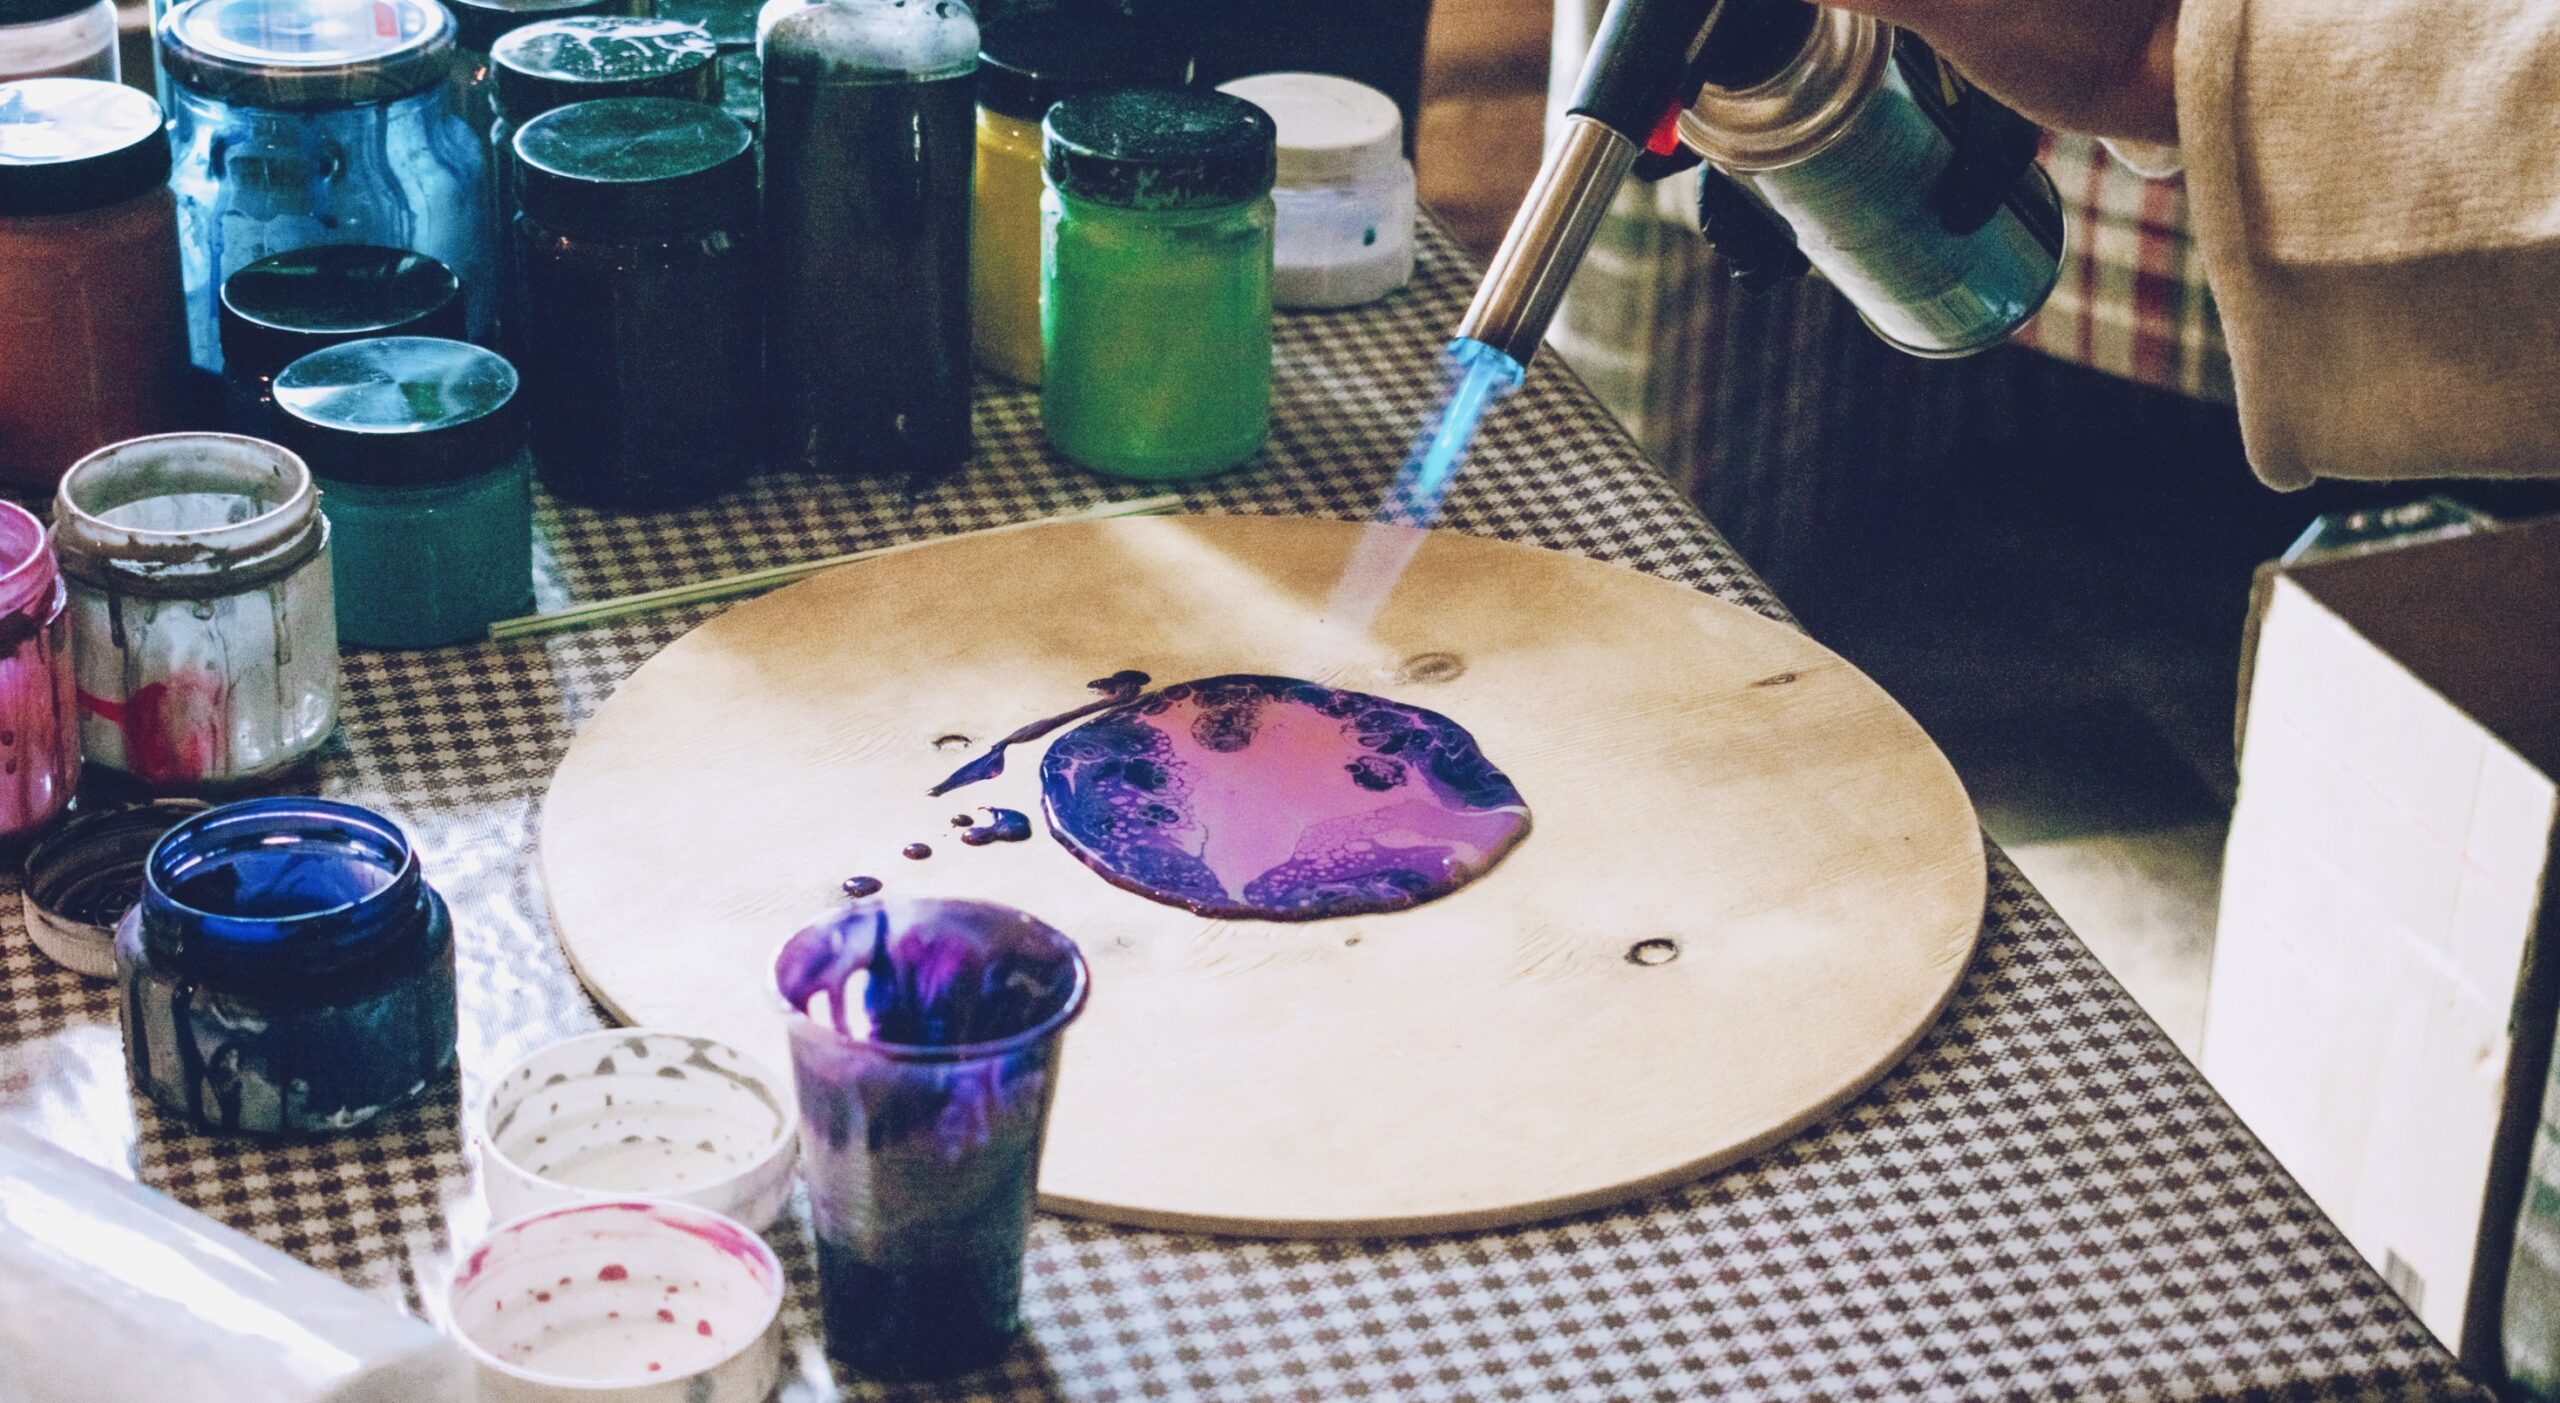
Pouring Techniques
Pouring acrylic paint is a trendy method where you mix your paint with a pouring medium to achieve a fluid consistency. You can then pour the paint onto your canvas, allowing it to flow and blend naturally. Tilt your canvas to guide the paint’s movement and create mesmerizing abstract designs. Pouring techniques can be a fun and experimental way to use thinned acrylic paint.
How to thin acrylic paint for spraying: Common Issues
Even with the best techniques, issues may arise when thinning acrylic paint.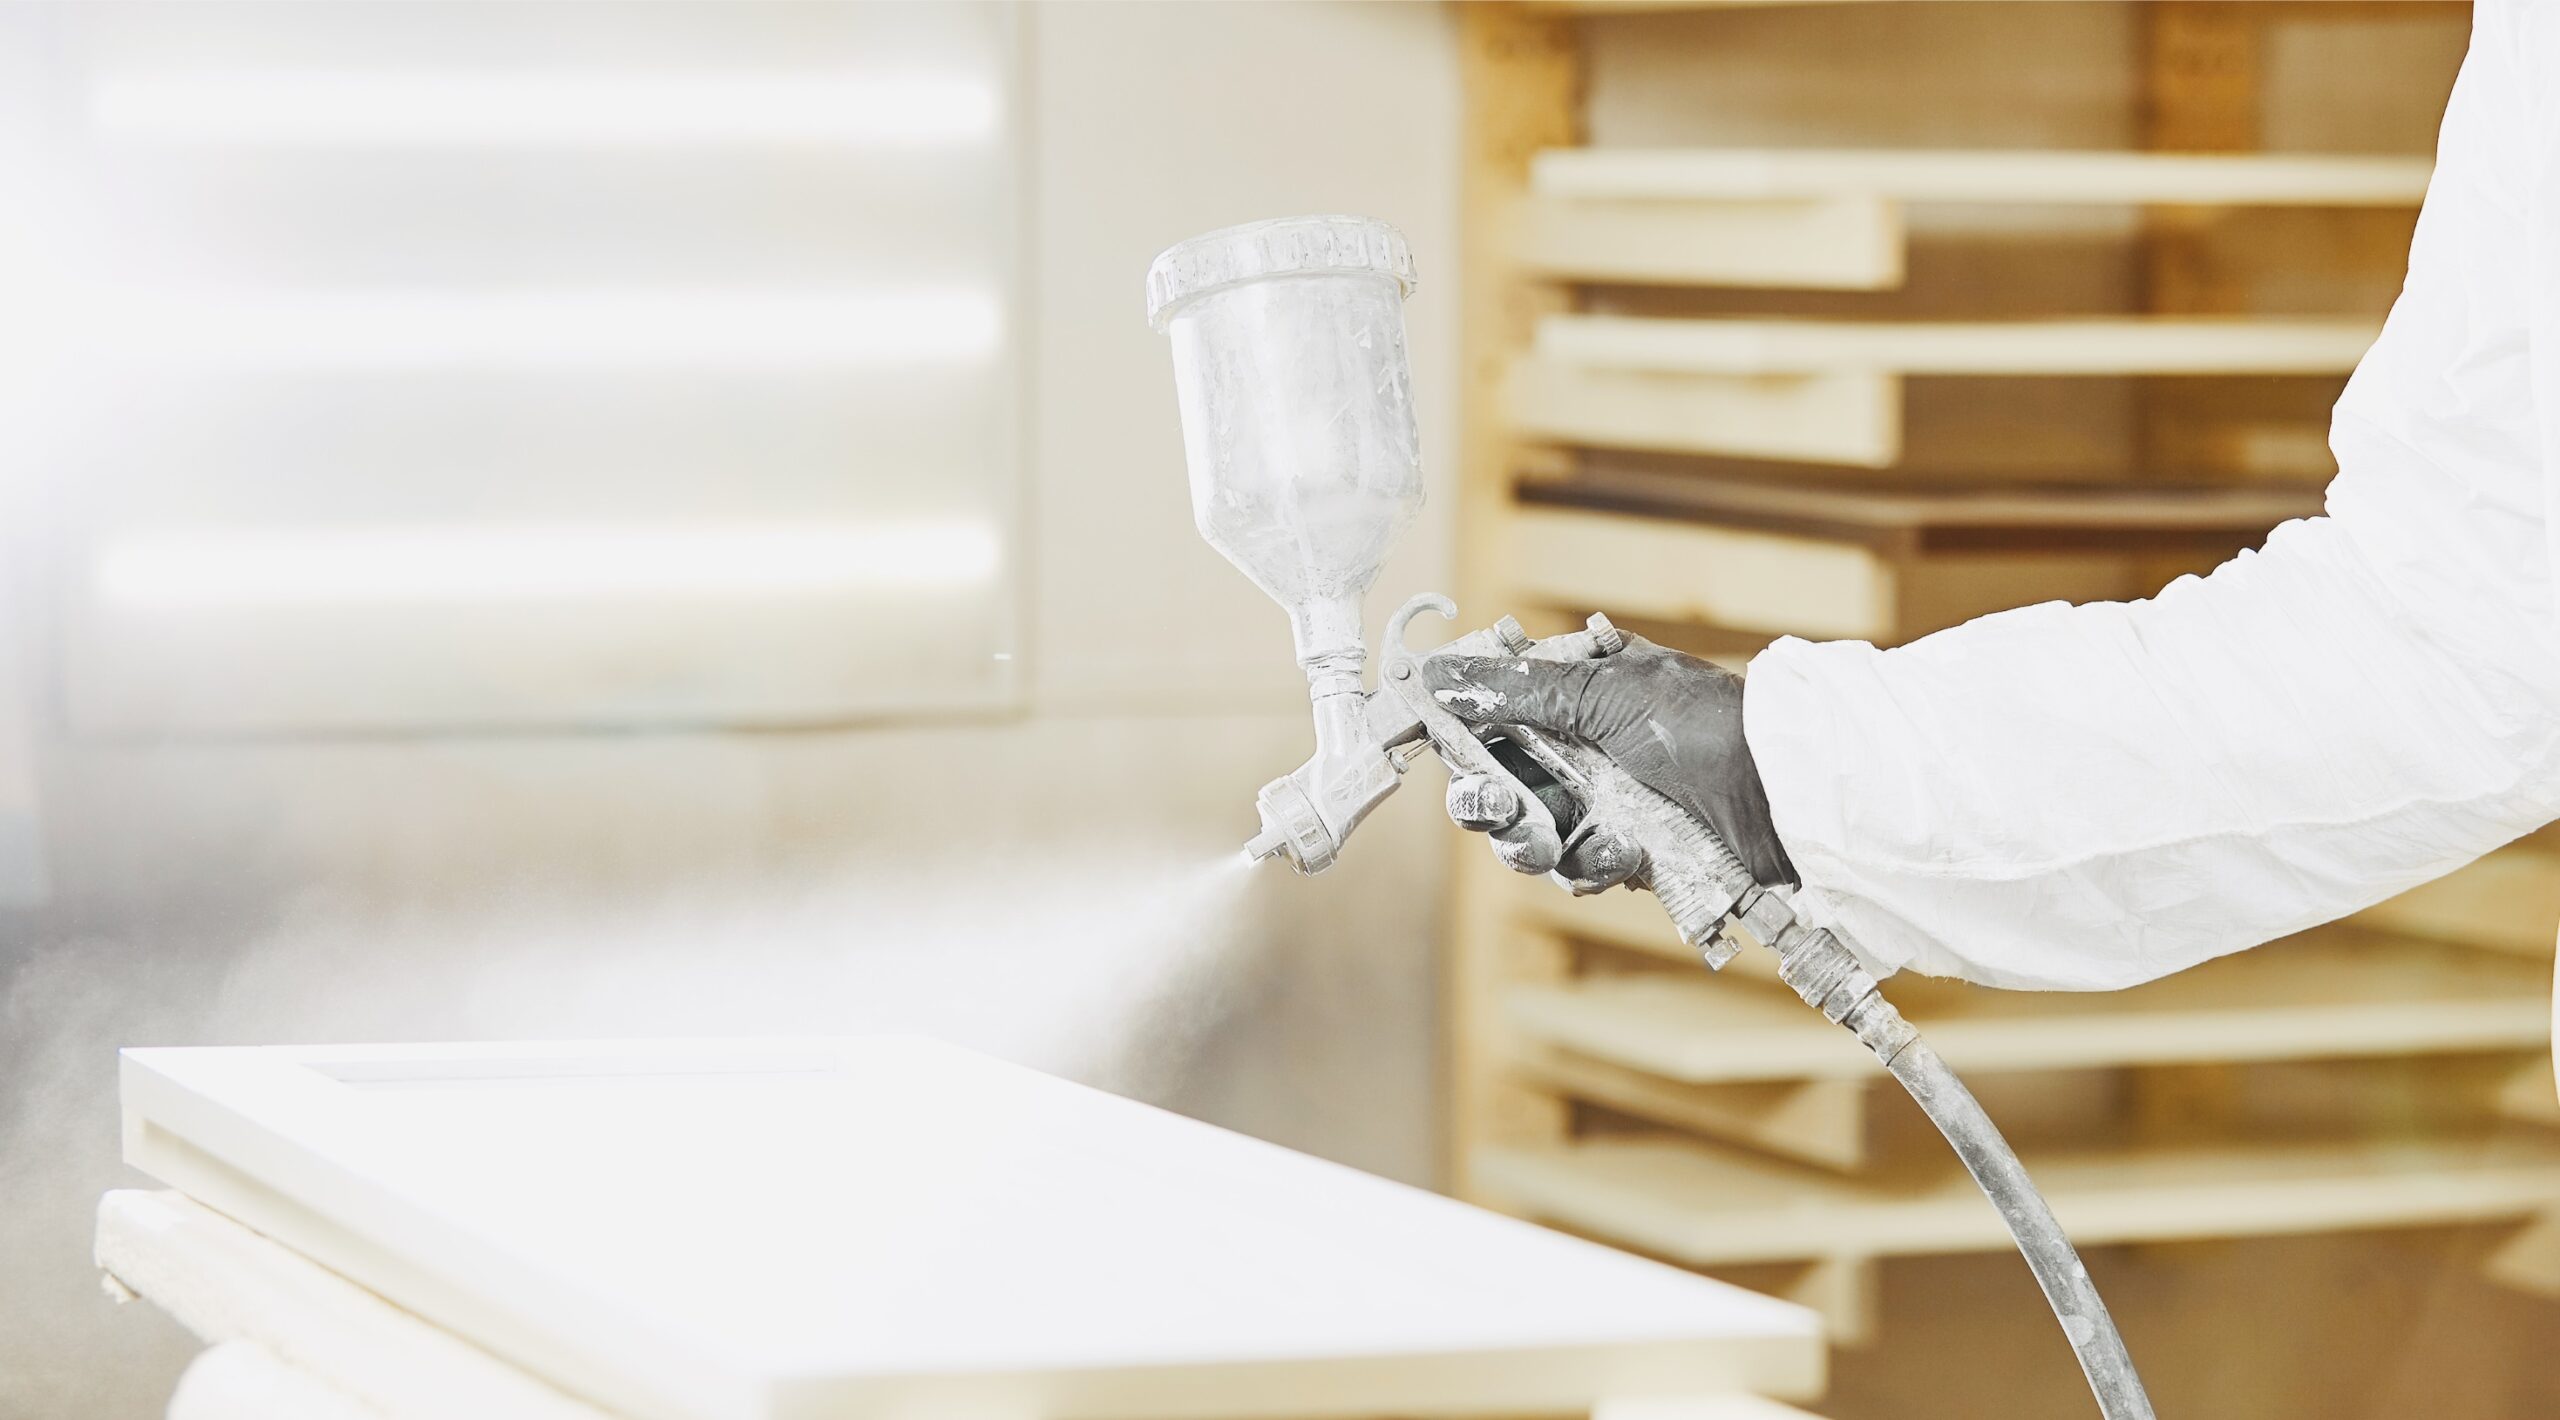
Let’s look at some common problems and how to fix them:
- Paint Too Thin: If your spray paint becomes too thin, you might lose the vibrancy and coverage you desire. To fix this, add more paint to the mixture to thicken it up.
- Uneven Coverage: Sometimes, acrylic paint may not cover your surface evenly, leaving streaks or patches.
To address this, apply a base layer of paint with a thicker consistency, let it dry, and then proceed with your thin layers.
Paint Drying Too Quickly
Acrylics are known for their quick drying time, and this can sometimes be a challenge when blending. To extend drying time, consider using a slow-drying medium, which allows for smoother transitions between colors.
Brush Strokes Visible
If you’re struggling with visible brush strokes, it could be due to the consistency of your thinned paint. To minimize brush strokes, use a soft brush or apply multiple thin layers with a glazing technique.
Paint Not Adhering
In some cases, acrylic paint may not adhere well to certain surfaces. To improve adhesion, consider using a surface primer or gestapo before painting.
Final Thoughts
Thinning acrylic paint for spraying or advanced techniques can be an enjoyable and creative journey. The beauty of acrylics lies in their versatility, making them a perfect choice for artists of all ages. Whether you’re a child discovering the joy of art or an experienced painter exploring new horizons, acrylics offer endless possibilities. Remember that practice and experimentation are key to mastering these techniques. Don’t be afraid to make mistakes, as they often lead to surprising and beautiful results.
So, grab your acrylic paint, brushes, and imagination, and embark on a colorful adventure. With each brushstroke and layer, you’ll be one step closer to creating your masterpiece.
Happy painting!