Unlocking The Part Of How To Remove Spray Paint From Metal
Spray painting metal surfaces can result in a vibrant finish, but when the need arises to remove or correct the paint job, it can be a daunting task if you don’t know How To Remove Spray Paint From Metal. Fortunately, there are several effective methods to remove spray paint from metal.
In this comprehensive guide, we’ll explore these methods and provide a step-by-step walk through for a successful paint removal process.
Step-by-Step Guide on How to Remove Spray Paint from Metal
Step 1: Gather Your Materials
Before starting the paint removal process, ensure you have the necessary materials:
- Paint thinner or mineral spirits
- Acetone
- Commercial paint remover
- Fine-grit sandpaper or steel wool
- Heat gun
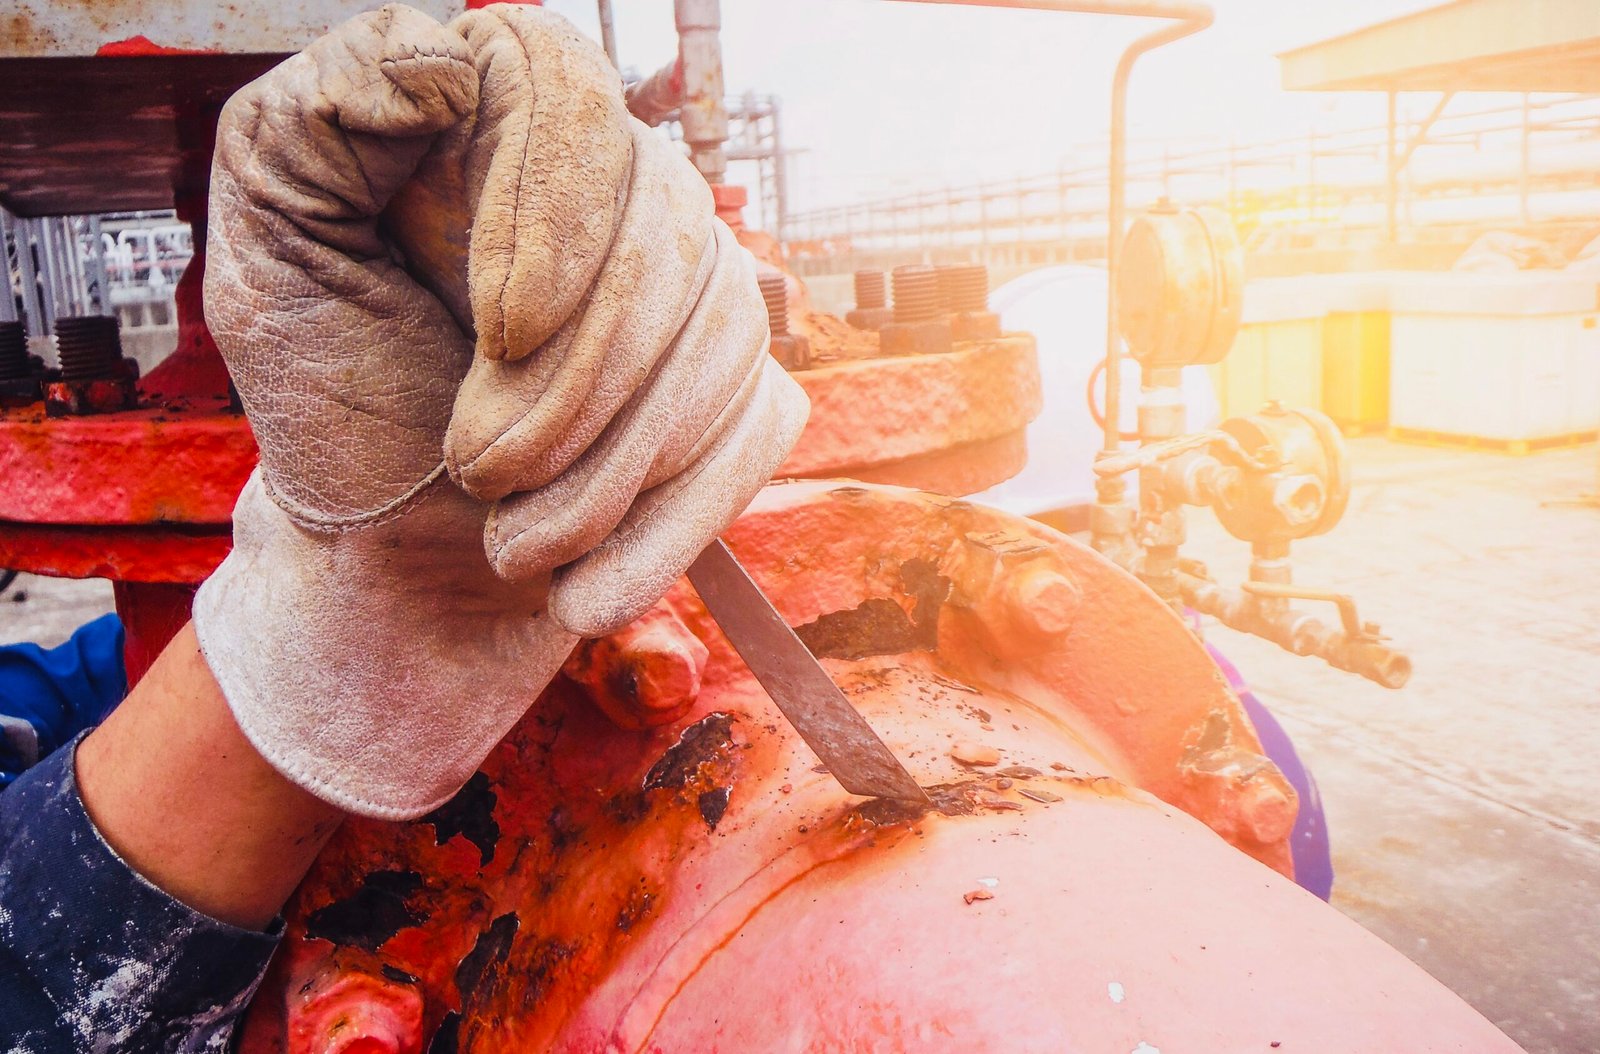
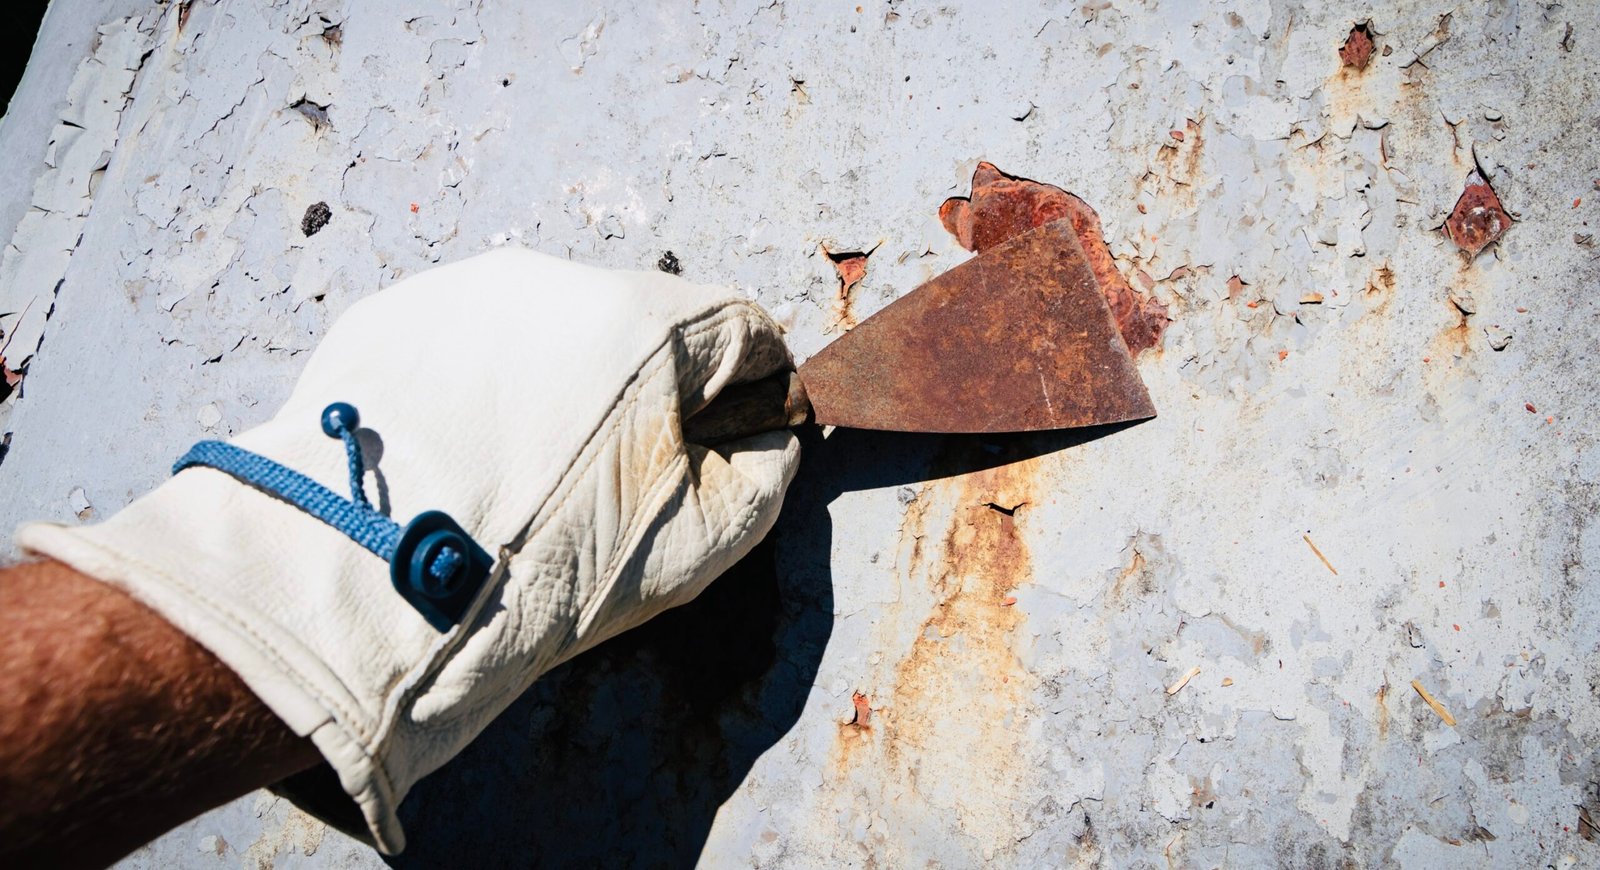
- Plastic scraper
- Pressure washer (if suitable for the metal surface)
- Biodegradable citrus-based cleaner
- Clean cloths or sponges
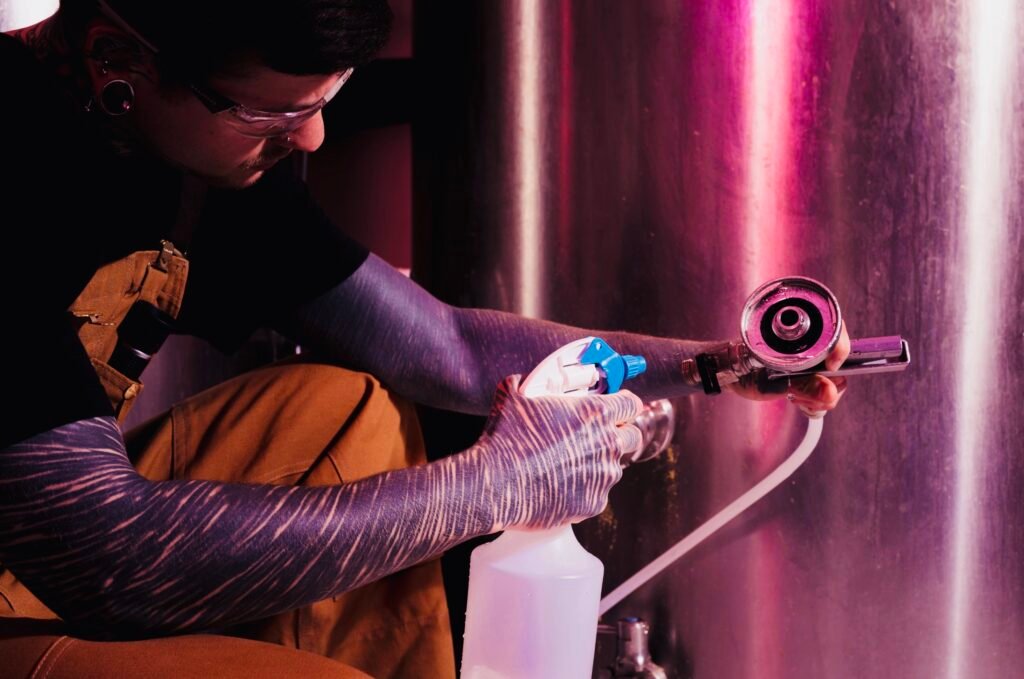
- Protective gear (gloves, safety glasses)
Step 2: Apply on a Tiny Area
Before applying any method, test it in a small, inconspicuous area to ensure it won’t damage the metal finish. This step is beneficial, especially if you’re unsure about the metal type or the paint’s reaction.
Step 3: Choose the Appropriate Method
Select the method based on the type of metal and the stubbornness of the paint.
- For light coats, start with paint thinner or mineral spirits.
- For more stubborn paint, consider acetone, commercial paint removers, or mechanical methods like sandpaper or steel wool.
Step 4: Apply the Chosen Method
Apply the chosen paint removal method following the specific instructions for each:
- For paint thinner or mineral spirits, dampen a cloth and gently rub the painted surface.
- Use a cloth dampened with acetone and carefully rub the painted area, exercising caution to prevent damage.
- Follow the manufacturer’s instructions for commercial paint removers, applying the product and allowing it to sit before removing the softened paint.
- If using sandpaper or steel wool, gently sand the painted area in circular motions until the paint is removed.
Step 5: Consider Heat or Pressure
- Use a heat gun at a moderate temperature, moving it continuously to soften the paint before gently scraping it off with a plastic scraper.
- If the metal surface allows, use a pressure washer with a wide-angle nozzle, starting with low pressure and gradually increasing if needed.
Eco-Friendly Options
Go for environmentally friendly options:
Try a biodegradable citrus-based cleaner. Apply it to the painted surface and let it sit before wiping or scrubbing.
Final Cleaning and Checking
After removing the paint, clean the metal surface thoroughly to remove any residue from the removal process. Check the metal for any signs of damage or changes in the finish.
Polishing and Restoring Shine
After the paint removal process, consider polishing the metal surface to restore its original shine.
- Use a metal polish or a mixture of baking soda and water to create a gentle polishing paste.
- Apply the polish with a soft cloth and buff the metal in circular motions.
This step not only enhances the appearance but also helps eliminate any fine scratches left by the removal process.
Protective Coating
To prevent future paint adhesion issues and protect the metal surface, consider applying a protective coating. Choose a clear metal sealer or an appropriate primer before repainting. This extra layer acts as a barrier, safeguarding the metal against environmental elements and potential future spray paint mishaps.
Repainting
If the metal surface requires a fresh coat of paint, ensure it is clean and dry before applying a new layer.
- Use a high-quality metal spray paint for an even and durable finish.
- Follow the manufacturer’s recommendations for application, drying time, and any additional protective coatings.
Ongoing Maintenance
Maintain the newly restored metal surface by incorporating regular cleaning and inspections into your routine. Wipe down the metal with a mild detergent and water solution, avoiding harsh chemicals that could damage the finish. Periodically check for any signs of wear, corrosion, or paint issues to address them promptly.
Challenges You Might Face
If you encounter challenges during the process or notice unexpected changes in the metal’s appearance, refer to troubleshooting tips. Addressing issues promptly can prevent further damage and ensure the longevity of your metal surfaces.
Consider Professional Assistance
For intricate metal pieces or challenging paint removal scenarios, seeking professional assistance may be a viable option. Professional painters or restoration experts have the experience and tools to handle complex situations, ensuring a meticulous and high-quality outcome.
Share Your Success
Share your paint removal success and newfound knowledge with others. Your experience could be valuable to the DIY community.
Note Down Your Process
Consider documenting the process through photos or a brief write-up to inspire and assist individuals facing similar challenges. You can take photographs at each significant step, providing a visual narrative of the transformation. Consider jotting down notes on the methods used, challenges faced, and the overall outcome. This documentation not only serves as a personal record but can also be shared with others in the DIY community, offering insights and inspiration for those tackling similar projects.
Expand Your DIY Skills
The process of removing spray paint from metal likely introduced you to various DIY techniques. Continue expanding your skill set by exploring related projects or venturing into new areas of interest. Whether it’s metalworking, woodworking, or other home improvement projects, each new skill acquired enriches your capability to undertake diverse and exciting DIY endeavors.
Explore Creative Finishing Techniques
Take your project to the next level by exploring creative finishing techniques. Depending on the type of metal and your aesthetic preferences, you can experiment with patinas, distressing, or other artistic effects. These techniques not only add a unique touch to your metal surfaces but also serve as a personal expression of creativity in the restoration process.
Go For Customization
If you’re dealing with metal objects that have sentimental value or unique characteristics, consider customization. This could involve engraving, stenciling, or incorporating additional design elements. Personalizing your metal surfaces adds a distinctive touch, turning a restoration project into a truly unique and meaningful endeavor.
Try To Maintain a DIY Toolkit
As you conclude your metal restoration project, consider maintaining a well-equipped DIY toolkit. Having essential tools, solvents, and protective gear readily available ensures you’re prepared for future projects and repairs. A comprehensive toolkit becomes an invaluable resource as you continue to explore the world of do-it-yourself projects.
Train Others
Share your newfound knowledge and experiences with those around you. Whether it’s hosting a workshop, creating tutorials, or simply offering advice to friends and family, becoming a source of guidance in the realm of DIY projects fosters a sense of community. Your insights can empower others to embark on their own creative endeavors with confidence.
Establish a DIY Workspace
Create a dedicated DIY workspace equipped with essential tools and a well-organized setup. A designated area for your projects not only streamlines your work but also encourages a more efficient and enjoyable creative process. Invest in storage solutions, workbenches, and proper lighting to optimize your workspace for future projects.
Experiment with New Materials
Broaden your horizons by experimenting with different materials in your DIY projects. Whether it’s incorporating wood, glass, or unconventional materials, diversifying your skill set adds versatility to your creative endeavors. Challenge yourself with new techniques and materials to keep your DIY journey dynamic and inspiring.
Finishing Touch
By following this comprehensive step-by-step guide on How To Remove Spray Paint From Metal you can confidently tackle the task of removing spray paint from metal. Each method has its merits, so choose the one that aligns with your specific situation and enjoy revitalizing your metal surfaces. Always prioritize safety and take the time to restore your metal to its original luster.
Happy Painting!