Unlocking How To Paint Metal Without Spray Paint: A Comprehensive Guide to Brush Application
Metal painting goes beyond mere aesthetics; it’s a protective measure against corrosion and rust, ensuring your metal surfaces’ longevity and visual appeal. While spray paint has been the conventional choice for this task, this guide explores an alternative approach the art of brush application.
By the end of this comprehensive tutorial, you’ll discover the advantages of brushing paint onto metal and mastering the technique for a professional finish. So, let’s learn How To Paint Metal Without Spray Paint.
Ordinary Paint or Spray Paint: Better Option for Metal Paint
Choosing between regular paint and spray paint becomes crucial when deciding how to apply paint to metal surfaces. Each method has its merits and drawbacks, making it essential to understand which suits your project best.
Pros and Cons of Spray Paint
Spray paint offers convenience and speed, covering large areas quickly and evenly. It’s especially effective for intricate metalwork, providing a smooth, uniform finish. However, the downside lies in overspray, leading to wasted paint and potential environmental concerns. The fine mist can also make it challenging to control, resulting in uneven application.
The Appeal of Normal Paint
Traditional brush application has its charm. It allows for greater precision and control, enabling you to navigate corners and detailed surfaces easily. While it might seem time-consuming, the process ensures a thicker coat, providing better protection against the elements. Moreover, the tactile experience of brushing paint onto metal adds a personal touch to your project.
Choosing Between Normal Paint and Spray Paint
The decision between regular paint and spray paint ultimately hinges on the specifics of your metal painting project. Spray paint might be the go-to choice if efficiency and speed are paramount. However, regular paint and a trusty brush are the tools for those seeking a hands-on, meticulous approach with greater control over the outcome.
In the following sections, we’ll explore the step-by-step guide for painting metal without spray paint, exploring the nuances of surface preparation, selecting the right paint, choosing the appropriate brushes, and mastering the application technique for a flawless finish.
How to Paint Metal Without Spray Paint: Step-by-Step Guide
Surface Preparation
Before embarking on your metal painting journey, ensure the surface is clean and free from rust, dirt, and debris. Begin by washing the metal with a mild detergent, and for stubborn stains or rust, employ a wire brush or sandpaper to achieve a smooth, clean surface. Remember, the quality of your paint job relies heavily on the foundation laid during this preparatory phase.
Selecting the Right Paint
The success of your project lies in choosing the right paint for the job. Go for a high-quality metal paint that provides durability and weather resistance. Consider factors such as the location of the painted item – outdoor furniture may require a different type of paint than an indoor metal fixture. Take the time to read product labels and choose a paint specifically formulated for metal surfaces.
Choosing Brushes
The type of brushes you use can significantly impact the outcome of your metal painting venture. Different brushes cater to various surfaces and paint consistencies. A flat brush is ideal for broad strokes and larger surfaces, while smaller, angled brushes are perfect for detailed work. Synthetic brushes work well with water-based paints, while natural bristle brushes are suitable for oil-based paints.
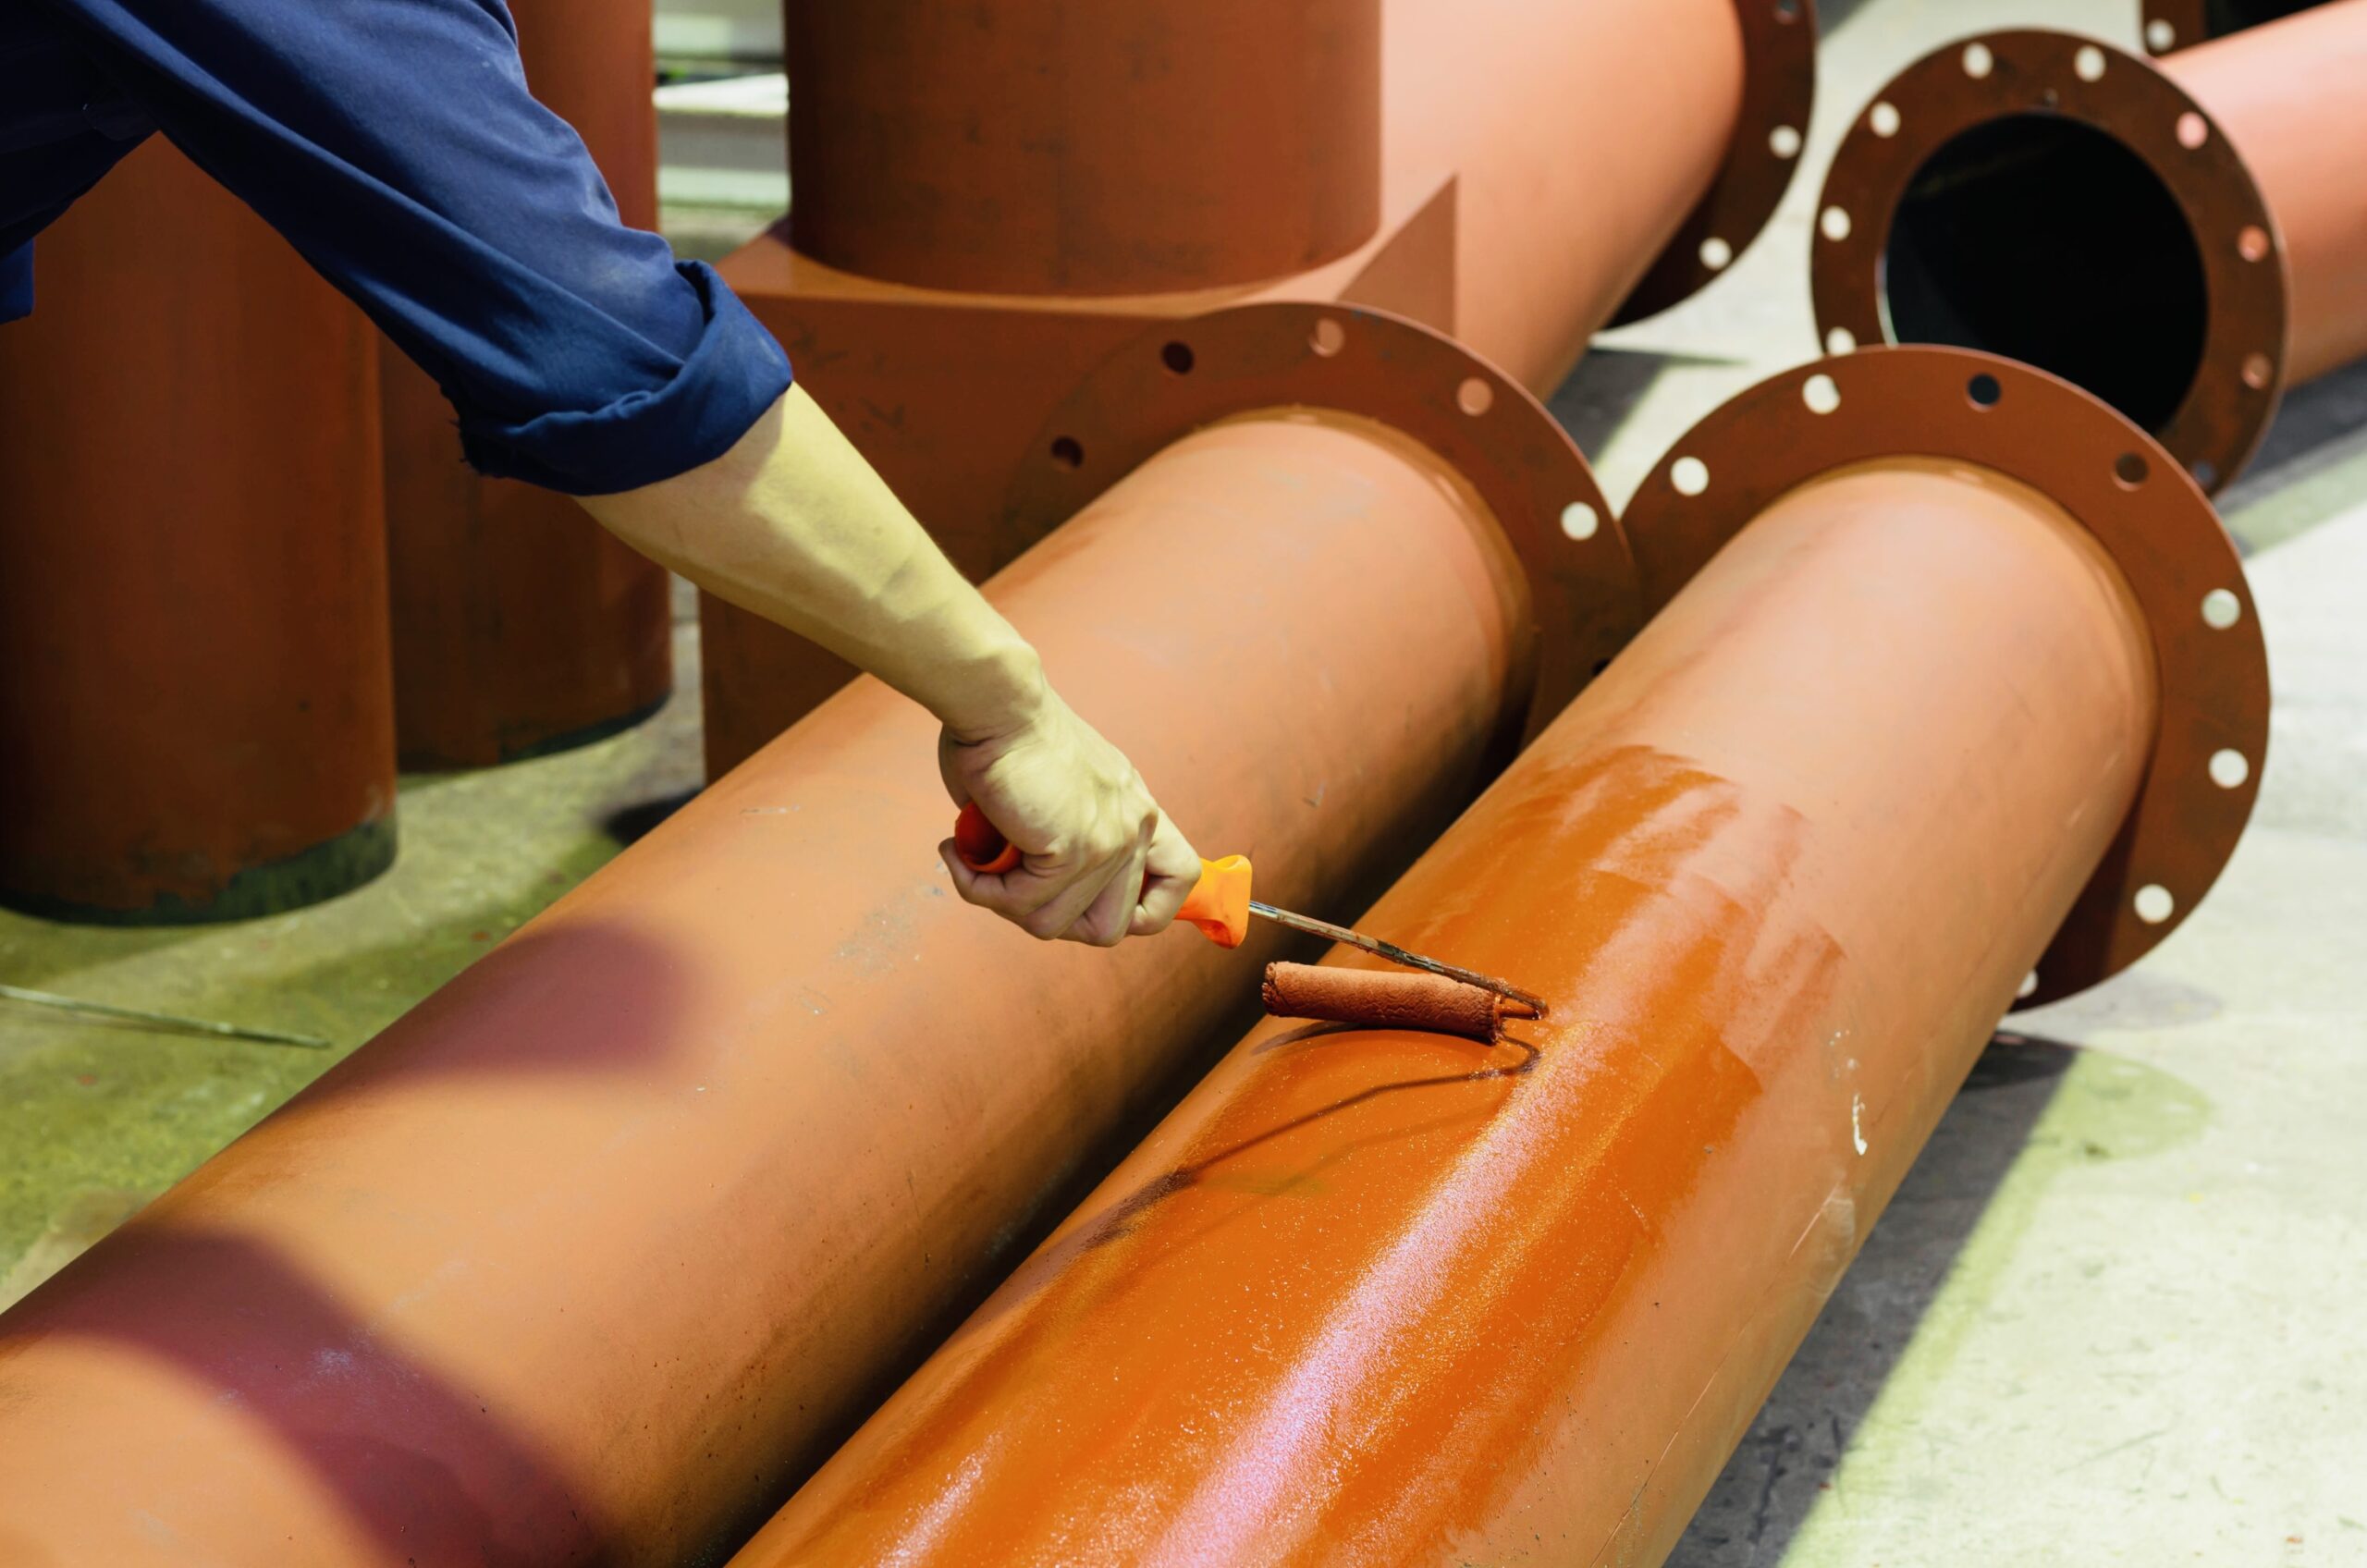
Applying the Paint
The key to achieving a professional-looking finish lies in the application technique. Load your brush with enough paint, tapping off excess to avoid drips. Begin painting with long, even strokes, following the natural lines of the metal. For intricate details, switch to a smaller brush to ensure precision. Be patient, multiple thin coats are often more effective than a single thick layer. Allow each coat to dry thoroughly before applying the next.
Drying and Curing
Once your masterpiece is complete, exercise patience during the drying and curing. Drying refers to the evaporation of solvents, allowing the paint to become touch-dry. Curing, on the other hand, is the process of the paint hardening over time. Follow the manufacturer’s recommendations for drying and curing times, ensuring your painted metal achieves the desired durability and resilience.
How to Paint Metal at Home
Many enthusiasts are keen to explore the world of metal painting from the comfort of their homes. Creating a dedicated space for your project is crucial.
- Choose a well-ventilated area and protect the surroundings from accidental paint splatters.
- Lay down a drop cloth or newspaper to catch stray drips and ensure a smooth painting process.
Simple precautions can turn any corner of your home into a makeshift workshop for your creative endeavors.
Follow these steps:
Choose the Right Space: Select a well-ventilated area in your home for your metal painting project. Ideally, this space should have good airflow to help with paint fumes and quick drying. Choose a location with plenty of natural light to aid visibility while painting.
Prepare the Surface: Before painting, ensure the metal surface is clean and free from rust, dirt, or debris. Use a mild detergent and water to clean the surface thoroughly. Use a wire brush or sandpaper to achieve a smooth, clean base for stubborn stains or rust.
Gather Your Materials: Collect all the necessary materials for your metal painting project. This includes high-quality metal paint, appropriate brushes, a drop cloth or newspaper to protect your surroundings, painter’s tape for masking, and safety equipment such as gloves and goggles.
Mask and Protect Surroundings
- Lay down a drop cloth or newspaper to protect the floor or work surface from accidental paint splatters.
- Use painter’s tape to mask off any areas you don’t want to paint, such as handles or other non-metal components attached to the item.
Prime the Surface
If your metal item has yet to be primed, applying a metal primer before painting is advisable. Priming helps with paint adhesion and provides additional protection against rust. Follow the manufacturer’s instructions for the primer application and drying time.
Select the Right Paint
- Choose a high-quality metal paint suitable for your project.
- Consider factors such as the type of metal, the item’s purpose (indoor or outdoor use), and the desired finish.
- Read the paint can label for specific application and drying times instructions.
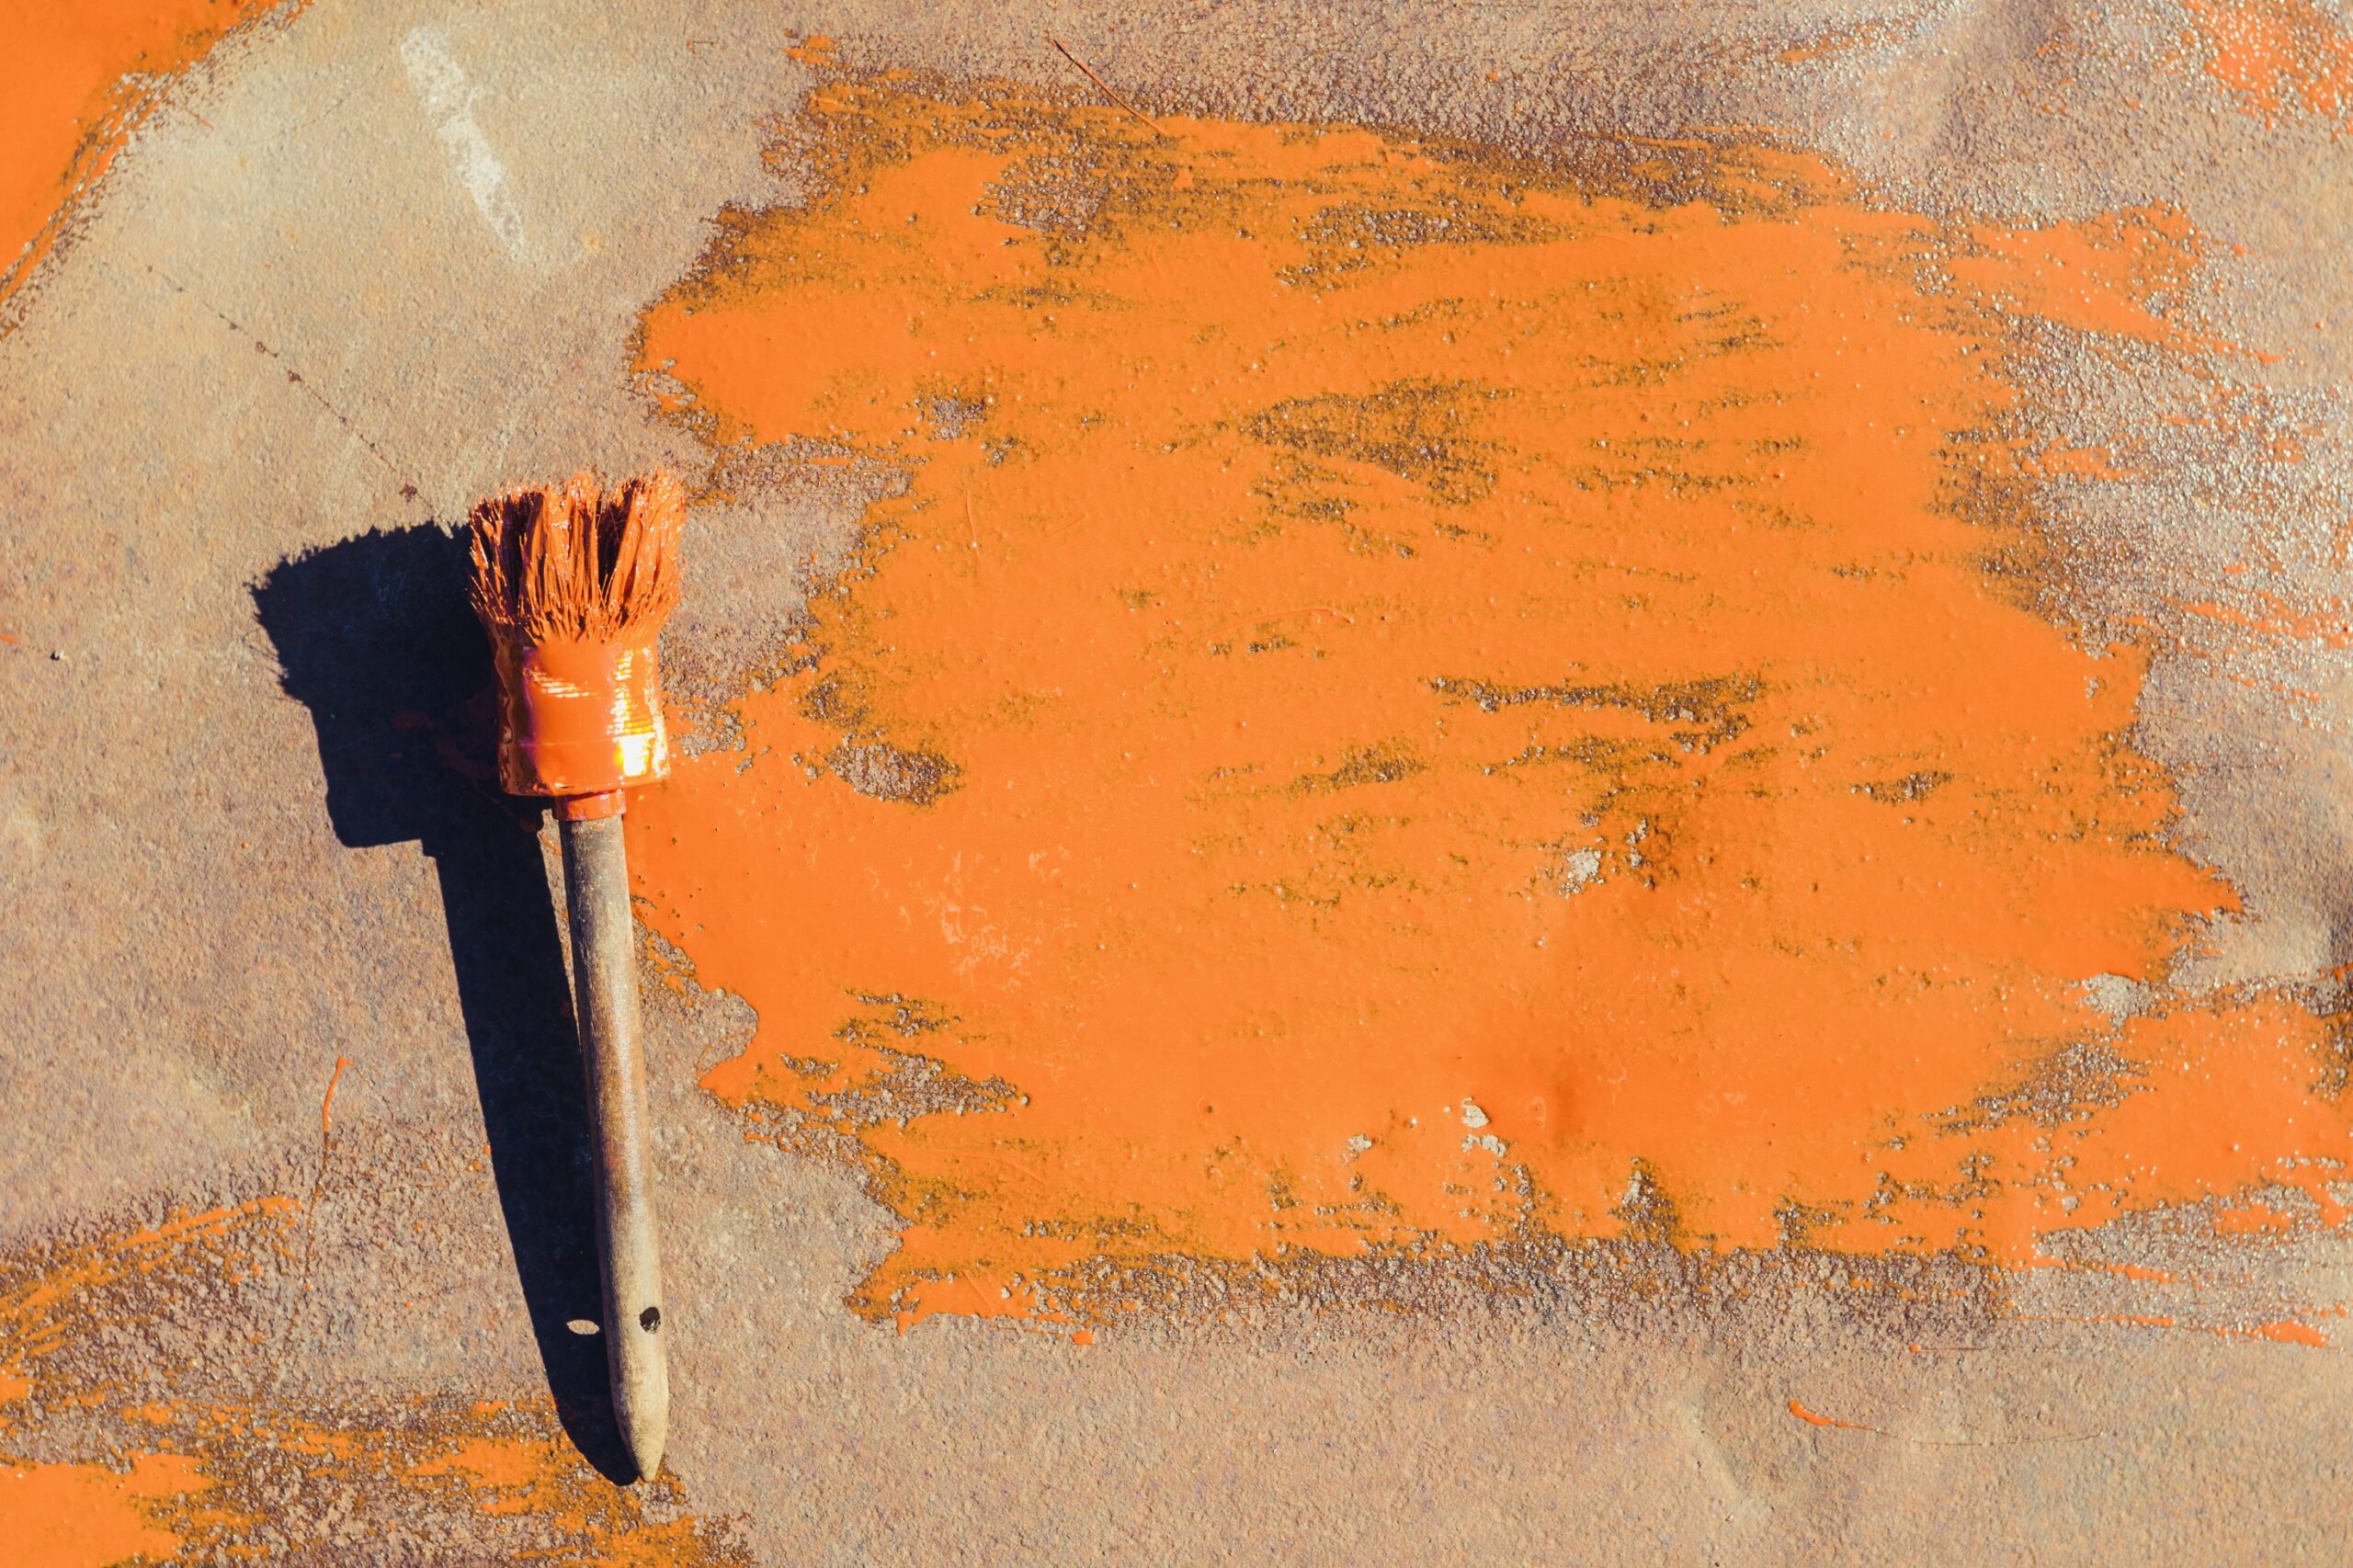
Load the Brush
- Dip your brush into the paint, ensuring it is loaded evenly.
- Tap off any excess paint to avoid drips.
Using water-based paint, you can slightly dampen the brush before loading to facilitate smoother application.
Apply the Paint
- Start applying the paint with long, even strokes, following the natural lines of the metal.
- For smaller or detailed areas, switch to a smaller brush to maintain precision.
- Work in one direction to minimize brush strokes and achieve a smoother finish.
Allow for Drying Time: After applying the first coat, allow the paint to dry completely before applying additional coats. Follow the recommended drying time specified on the paint can. Multiple thin coats are often more effective than a single thick layer.
Inspect and Touch Up: Once the final coat is dry, inspect the painted surface for imperfections or uneven areas. Touch up as needed, using fine-grit sandpaper to smooth out any rough spots before applying additional paint.
Clean Your Brushes: Properly clean your brushes according to the paint type used. For water-based paints, use water, and for oil-based paints, use the appropriate solvent. Clean brushes thoroughly to maintain their quality for future use.
Cure and Enjoy: Allow the painted item to cure fully according to the paint manufacturer’s instructions. Once cured, your metal item can be reintegrated into your living space, showcasing your personalized touch and creativity.
Following these steps, you can successfully paint metal at home, transforming ordinary objects into personalized pieces that reflect your style and preferences.
FAQ
Q: Can I use regular household paint for metal?
A: Yes, you can use regular household paint for metal, but choosing a paint specifically designed for metal surfaces is crucial. These paints typically contain rust inhibitors and adhere better to metal, enhancing durability.
Q: How can I prevent brush strokes in the paint?
A: To minimize brush strokes, choose a high-quality brush with fine bristles. Thin the paint slightly with an appropriate thinner for smoother application, and apply multiple thin coats rather than a single thick layer. Working in one direction with long, even strokes can help achieve a softer finish.
Q: Is primer necessary when brushing and painting metal?
A: Priming is highly recommended when brush painting metal. A quality metal primer prepares the surface, enhances paint adhesion, and provides additional protection against rust. It’s a crucial step in ensuring the longevity of your paint job.
Conclusion
In the realm of metal painting, the choice between brush and spray application is a nuanced decision that hinges on the specifics of your project. Brush painting offers the artist a hands-on experience, allowing for precision and control, while spray painting excels in efficiency and uniform coverage. By following the step-by-step guide about How To Paint Metal Without Spray Paint provided, you can unlock the potential of brush application, turning your metal surfaces into personalized works of art.
In your creative journey, experiment with both methods and remember that the beauty lies in the finished product and the process itself. Whether you plan for the deliberate strokes of a brush or the even mist of a spray can, each approach contributes to the unique character of your painted metal.
Happy painting!