Mastering the Art of Mixing: How To Mix Paint For Spray Gun
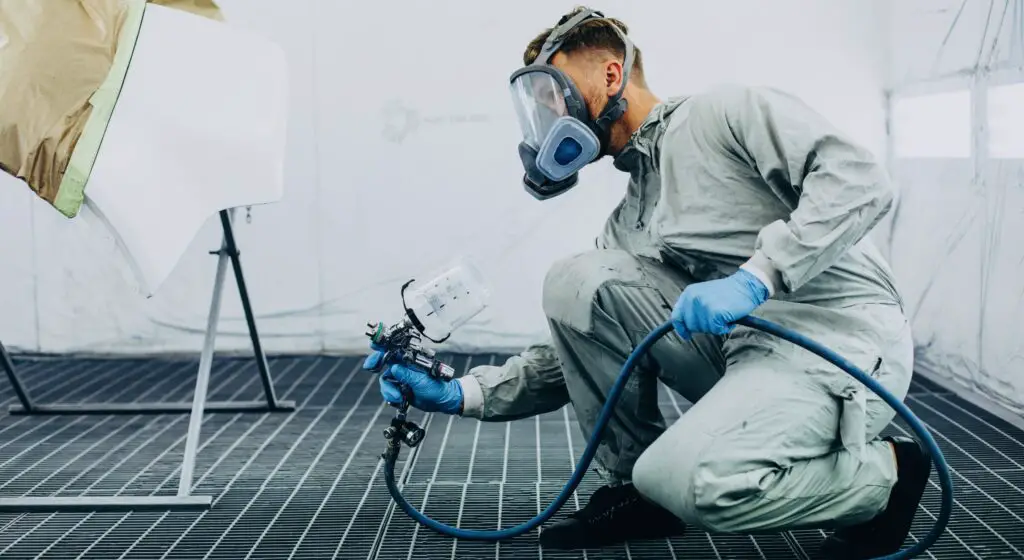
Painting with a spray gun can be a game-changer for both DIY enthusiasts and professional painters. It allows for a smoother and more even finish compared to traditional brush and roller methods. However, to make the most of your spray gun, you need to know how to mix paint for spray gun. Mixing paint for a spray gun is both a science and an art.
In this comprehensive guide, we will explore the ins and outs of the process of how to mix paint for a spray gun, and it’s an assurance that this guide will help you achieve flawless results in your painting projects.
The Importance of Proper Paint Mixing
Before we dive into the step-by-step process of mixing paint for your spray gun, let’s explore why this step is crucial:
Imagine your paint as a finely tuned orchestra and your spray gun as the conductor. The performance depends on each instrument (the paint components) playing in harmony. If the composition is off, the result can be discordant, with issues like uneven coverage, clogging, or poor adhesion. Proper paint mixing ensures that every element in your paint mixture is in sync, leading to a seamless application and a stunning finish.
Gather knowledge About The Paint Components.
To mix paint effectively, it’s essential to grasp the basic components of paint:
Pigments: These are the color particles in the paint. The type and amount of pigments determine the paint’s color and opacity.
Binders (Resins): Binders are the film-forming agents in paint. They hold the pigments together and adhere them to the surface. Standard binders include acrylic, latex, and oil-based resins.
Solvents: Solvents are the liquids that carry the pigments and binders. They help control the paint’s consistency and evaporate as the paint dries. In water-based paints, the solvent is primarily water.
Additives: Additives can include a variety of substances, such as drying agents, thickeners, anti-foaming agents, and more. These components modify the paint’s properties to suit specific needs.
Choosing the Right Paint for Your Project
Before you start mixing, select the paint that suits your project requirements:
Type of Paint: Consider whether you need water-based latex paint, oil-based alkyd paint, or specialty paint for your surface and environment. Each type has distinct characteristics and applications.
Finish: Decide on the finish you want, such as flat, eggshell, satin, semi-gloss, or high-gloss. The finish affects the paint’s sheen and durability.
Quality: High-quality paint typically offers better coverage and durability. Consider the quality level that aligns with your project’s importance.
Color: Choose your desired color and ensure you have enough paint to complete the project. It’s a good idea to buy a little extra for touch-ups later.
Materials You’ll Need for Mixing Paint
Before you begin the mixing process, gather the necessary materials:
Paint: The type and color of paint you’ve chosen for your project.
Paint Stirrer: A clean stir stick or paint paddle to mix the paint thoroughly.
Measuring Container: A container or measuring cup to ensure accurate proportions.
Thinning Materials (if necessary): Depending on your paint and spray gun, you may need water, paint thinner, or another appropriate solvent for thinning.
Safety Gear: Wear appropriate safety gear, including gloves and safety glasses, when working with paint and chemicals.
Step-By-Step Mixing Process How To Mix Paint For Spray Gun
Now, let’s walk through the step-by-step process of mixing paint for your spray gun:
Step 1: Read the Manufacturer’s Instructions (Revisited)
Always begin by reading the manufacturer’s instructions on the paint can. It’s essential to follow their specific recommendations for mixing and thinning, as these can vary between paint brands and types.
Step 2: Prepare Your Workspace
Set up a clean and well-ventilated workspace. Mixing paint can get messy, so cover surfaces and wear appropriate clothing.
Step 3: Measure Your Paint
Pour the desired amount of paint into your measuring container. If you need more clarification about the quantity needed, it’s better to overestimate slightly to avoid running out during the project.
Step 4: Stir Thoroughly
Use your paint stirrer to mix the paint thoroughly. Stir in a slow and deliberate motion to prevent introducing air bubbles into the paint. Continue stirring until the paint reaches a uniform consistency.
Step 5: Check the Paint’s Thickness
The thickness of your paint is crucial for proper spraying. Different spray guns and projects may require varying levels of thinning. To check the viscosity, lift the stirrer or paint paddle out of the paint and observe how the paint flows off it. It should be smooth and even without forming thick drips or clumps.
Step 6: Thin the Paint
If your paint is too thick for your spray gun, you’ll need to thin it. Follow the manufacturer’s guidelines for the appropriate thinning agent, whether it’s water for latex paint or a specific paint thinner for oil-based paints. Add the thinning agent gradually, stirring continuously. Recheck the viscosity as you go, and stop adding a thinning material once the paint reaches the desired consistency.
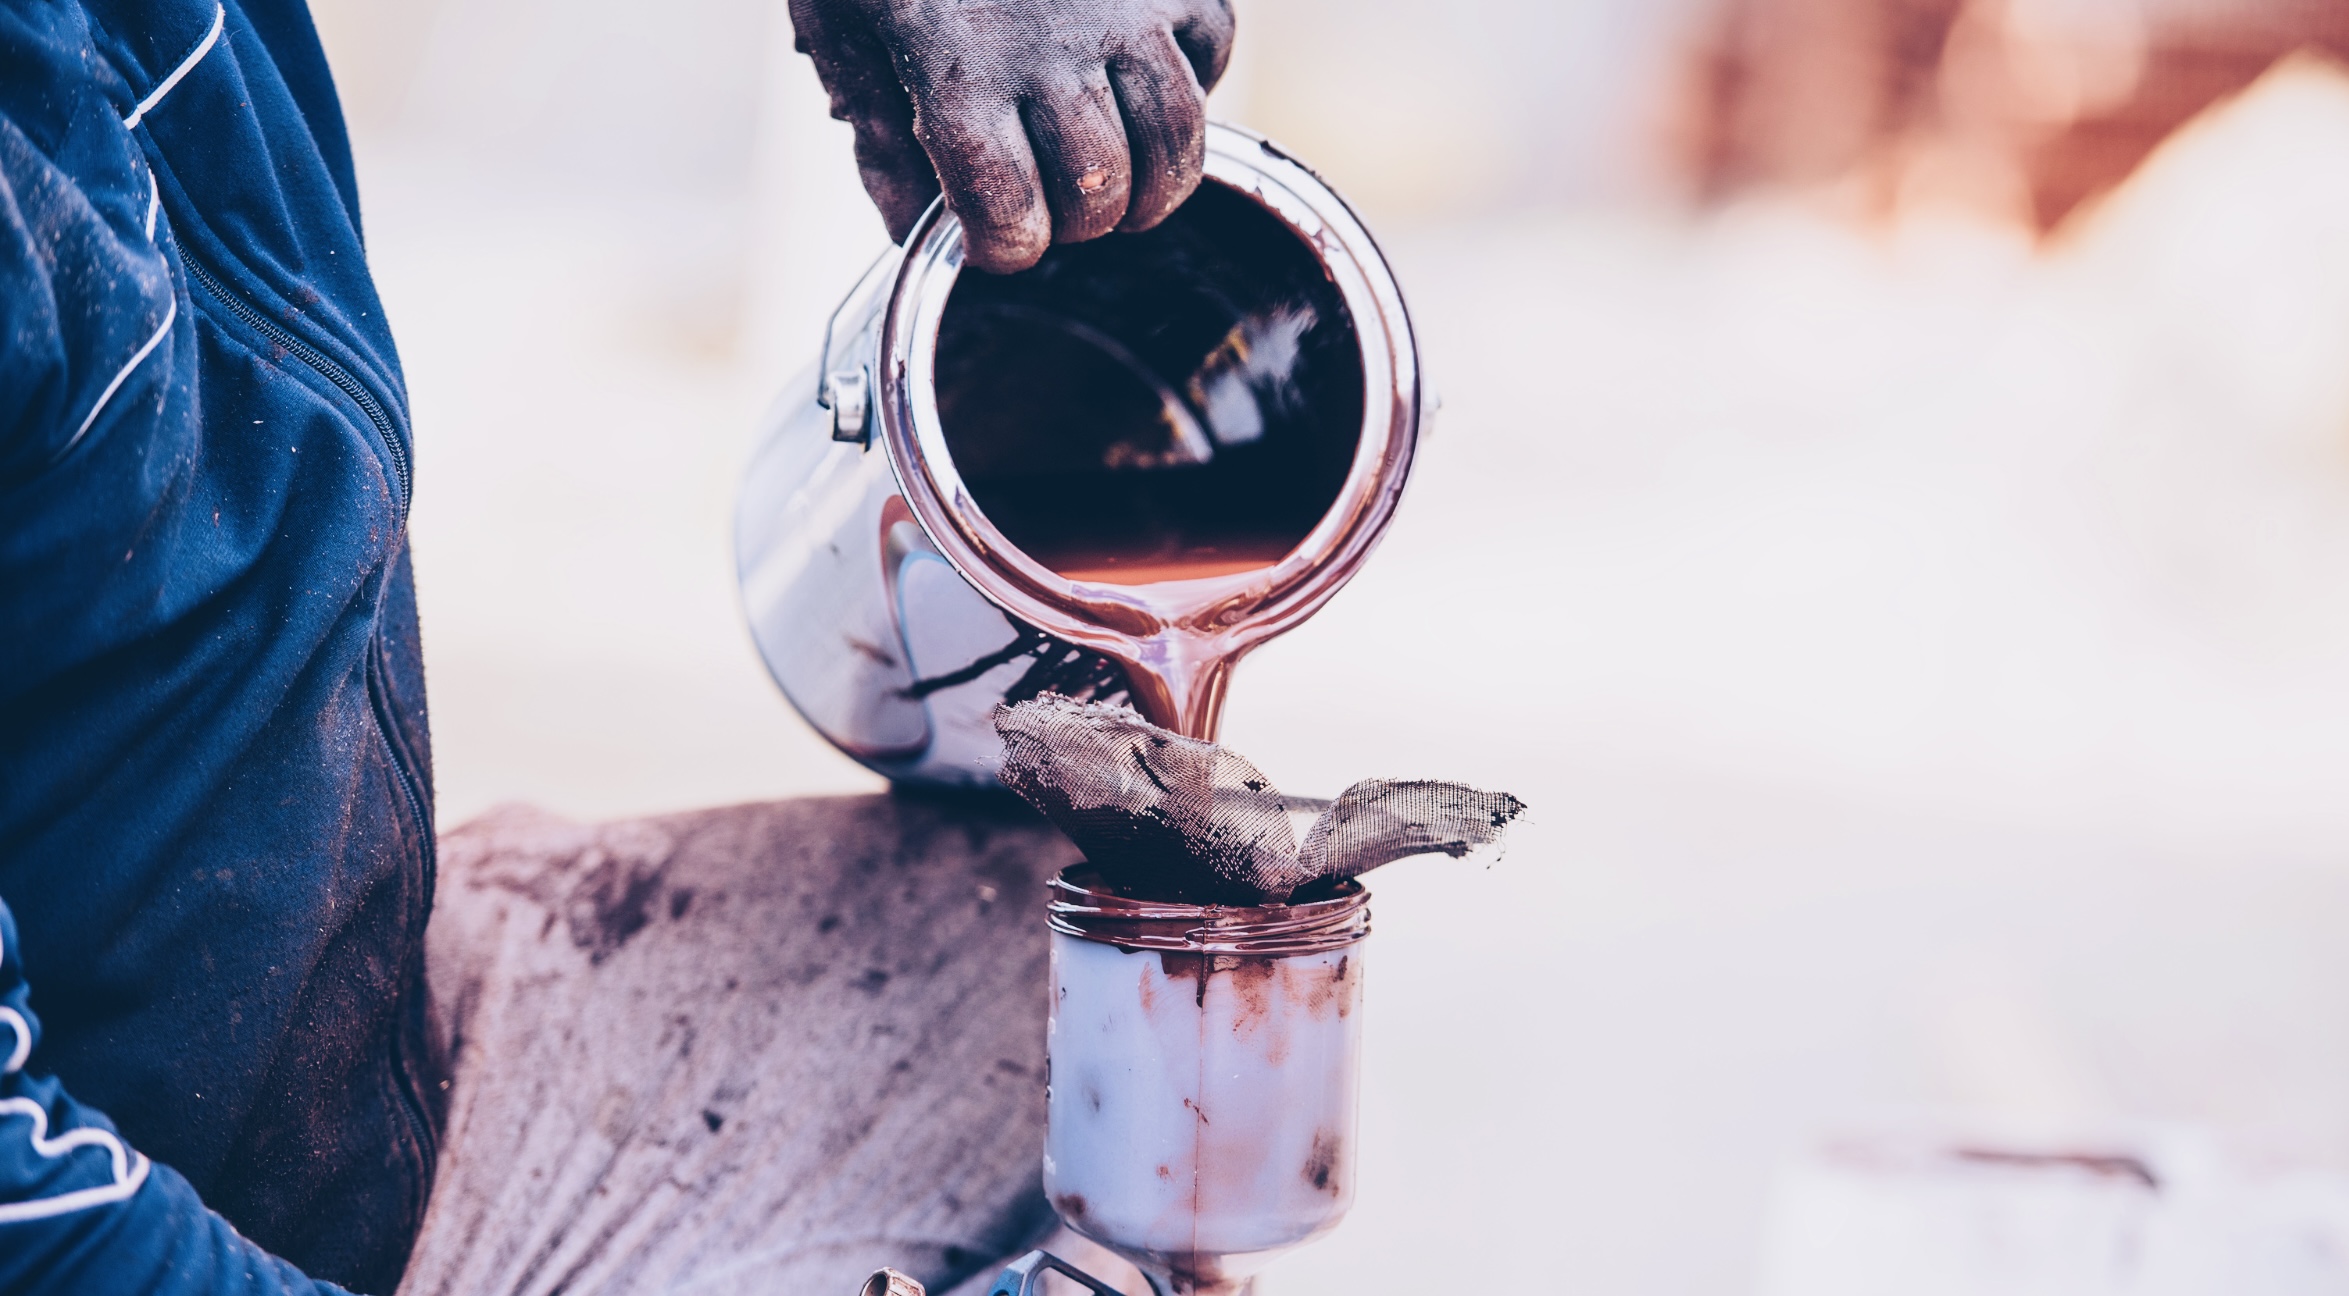
Step 7: Strain the Paint
To prevent clogs in your spray gun, strain the paint through a mesh strainer or paint filter before pouring it into the gun’s reservoir. This step removes any impurities or particles that could obstruct the nozzle.
Step 8: Use a Test Spray
Before starting your project, use a test spray on a scrap surface to ensure the paint sprays evenly and smoothly. Adjust the spray gun settings as needed to achieve the desired pattern and coverage.
Step 9: Adjusting for Ambient Conditions
The environment in which you’re working can impact your paint mixture. Factors such as temperature and humidity can influence the paint’s drying time and viscosity.
Here’s how to adapt your paint mixing process to different conditions:
Temperature
Cold Weather
In colder temperatures, paint tends to thicken, which can affect its flow through the spray gun. You should add a bit more thinner to maintain the desired viscosity. Additionally, allow for longer drying times, as paint dries more slowly in colder conditions.
Hot Weather
In hot weather, paint can become thinner, potentially leading to runs or drips on your surface. Be cautious when thinning in high temperatures; start with less thinner and gradually increase if necessary. Faster drying times also mean you need to work more quickly.
Humidity
High Humidity
In high humidity conditions, paint can take longer to dry, which may affect the overall finish. To counteract this, consider using paints designed for humid environments. Additionally, ensure proper ventilation to help with drying.
Low Humidity
Low humidity can cause paint to dry too quickly, potentially resulting in a rough finish or clogged spray gun. In such conditions, add a paint retarder to slow down the drying process and achieve a smoother coat.
Step 10: Proper Cleanup
After completing your painting project, it’s essential to clean your spray gun thoroughly. Neglecting this step can lead to clogs, reduced performance, and even permanent damage to your equipment.
Here’s how to clean your spray gun effectively
Disassemble the Spray Gun
Carefully disassemble the spray gun according to the manufacturer’s instructions. Remove the nozzle, air cap, fluid needle, and any other removable components.
Rinse with Appropriate Solvent
Depending on the type of paint you used, clean the spray gun with the appropriate solvent. For water-based paints, use water. For oil-based paints, use a compatible paint thinner. You can often find paint gun cleaning kits that include specific cleaning solutions.
Use Brushes and Picks
Use brushes and picks to remove any stubborn paint residue from the gun’s components. Pay close attention to the nozzle and air cap, as these areas are prone to clogs.
Reassemble and Lubricate
Once the spray gun is clean and dry, reassemble it carefully. Apply a small amount of lubricant to moving parts as recommended by the manufacturer.
Store Properly
Store your spray gun in a clean, dry place, away from dust and contaminants. Follow the manufacturer’s storage guidelines to prevent damage and maintain performance.
Step 11: Practice and Experience
While mastering the art of mixing paint for a spray gun is essential, it’s equally crucial to recognize that experience is the best teacher. Every project you undertake provides an opportunity to refine your technique and better understand the nuances of your specific spray gun and paint combination.
Start with small, less critical projects to gain confidence and practice. Experiment with different paint viscosities, spray gun settings, and techniques. Over time, you’ll develop a keen sense of how to mix paint effectively for various surfaces and conditions.
Conclusion
Mixing paint for a spray gun is a fundamental skill for achieving professional-quality results in your painting projects. By understanding the components of paint, selecting the right paint for your project, and following a systematic mixing process, you can ensure that your spray gun performs optimally. In addition to proper mixing, factors like ambient conditions, cleanup, and practice all contribute to your success as a painter.
This comprehensive guide about how to mix paint for a spray gun will help you if you work with patience and dedication. You’ll become an expert at producing flawless finishes that showcase your skills and transform your projects into works of art.