How to Dilute Paint for Spraying: A Comprehensive Guide
Spraying paint can be a game-changer for various projects, from giving a fresh coat to your walls to adding a touch of creativity to your crafts. However, to achieve the best results with a spray gun or airbrush, you need to know how to dilute your paint correctly.
In this comprehensive guide, we’ll dive into the art of paint dilution for spraying, ensuring that your projects are not only hassle-free but also come out looking their absolute best. Let’s explore How to Dilute Paint for Spraying.
What Is Dilute Paint?
First of all, you should know what dilute paint means, which is essential before diving into the art of dilution for spraying. Simply put, dilute paint refers to paint that has been thinned or lightened by the addition of a solvent or dilution agent. The purpose of this process is to adjust the consistency and flow of the paint to make it suitable for various applications, including spraying.
Why Dilute Paint?
Paint is typically packaged in a thicker form to preserve its quality. However, this thickness can be impractical for many projects, especially when using spray equipment.
Before we dive into the “how,” let’s understand the “why.” Why is it essential to dilute paint for spraying?
Diluting paint serves several crucial purposes:
Improved Flow: Dilution ensures that the paint flows smoothly through the nozzle of your spray equipment, preventing clogs and providing an even coat.
Enhanced Control: Diluted paint allows you to control its thickness, making it easier to achieve different effects and levels of opacity.
Better Coverage: Properly diluted paint offers uniform coverage, preventing uneven spots, streaks, or clumps in your work.
Optimized Drying Time: Dilution can affect the drying time of the paint, which can be crucial for achieving specific techniques or effects. Understanding what dilute paint is and why it’s necessary is fundamental to the success of your projects. It’s the key to achieving the consistency and performance required for your specific spraying needs.
How to Dilute Paint for Spraying: Essential Supplies
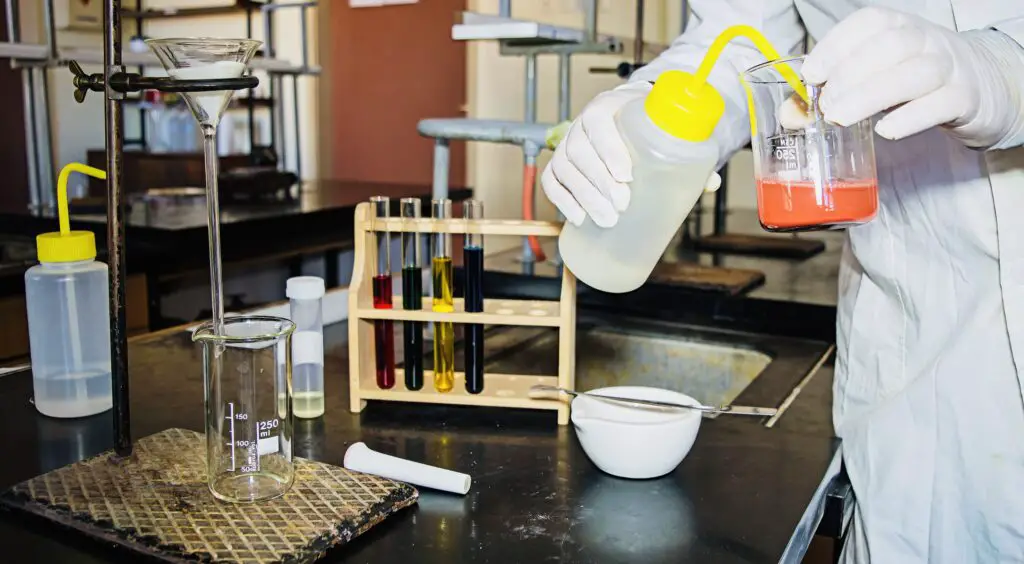
Before you explore the journey of diluting paint, gather the necessary supplies:
- Paint: Select the type and color of paint you intend to use.
- Water or Thinner: Depending on the type of paint, you’ll either use water for water-based paints or a specific paint thinner for oil-based paints.
- Mixing Containers: Small plastic or glass containers to blend your paint and dilution agent.
- Stirring Sticks: Wooden sticks or plastic spoons work well for stirring the mixture.
- Measuring Tools: A measuring cup, graduated container, or syringe for precise measurements.
- Spray Equipment: This includes your spray gun or airbrush, depending on your project.
How to Dilute Paint for Spraying: Dilution Process
Now, let’s dive into the step-by-step process of diluting paint for spraying:
- Choose the Right Paint: Start with the paint you want to use, making sure it’s thoroughly mixed and free of any lumps.
- Determine the Right Dilution Tools: The type of paint you’re using will dictate the correct dilution tools. For water-based paints, you can use water. For oil-based paints, choose the appropriate paint thinner.
- Desired Consistency: The consistency of the paint is crucial and depends on your project and the type of spray equipment you’re using. Generally, you want a milk-like consistency for spraying.
- Gradual Dilution: Begin by adding a small amount of the dilution agent to the paint. It’s always wise to start with a conservative approach, as you can add more later if needed.
- Stir and Test: Use your stirring stick to blend the paint and dilution agent thoroughly. Once mixed, test the paint by spraying a small amount on a test surface.
- Adjust as Necessary: Based on the test spray, you may need to adjust the mixture. If the paint is too thick, add more dilution agents; if it’s too thin, add more paint. Continue this process until you reach the desired consistency.
How to Dilute Paint for Spraying: Consider Safety First
Diluting paint involves working with chemicals, so it’s essential to take some safety precautions:
- Ventilation: Always work in a well-ventilated area to prevent inhaling fumes.
- Safety Gear: Depending on the paint and dilution agent you’re using, consider wearing gloves, a mask, and protective eye-wear.
How to Dilute Paint for Spraying: Troublesome Common Issues
Even with the best techniques, problems can arise during the dilution process.
Here are some common issues and how to address them:
Paint Too Thick: If your paint is too thick, it may clog your spray paint equipment. To fix this, add more dilution agents and stir thoroughly.
Uneven Coverage: In some cases, the paint may not cover the surface evenly, leading to streaks or uneven spots. To address this issue, apply a base coat with a thicker consistency and let it dry before applying the diluted paint.
Paint Drying Too Quickly: Some paints have a fast drying time, which can make blending and achieving smooth transitions challenging. If this is an issue, consider using a slow-drying medium to extend the drying time and make your work more manageable.
Paint Not Adhering: Occasionally, paint may not adhere well to certain surfaces. To improve adhesion, consider applying a primer or gestapo to the surface before painting.
How to Dilute Paint for Spraying: Advanced Techniques
While we’ve covered the fundamentals of diluting paint for spraying, let’s take a deeper dive into advanced techniques.
These methods allow you to fine-tune your skills, explore new artistic avenues, and achieve professional-grade results.
Airbrush Mastery
If you’re using an airbrush, precise dilution is crucial. Advanced airbrush artists often create custom paint mixes, adjusting the dilution ratio to the specific requirements of their artwork. It’s a skill that requires patience and practice, but it opens the door to intricate detailing and realism in your work.
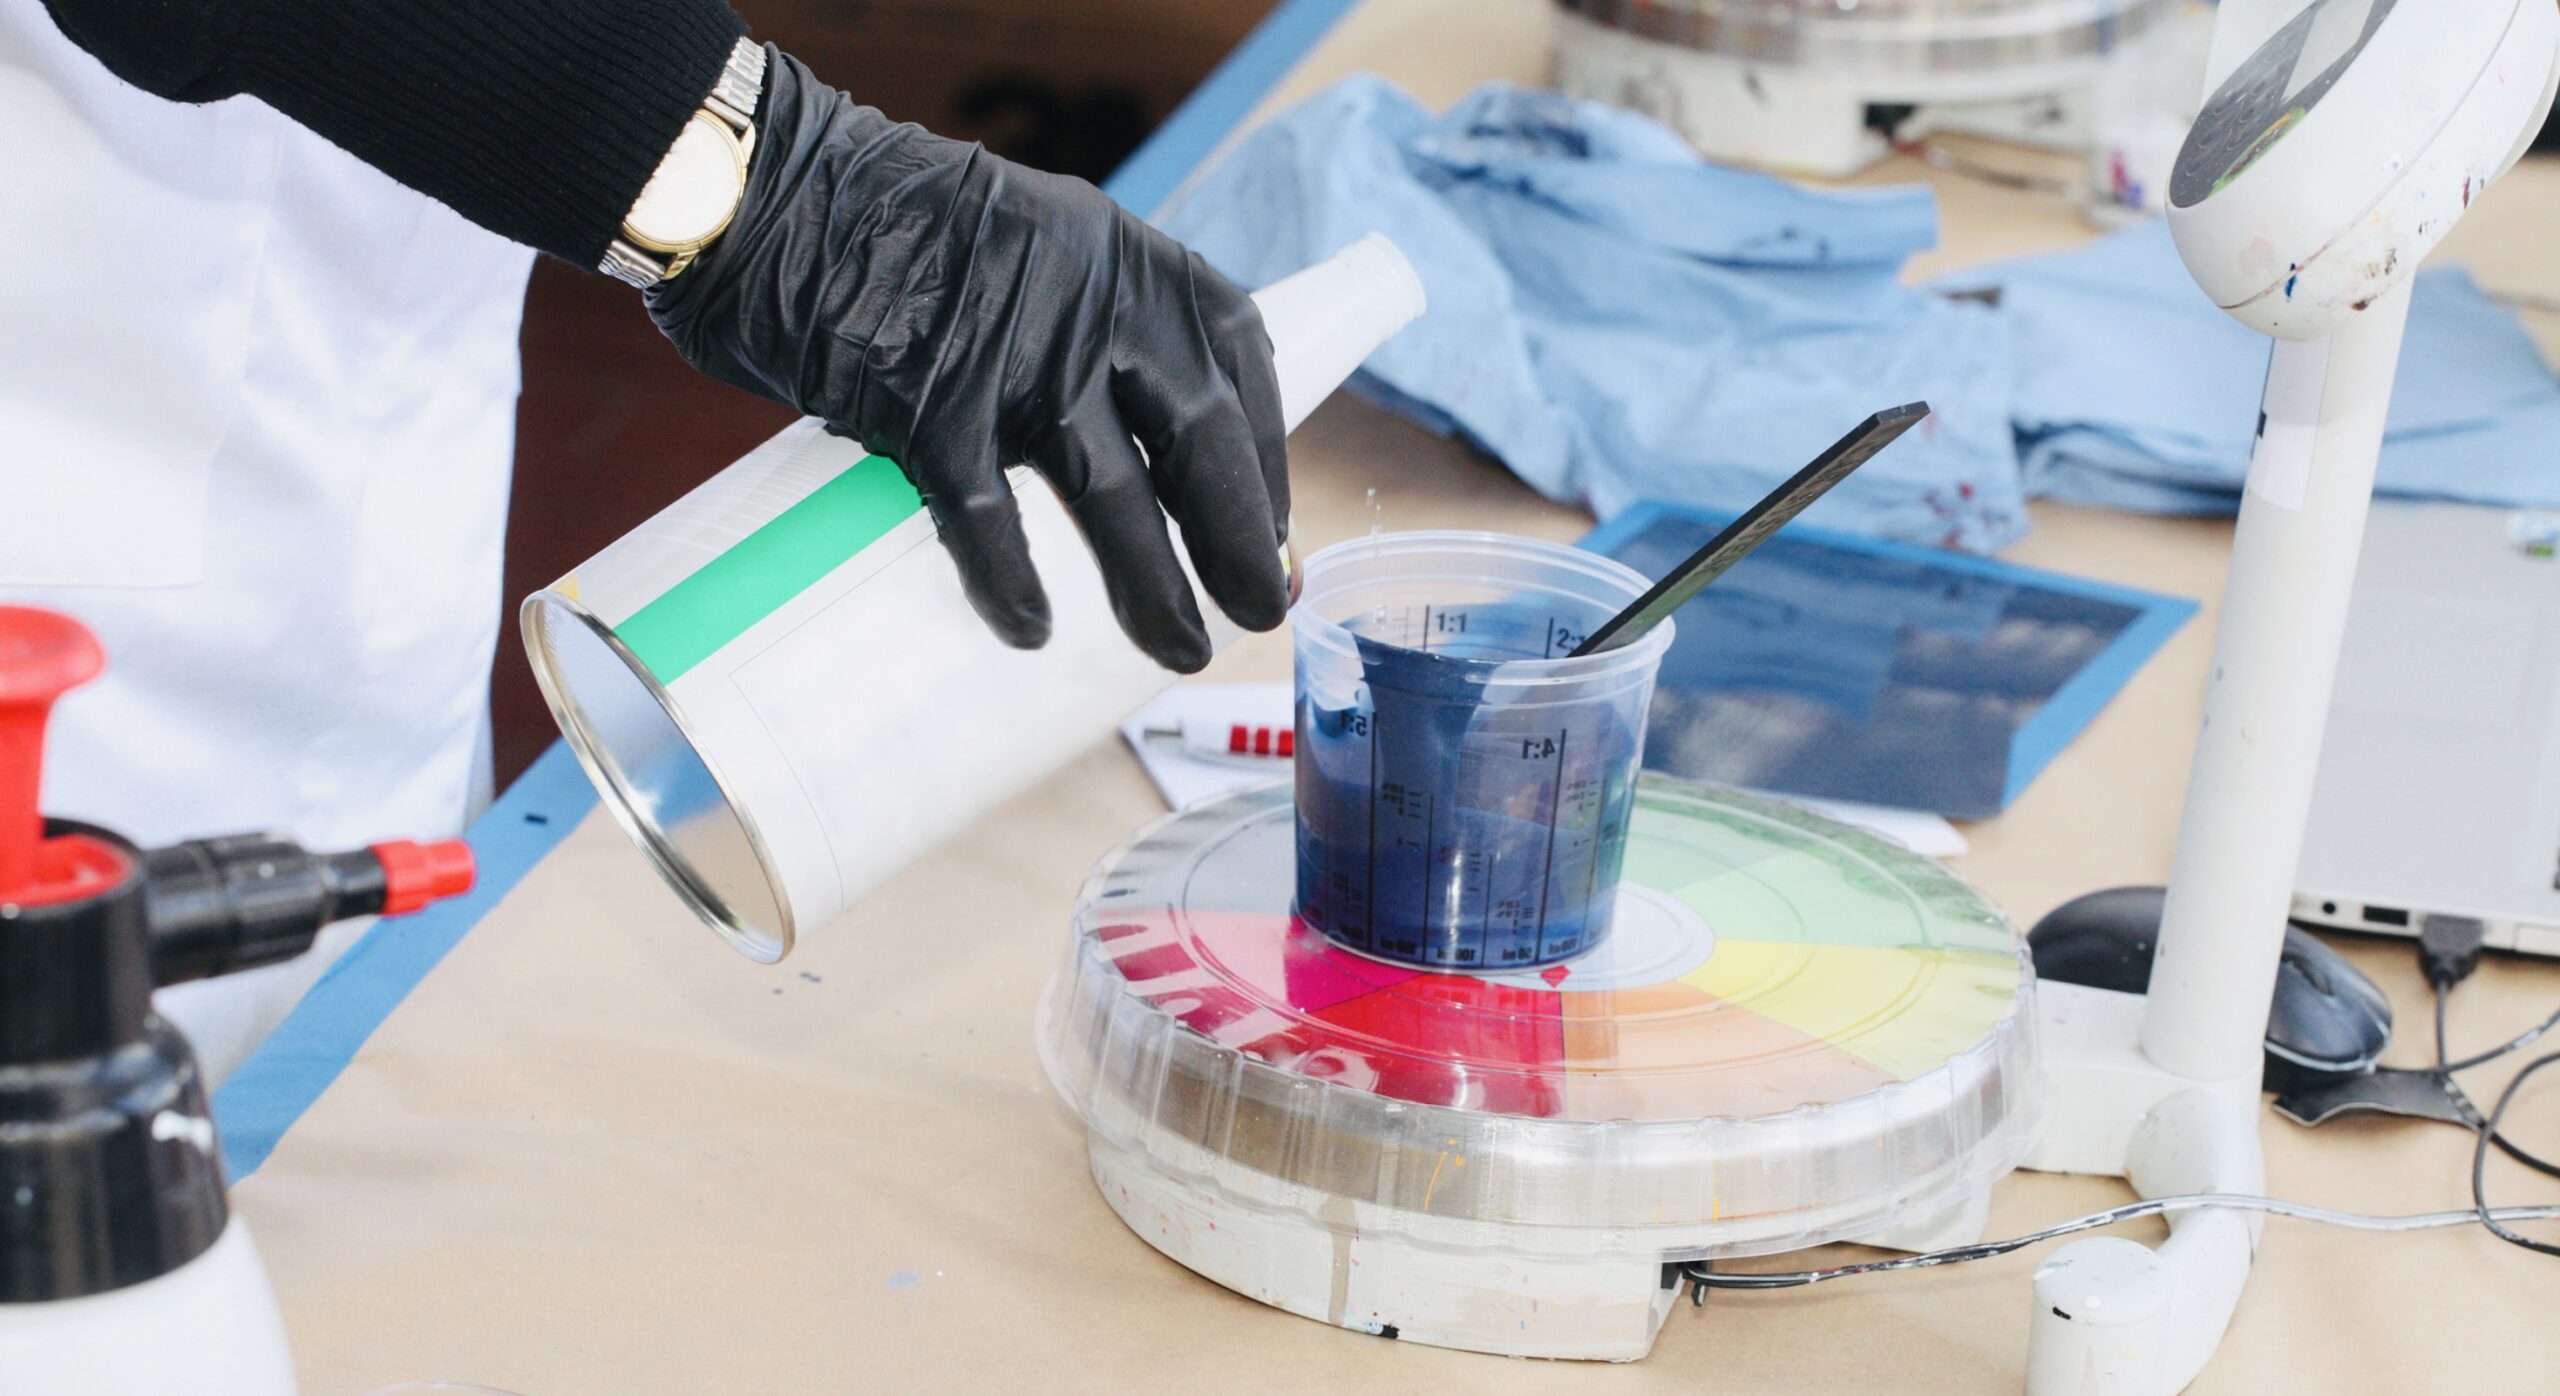
Custom Color Blends
Advanced artists frequently create custom color blends by mixing different paint colors and adjusting the dilution levels. This allows for an extensive palette of colors and the ability to match shades precisely. It’s a technique frequently used in automotive painting, where color accuracy is paramount.
Fine Line and Detail Work
Achieving fine lines and intricate details with diluted paint requires skill and precision. Advanced artists dilute their paint to a point where it’s almost transparent, allowing them to add delicate highlights, shadows, and details to their work.
Retouching and Repair
Diluted paint is a valuable tool for retouching and repairing artwork. Advanced artists can match the original colours and textures with precise dilution levels, seamlessly blending repairs into the existing artwork.
Layering and Depth
Creating depth and dimension in your artwork is an advanced technique that involves layering diluted paint. By applying multiple layers with varying dilution levels, you can achieve the illusion of depth and three-dimensionality in your work.
Textured Effects
Advanced artists often experiment with textured effects using diluted paint. By adding texture mediums to the dilution agent, they can create raised surfaces and unique tactile qualities in their artwork.
Artistic Experimentation
Advanced dilution isn’t just about precision; it’s also about artistic experimentation. Many artists push the boundaries of paint dilution, creating abstract, experimental, and avant-garde pieces that challenge the traditional concepts of art.
As you progress in your painting journey, these advanced techniques will become valuable tools in your artistic arsenal. They allow you to explore new dimensions of creativity and achieve the level of artistry you aspire to.
Remember that practice, patience, and a willingness to push your artistic boundaries are key to mastering these advanced techniques. Happy spraying, and may your artistic journey be filled with endless possibilities!
Achieving Different Effects with Diluted Paint
When it comes to diluting paint for spraying, the process is not only about adjusting the consistency for ease of application but also about unlocking the potential to create various artistic effects.
Let’s See how dilution impacts your creative outcomes is essential:
Transparency and Opacity
Diluting paint allows you to control the transparency and opacity of your colors. By adding more dilution paint, you can achieve a transparent, watercolor-like effect that lets underlying layers shine through. Reducing dilution results in a more opaque and solid color.
Smooth Gradients
Diluted paint is excellent for creating smooth gradients. With gradual dilution, you can transition from a strong colour to a subtle tint seamlessly. This technique is particularly useful in creating realistic skies, sunsets, and other gradient-based scenes.
Textured Effects
Varying the dilution level can lead to unique textures. Heavily diluted paint applied with a palette knife or textured brush can create interesting surface patterns and visual interest in your artwork.
Depth and Layering
Dilution offers the ability to layer colors effectively. By applying diluted paint over a dried base coat, you can achieve a sense of depth and subtle color changes. This technique is known as glazing.
Splatter and Spatter
As discussed earlier, the splatter technique using diluted paint can add a dynamic and energetic element to your artwork, perfect for starry nights, confetti, or abstract designs.
Understanding how different levels of dilution can influence your artwork allows you to tailor your approach to achieve the exact creative effects you desire. The possibilities are as limitless as your imagination.
At A Glance
Diluting paint for spraying is not just a technical step in your creative process; it’s an artistic endeavor in itself. It’s the bridge between your vision and the final result and the key to unlocking a world of creative possibilities.
As you master the art of paint dilution, whether for home improvement projects or artistic pursuits, you’ll find that it’s not only a means to an end but a journey of discovery. So, embrace the power of dilution and let your projects come to life with the unique effects and textures that only well-diluted paint can offer. Happy spraying, and may your creations be as vibrant and imaginative as your dreams.
Final Verdict
As you continue your journey into the world of paint dilution and advanced techniques, remember that experimentation is a valuable part of the creative process. Be bold and make mistakes, as they often lead to exciting discoveries. And, go through this article on How to Dilute Paint for Spraying if you are new to painting games! Mastering the art of diluting paint for spraying, including advanced techniques like splatter effects, opens up a world of possibilities for your projects. Whether you’re adding texture and depth to a canvas, embellishing crafts, or giving walls a fresh and artistic touch, your newfound skills will elevate your work to a whole new level.
So, embrace the art of paint dilution with enthusiasm and creativity. Your projects are about to burst with vibrancy and personality, courtesy of your expertly diluted and beautifully splattered paint.
Happy spraying and splattering!