Mastering the Art of Automotive Spray Painting How Many Cans Of Spray Paint To Paint A Car
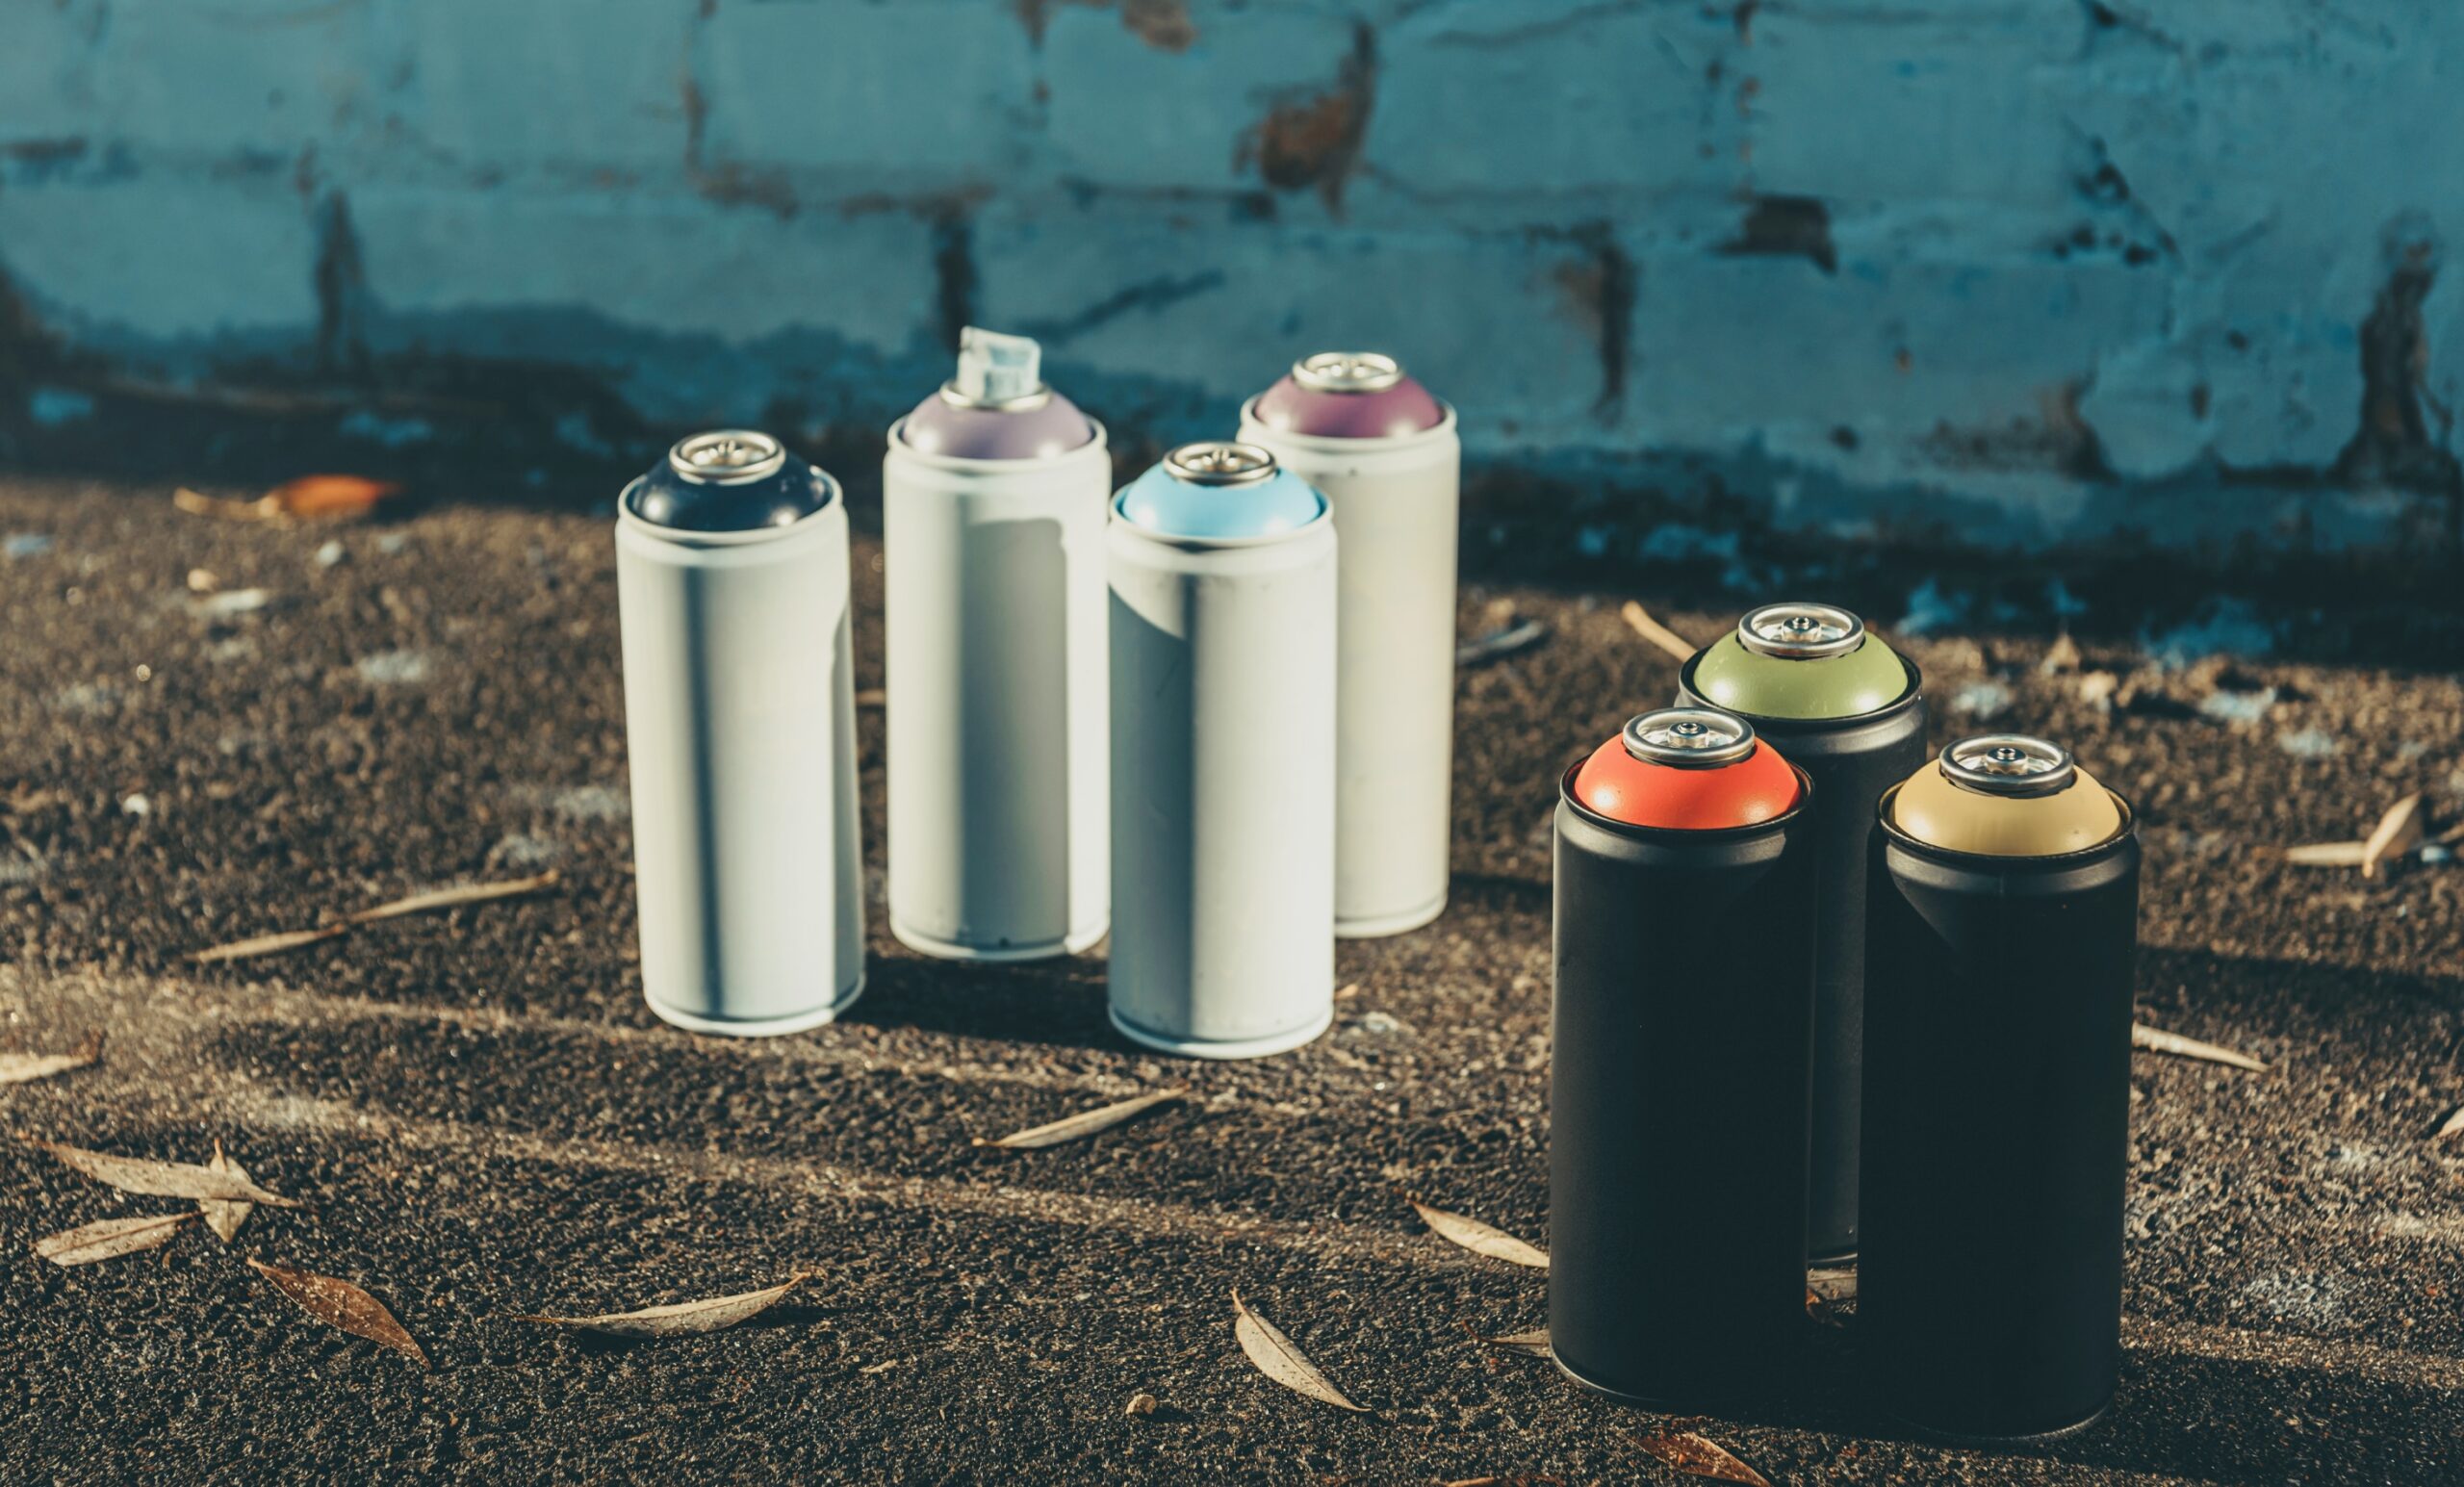
Imagine this scenario: You’ve got a classic car in your garage, and you’re itching to give it a fresh coat of paint to restore its former glory. However, you’re faced with a critical question how many cans of spray paint do you need to paint a car?

The art of automotive spray painting is a skill that requires precision and planning, especially when it comes to the amount of paint you’ll need for your project. Join us on How Many Cans Of Spray Paint To Paint A Car.
Factors to Consider
Before you embark on your automotive spray painting journey, there are several factors to consider when determining how many cans of spray paint you’ll need:
Car Size: The size of your car plays a significant role in determining the quantity of spray paint required. Larger vehicles, such as SUV s or trucks, will naturally need more paint than smaller cars.
Base Coat and Clear Coat: Automotive spray painting typically involves applying a base coat followed by a clear coat. Each of these layers requires its own set of cans.
Paint Coverage: The coverage capacity of your chosen spray paint brand and type will affect the number of cans you need. High-quality paint may require fewer cans due to its better coverage.
Number of Coats: To achieve a professional finish, you’ll likely apply multiple coats. Each coat will require additional cans of paint.
Paint Thickness: The thickness of each coat also influences the amount of paint required. Thicker coats need more paint to cover the surface adequately.
Calculating the Quantity How Many Cans Of Spray Paint To Paint A Car
While it’s challenging to provide an exact number of cans needed without specific car details, you can estimate the quantity of spray paint required using these steps:
Determine Car Size: Measure the square footage of your car’s surface that needs painting. You can do this by breaking down the vehicle into its main sections, such as the hood, roof, doors, and side panels, and calculating the square footage of each.
Check Paint Coverage: Refer to the spray paint manufacturer’s instructions or label to find the coverage per can. This information will tell you how many square feet one can of paint can cover.
Estimate the Coats: Decide on the number of coats you plan to apply. Two to three coats are typical for a professional finish.
Calculate: Multiply the square footage of your car by the number of coats you plan to apply. Then, divide that by the coverage capacity per can to estimate the number of cans needed for each section of the car. Repeat this calculation for each car section and the base coat and clear coat.
Add Extra: It’s advisable to purchase more spray paint than your calculations suggest. Additional colors can be handy for touch-ups and unforeseen needs during your project.
Selecting the Right Paint Type of How Many Cans Of Spray Paint To Paint A Car
When embarking on an automotive spray painting project, it’s crucial to choose the right type of spray paint. Various options include enamel, acrylic, urethane, and lacquer.
Each type has its advantages and considerations, so let’s delve into these choices:
Enamel Paint
Enamel paint is known for its durability and glossy finish. It’s a popular choice for automotive painting due to its resistance to damage and weather conditions. However, it typically takes longer to dry and may require additional clear coats.
Acrylic Paint
Acrylic spray paint offers a fast drying time and is relatively easy to work with. It’s ideal for beginners and DIY enthusiasts. However, it may not be as durable as enamel or urethane paint, making it more suitable for touch-ups or smaller projects.
Urethane Paint
Urethane paint is a high-quality automotive paint with a smooth and long-lasting finish. It’s often used in professional auto body shops for its durability and resistance to fading. However, working with urethane paint requires more experience and safety precautions.
Lacquer Paint
While less common today, lacquer paint can still be found and used for automotive projects. It provides a high-gloss finish but is generally less durable than enamel or urethane paints.
Preparation and Safety
Proper preparation and safety precautions are vital for an automotive spray painting project.
Here’s a closer look at these crucial aspects:
Surface Preparation
Before you start applying paint, the car’s surface must be meticulously prepared. This involves cleaning, sanding, and priming. Any imperfections or rust should be addressed to ensure a smooth and even finish.
Safety Gear
Automotive spray painting involves chemicals and potentially harmful fumes. Therefore, it’s imperative to use the proper safety gear, including a respirator mask, protective eye wear, and gloves, to protect yourself from inhalation and skin contact with the paint.
Work Environment
Ensure you work in a well-ventilated area, such as a garage with open doors or a paint booth. Adequate ventilation helps dissipate fumes and prevents the buildup of hazardous gasses.
Paint Application Techniques
Achieving a professional finish in automotive spray painting requires mastering specific application techniques. These techniques can help you avoid common issues such as runs, sags, or orange peel texture in the paint.
Here are some essential techniques to keep in mind:
Proper Distance
Maintain the correct distance between the spray can and the car’s surface. Holding the can too close can result in uneven paint distribution, while keeping it too far can lead to over spray.
Even Overlapping Strokes
Apply the paint in even, overlapping strokes. Start spraying just before the car’s surface and finish just beyond it. This ensures an even coat.
Consistent Speed
Maintain a consistent speed while spraying to prevent variations in paint thickness. Rapid or slow movements can result in uneven coverage.
Multiple Coats
Achieving a professional finish often requires multiple coats. Each coat should be applied lightly, allowed to dry, and then sanded before the next coat is applied. This process helps eliminate imperfections and ensures a smooth finish.
Drying and Curing
Once you’ve applied the paint, it’s crucial to allow sufficient drying and curing time. Drying time refers to the period during which the pigment becomes touch-dry while curing time is when the paint fully hardens and reaches its maximum durability.
Drying Time
The drying time varies depending on the type of paint and environmental conditions. It’s essential to follow the manufacturer’s recommendations. During this phase, the paint is still vulnerable to damage, so handle the car carefully.
Curing Time
Curing is a longer process that can take several days to a few weeks, depending on the paint type. It’s crucial to take your time with this step, as the paint needs time to reach its total hardness and durability.

Buffing and Polishing
After the paint has cured, you can enhance the finish by buffing and polishing. This step helps remove minor imperfections and achieves a high-gloss shine.
Here’s how to do it:
Sanding: Begin by wet sanding the painted surface with increasingly finer grits of sandpaper. This process helps level the paint and remove any orange peel texture.
Compounding: Use a rubbing compound to remove sanding marks and restore the shine. Apply the combination with a buffer and work in small sections.
Polishing: After compounding, apply a high-quality automotive polish to enhance the shine. Buff the surface to a brilliant finish.
Additional Tips for a Flawless Finish
Temperature and Humidity: Pay attention to environmental conditions. Paint adheres best when the temperature is within the recommended range and humidity is low. Extreme temperatures can affect drying and curing times.
Tape and Masking: Use high-quality automotive masking tape and masking paper to protect areas of the car you don’t want to paint, such as windows, trim, or tires. Proper masking is critical to achieving clean lines and avoiding over spray.
Primer: Applying an automotive primer before the base coat can improve adhesion and create a smoother surface for the paint. It’s especially essential for areas with repairs or bare metal.
Wet Edges: When applying multiple coats, maintain a “wet edge” to ensure each skin blends seamlessly with the previous one. Avoid stopping in the middle of a panel, resulting in noticeable lines.
Customizing with Graphics: If you want to add custom graphics or designs to your car’s finish, consider using stencils and fine detailing brushes. This can be a fun way to personalize your vehicle.
Post-Painting Maintenance
Maintaining the quality of your freshly painted car is essential to keep it looking its best for years to come.
Here are some post-painting maintenance tips:
Regular Washing: Wash your car regularly to remove dirt, grime, and contaminants that can mar the paint finish. Use a gentle automotive soap and avoid abrasive materials that could scratch the paint.
Waxing and Polishing: Apply automotive wax to protect the paint and provide an extra layer of shine. Regular waxing can extend the life of your paint job and keep it looking glossy.
Avoid Harsh Chemicals: Be cautious when using harsh chemicals, such as de-greasers or strong solvents, as they can damage the paint. Opt for gentle cleaning solutions.
Protection from the Elements: Whenever possible, park your car in a shaded area or use a car cover to shield it from the sun’s UV rays. Prolonged exposure to sunlight can cause paint to fade.
Touch-Ups: Address any minor nicks, chips, or scratches promptly with touch-up paint to prevent rust from developing.
By implementing these additional tips and maintaining your car’s paint, you can enjoy a flawless finish that stands the test of time. Remember that automotive spray painting is both an art and a science, and the more attention you pay to detail, the more impressive the results will be.
Final Touches
To complete your automotive spray painting project, consider these final touches:
- Clear Coat: Apply a clear coat to protect the paint and enhance its longevity and shine.
- Reassembly: Reassemble any parts or trim that were removed before painting.
- Quality Inspection: Inspect the car’s finish for any imperfections and address them if necessary.
- Regular Maintenance: To keep your freshly painted car looking its best, practice regular maintenance, such as washing and waxing.
Final Considerations
Before you start your automotive spray painting project, keep these final considerations in mind:
- Preparation is Key: Properly prepare the car’s surface by cleaning, sanding, and priming it. A well-prepared surface ensures the paint adheres correctly.
- Choose Quality Paint: Invest in high-quality automotive spray paint for a professional finish and durability.
- Follow Manufacturer Instructions: Always follow the manufacturer’s instructions for your chosen paint. They provide valuable guidance on application and drying times.
- Practice Makes Perfect: If you’re new to automotive spray painting, consider practicing on a small surface or scrap material to get a feel for the process.
Conclusion
The art of automotive spray painting is a rewarding endeavor that can breathe new life into your car. While estimating the exact number of cans needed can be a complex task, careful calculations based on car size, paint coverage, coats, and paint thickness can help you plan your project effectively.
Remember to prepare your car’s surface properly, invest in quality paint, and follow instructions meticulously. With dedication and attention to detail, you can master the art of automotive spray painting and achieve a flawless, professional finish that will revitalize your cherished vehicle.

