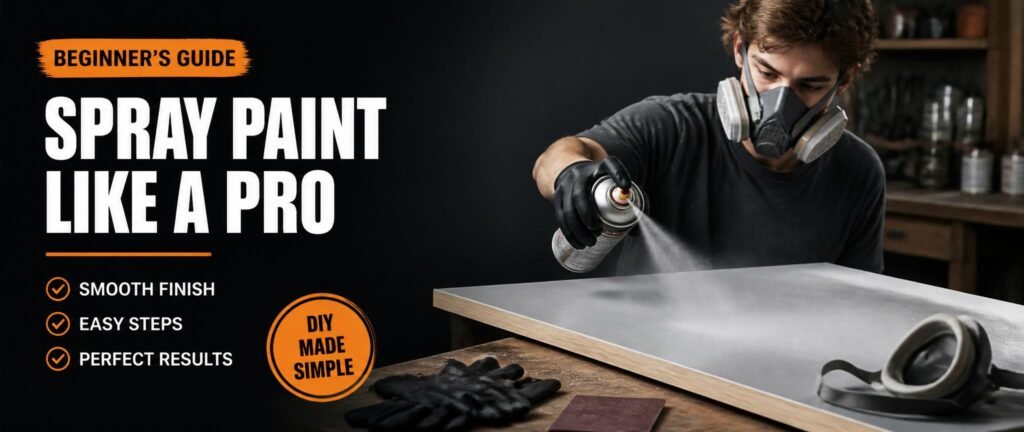
Spray painting looks effortless when you see a professional do it — a smooth, even coat applied in seconds with no brush marks, no roller texture, just a clean, flawless finish. But if you’ve ever picked up a spray can for the first time and ended up with drips, bubbles, or a blotchy mess, you know the reality can feel very different.
Here’s the truth: spray painting isn’t difficult. It just requires understanding a few key principles before you start. Most beginner mistakes come down to skipping preparation, applying too much paint at once, or working in the wrong conditions — all of which are completely avoidable once you know what to look for.
This complete beginner’s guide will walk you through everything you need — the right tools, the correct technique, the most common mistakes, and pro tips that will help you get a smooth, professional-looking finish from your very first project.
What Is Spray Painting?
Spray painting is a method of applying paint, primer, or coating using pressurized air to create a fine, even mist over a surface. Unlike brushes or rollers, spray painting delivers paint in tiny droplets that land uniformly — which is why the finish looks so smooth and professional.
You can spray paint with two main tools: an aerosol spray can (the kind you find at any hardware store) or a paint sprayer (either HVLP or airless). Aerosol cans are great for small projects and touch-ups. Paint sprayers are better for larger surfaces like furniture, cabinets, or fences.
Spray painting works on almost any surface — wood, metal, plastic, concrete, glass, and more — making it one of the most versatile finishing techniques available to DIY enthusiasts.
Why spray painting is so popular:
- Much faster than brushes or rollers
- Produces a smoother, more even finish
- No brush strokes or roller texture
- Works on complex shapes and hard-to-reach areas
- Available in hundreds of colors and finishes
Tools You Need to Get Started
Having the right tools makes a massive difference in your results. You don’t need to spend a fortune, but skimping on the basics will make the job harder and the results worse.
Essential tools for beginners:
Paint sprayer or aerosol can: For beginners, aerosol cans are the easiest starting point. They’re affordable, portable, and require no setup. If you plan to paint larger surfaces regularly, investing in an HVLP (High Volume Low Pressure) sprayer is worth it — they give you more control and use paint more efficiently.
Sandpaper (220–400 grit): Sanding is non-negotiable. Fine-grit sandpaper smooths the surface and gives the paint something to grip. 220 grit is great for initial sanding, while 400 grit works well for sanding between coats.
Drop cloth or plastic sheeting: Overspray travels further than you’d expect. Always protect surrounding surfaces, floors, and furniture before you start.
Safety gear: A respirator mask (not just a dust mask), safety goggles, and nitrile gloves are essential. Spray paint fumes are harmful when inhaled, and paint is difficult to get off skin.
Primer: Not always required, but highly recommended — especially on raw wood, bare metal, or any surface you want maximum paint adhesion on.
Tack cloth: A sticky cloth used to pick up fine dust particles after sanding. Much more effective than a regular rag.
Step-by-Step Spray Painting Process
Step 1 — Prepare the Surface
This is the single most important step. A poorly prepared surface will ruin even the best paint job. Before you pick up the spray can, make sure your surface is:
- Clean and free of dust, dirt, grease, and oil
- Lightly sanded for better adhesion
- Wiped down with a tack cloth after sanding
- Completely dry
If you’re painting over an existing finish that’s chipping or peeling, remove it first. Paint doesn’t stick well to unstable surfaces.
Step 2 — Prepare Your Paint
If you’re using an aerosol can, shake it vigorously for at least two full minutes. You should hear the mixing ball rattling inside. Under-shaking is one of the most overlooked causes of uneven spray patterns and bubbling.
If you’re using a paint sprayer, mix your paint thoroughly and strain it through a paint strainer to remove any lumps that could clog the nozzle.
Step 3 — Do a Test Spray
Never start painting your actual project without testing first. Spray onto a piece of cardboard or scrap wood to check the pattern, flow, and consistency. This helps you catch any clogs or uneven spray before you ruin your project.
Step 4 — Apply the First Coat
Hold the sprayer or can 10 to 12 inches from the surface. Start spraying before your stroke reaches the surface, and release the trigger after your stroke passes it. This prevents heavy buildup at the edges.
Use smooth, overlapping strokes — like mowing a lawn. Keep your hand moving at a consistent speed. Never stop moving while the trigger is pressed.
Apply a thin, even coat. You should be able to see the surface slightly through the paint — that’s perfect. A thin coat dries properly; a thick coat traps solvents and causes drips, runs, and bubbles.
Step 5 — Apply Multiple Coats
Two to three thin coats will always look better than one thick coat. Let each coat dry completely before applying the next — usually 15 to 30 minutes for aerosol paints, but always check the label.
Between coats, you can lightly sand with 400 grit sandpaper and wipe clean with a tack cloth for an ultra-smooth finish.
Step 6 — Allow Full Drying Time
Once your final coat is applied, resist the urge to touch or move the project too soon. Surface dry time (when it feels dry to the touch) is different from full cure time (when the paint is fully hardened).
Most spray paints feel dry within 30 minutes but take 24 hours or more to fully cure. Moving or stacking painted items before full cure can cause scratches, dents, or surface impressions.
Common Mistakes Beginners Make
Spraying too close: Holding the can closer than 8 inches overloads the surface, causing drips and bubbles. Always maintain 10 to 12 inches.
Applying thick coats: One heavy coat seems efficient but almost always leads to runs, sags, and bubbling. Thin coats every time.
Skipping surface prep: No amount of technique can save a painting job done on a dirty or unsanded surface.
Not letting paint dry: Rushing between coats traps solvents and causes wrinkling and bubbling.
Ignoring weather: Painting in high heat, direct sunlight, or high humidity leads to poor adhesion and uneven drying. Ideal conditions are 50°F to 85°F with low humidity.
Not shaking the can enough: Under-shaking leads to inconsistent spray, splattering, and color separation.
Tips for a Smooth, Professional Finish
- Always keep a consistent distance — 10 to 12 inches, no closer
- Use steady, even hand movement at a consistent pace
- Start and end each stroke beyond the edge of the surface
- Work in a well-ventilated area — outdoors or with fans
- Use primer on raw or porous surfaces for better adhesion
- Sand lightly between coats for a glass-smooth finish
- Apply a clear topcoat on finished pieces for extra durability and protection
Best Beginner Projects to Practice On
Start small and build confidence before tackling big projects. Great beginner projects include:
Wooden furniture: Old chairs, side tables, or picture frames are perfect for practicing. Wood is forgiving and easy to sand and repaint if needed.
Metal items: Lamp bases, bookends, or old metal chairs respond well to spray paint and look stunning with the right finish.
DIY home décor: Vases, planters, candle holders — small decorative objects let you practice technique without much pressure.
Once you’ve built confidence and consistency, move on to larger projects like kitchen cabinets, garage doors, or outdoor furniture.
When to Use Primer
Primer is a preparatory coating applied before the main paint. It improves adhesion, blocks stains, and helps the paint color appear more vibrant and true.
Use primer when:
- Painting raw, unfinished wood or bare metal
- Covering a dark color with a lighter one
- Painting a very porous or uneven surface
- Switching between paint types (oil-based to water-based)
Conclusion
Spray painting is one of the most satisfying DIY skills you can learn. With the right tools, proper surface preparation, and a little patience, you can achieve a finish that looks like it was done by a professional — even on your very first project.
Remember: thin coats, consistent distance, and good prep work are the three pillars of a great spray paint job. Start small, learn from each project, and you’ll improve faster than you expect.