Mastering the Art of How To Thin Acrylic Paint For Airbrush: A Simple Guide
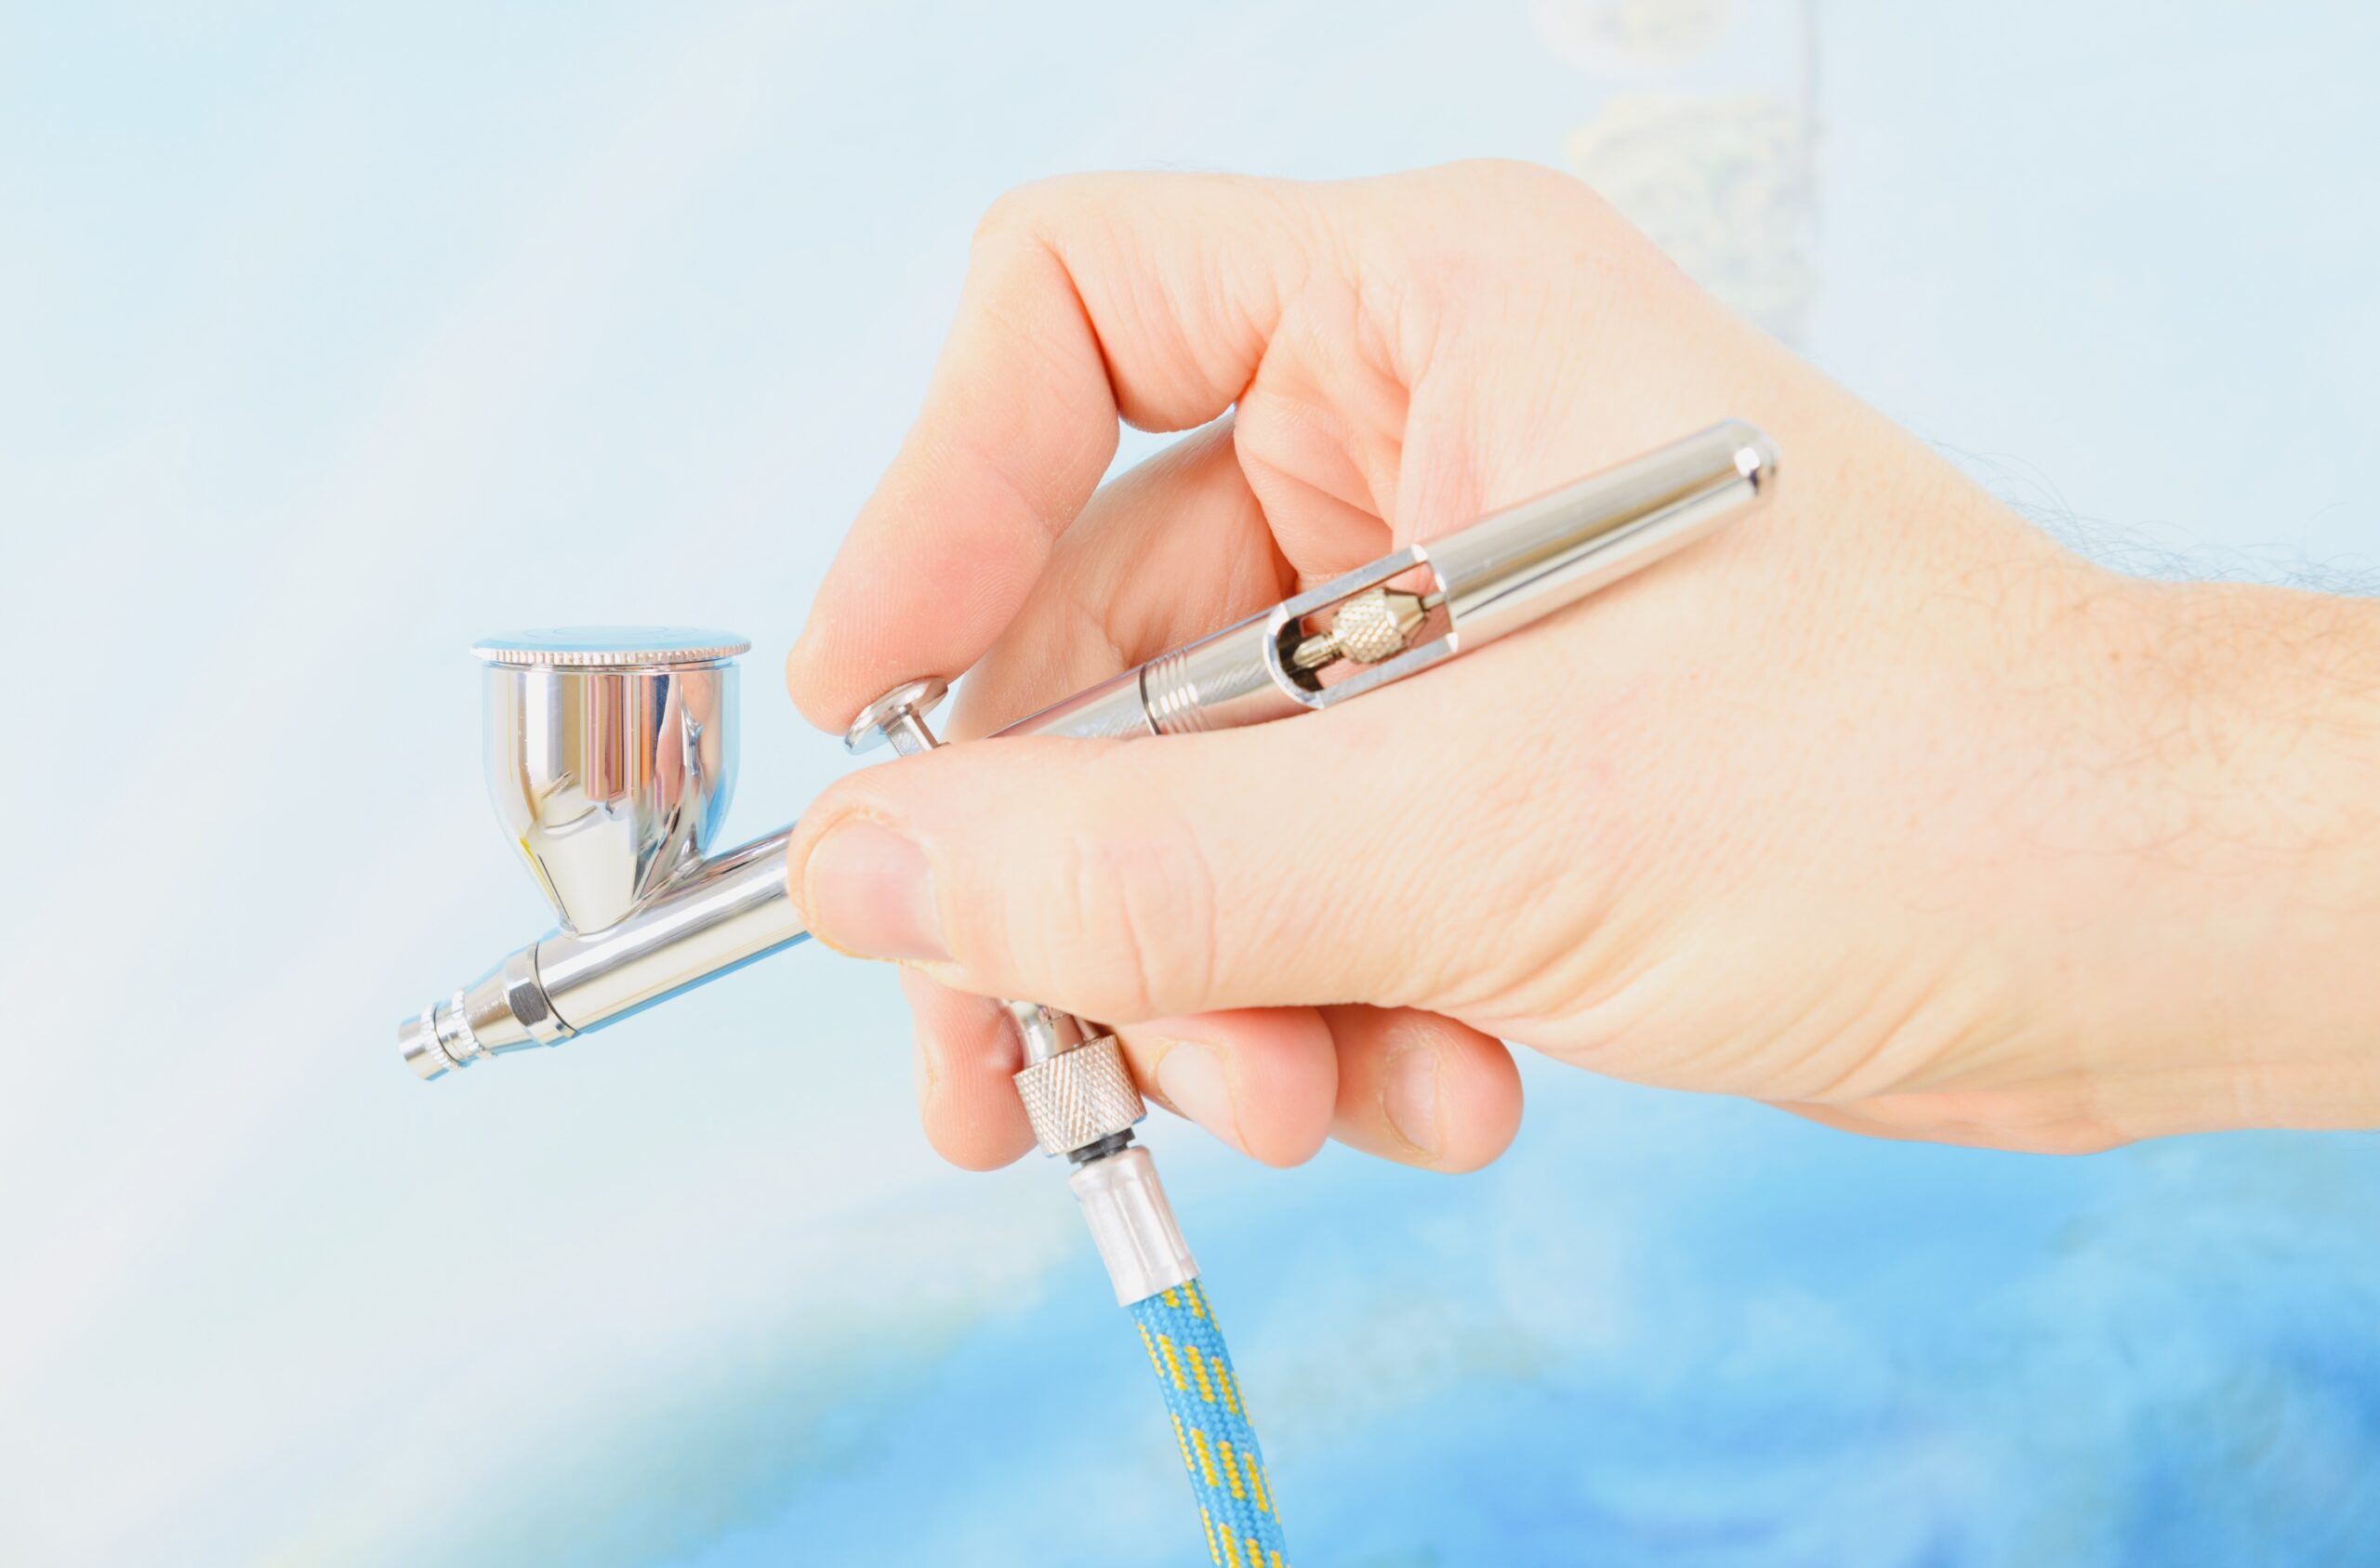
Exploring the realm of airbrushing with thin acrylic paint unveils a realm of artistic possibilities where precision meets creativity.

In this transformative journey, the key to unlocking the full potential of your airbrush lies in the delicate art of thinning acrylic paint. This guide dives into the heart of the process of How To Thin Acrylic Paint For Airbrush, the essential ratios and step-by-step techniques, and the process of mixing, compatibility, and addressing common queries.
Whether you are a seasoned artist or exploring airbrushing for the first time, mastering the intricacies of thinning acrylic paint is the gateway to achieving seamless strokes. Join us as we demystify this art form and empower you to navigate the dynamic intersection of acrylics and airbrushing with confidence and finesse.
What is the Ratio of How To Thin Acrylic Paint For Airbrush?
When it comes to airbrushing with acrylic paint, achieving the perfect ratio of paint to thinner is crucial. The ideal consistency ensures a flawless application and prevents clogs in the airbrush mechanism. Understanding the balance between paint and thinner is the foundation of successful airbrushing.
How to Thin Acrylic Paint for Airbrush: Step-by-Step Guide
- Gather Your Materials: Before starting the thinning process, gather acrylic paint, an appropriate airbrush thinner or medium, mixing cups, and stirring sticks. Use dedicated tools for measuring to maintain accuracy.
- Check Paint Viscosity: Assess the current viscosity of your acrylic paint. If the paint is too thick for airbrushing, it may result in uneven application and clogging. Thin the paint gradually to achieve the desired consistency.
- Start with a Small Amount: Begin by pouring a small amount of acrylic paint into a mixing cup. It’s easier to control the thinning process when working with a modest quantity of paint.
- Add Thinner Gradually: Introduce the airbrush thinner or medium to the paint in small increments. Stir thoroughly after each addition to ensure an even blend. This gradual approach prevents over-thinning, allowing you to achieve the desired consistency step by step.
- Consistency Check: Regularly check the paint’s consistency by lifting the stir stick and observing how the paint flows off it. Aim for a smooth, liquid flow without visible clumps or streaks. Adjust the thinner-to-paint ratio accordingly.
- Test Spraying: Conduct test sprays on a scrap surface or paper to evaluate the paint’s behavior through the airbrush. Observe the spray pattern, opacity, and overall coverage. Make further adjustments if necessary.
- Achieve Optimal Consistency: Continue the process until you achieve an optimal consistency that suits your airbrushing needs. The goal is to have a paint mixture that flows smoothly through the airbrush without causing blockages or splattering.
- Strain the Mixture: To ensure a pristine application, strain the thinned paint mixture using a fine mesh strainer or filter. This additional step helps eliminate any potential impurities or undissolved particles that could disrupt the smooth flow through the airbrush nozzle.
- Consider the Project Requirements: Shorten your thinning approach based on the specific requirements of your project. Different techniques may be needed for fine details, broad strokes, or layering effects. Adjust the thinning ratio to align with the intricacies of your artistic vision.
- Document Your Ratios: Maintain a record of the ratios and techniques used for each color or project. Creating a personalized reference guide helps streamline future airbrushing endeavors, ensuring consistency and efficiency in achieving desired effects.

How to Thin Acrylic Paint for Airbrush: Tools for Measuring to Maintain Accuracy
When venturing into the world of airbrushing with acrylic paint, precision is paramount. Achieving the ideal consistency requires careful measurement and a keen understanding of the tools involved.
Here’s a closer look at the essential tools for measuring to maintain accuracy in thinning acrylic paint for airbrushing:
- Graduated Mixing Cups: Graduated mixing cups are indispensable for accurate measurements. These cups feature clear markings along the side, allowing you to measure both paint and thinner precisely. Choose cups with multiple measurement units, such as milliliters and ounces, for versatility.
- Stirring Sticks or Paddles: Stirring sticks or paddles play a crucial role in ensuring thorough blending of paint and thinner. Opt for tools that are long enough to reach the bottom of the mixing cup. This ensures that all components are well-mixed, preventing inconsistencies in your paint mixture.
- Pipettes or Droppers: For ultra-precise measurements, consider using pipettes or droppers. These tools allow you to add thinning agents drop by drop, offering meticulous control over the thinning process. They are instrumental when dealing with small quantities of paint.
- Digital Scales: When precision is non-negotiable, digital scales become invaluable. Weighing the paint and thinner provides an accurate ratio, especially when dealing with larger quantities. Digital scales are available in various capacities, making them suitable for different project sizes.
- Measuring Spoons: Measuring spoons, typically used in cooking, can also find a place in your airbrushing toolkit. They offer a convenient way to measure small amounts of paint and thinner, providing accuracy without the need for complex equipment.
- Ratio Cups: Specifically designed for paint mixing, ratio cups simplify the process by incorporating predetermined ratios on the cup itself. These cups often have separate chambers for paint and thinner, ensuring consistent results without the need for additional measuring tools.
- Reusable Syringes: Reusable syringes, available in various sizes, offer precise measurements for both paint and thinner. They allow for controlled dispensing, reducing the likelihood of over-thinning. Ensure thorough cleaning between uses to prevent cross-contamination.
- Mixing Palette with Measurements: A mixing palette with built-in measurements provides a flat surface for blending paint and thinner. This tool is handy when working with multiple colors or creating custom color blends. Look for a palette with clear markings for accuracy.
- Paint Ratios Chart: While not a physical tool, a paint ratios chart can serve as a handy reference. Create a personalized chart detailing the ideal ratios for different paint colors and projects. Keep it within reach for quick guidance during your airbrushing sessions.
- Quality Brushes for Cleaning: Maintaining the accuracy of your tools is as important as the initial measurements. Invest in quality brushes for cleaning your mixing cups, stir sticks, and airbrush components. Thorough cleaning ensures that no residue from previous sessions interferes with your current paint mixture.
FAQ
Q1: Can I Use Water Instead of Thinner?
A: While water can be used to thin acrylic paint for airbrushing, airbrush thinners or mediums are often preferred. They are specifically formulated to maintain paint integrity and prevent issues like tip dry.
Q2: What If My Paint is Too Thin?
A: If the paint becomes too thin, allow it to sit for a short period to thicken slightly. Alternatively, add a small amount of untwined paint to adjust the consistency.
Q3: Can I Mix Different Brands of Paint?
A: Mixing different brands of acrylic paint is generally acceptable, but be mindful of variations in pigments and formulations. Conduct test sprays to ensure compatibility.
Q4: How Do I Prevent Tip Dry?
A: Tip dry, where the paint dries on the airbrush tip, can be reduced by using an appropriate thinner, keeping the airbrush clean, and adjusting the air pressure to a suitable level.
Conclusion
How To Thin Acrylic Paint For Airbrush is a journey of experimentation and precision. By understanding the ratios, following a step-by-step guide, and addressing common questions, artists can elevate their airbrushing experience. Whether working with regular acrylic paint or airbrush-specific formulations, the key lies in achieving the optimal consistency that allows for smooth, controlled application.
With this knowledge in hand, artists can unlock the full potential of airbrushing and bring their creative visions to life with precision and finesse.
Happy Painting!

